Page 13
Telect, Inc. • USA +1.509.926.6000 • 52.33.3836.37.52
www.telect.com • © 2011 Telect, Inc., All Rights Reserved, 139249-1 A0
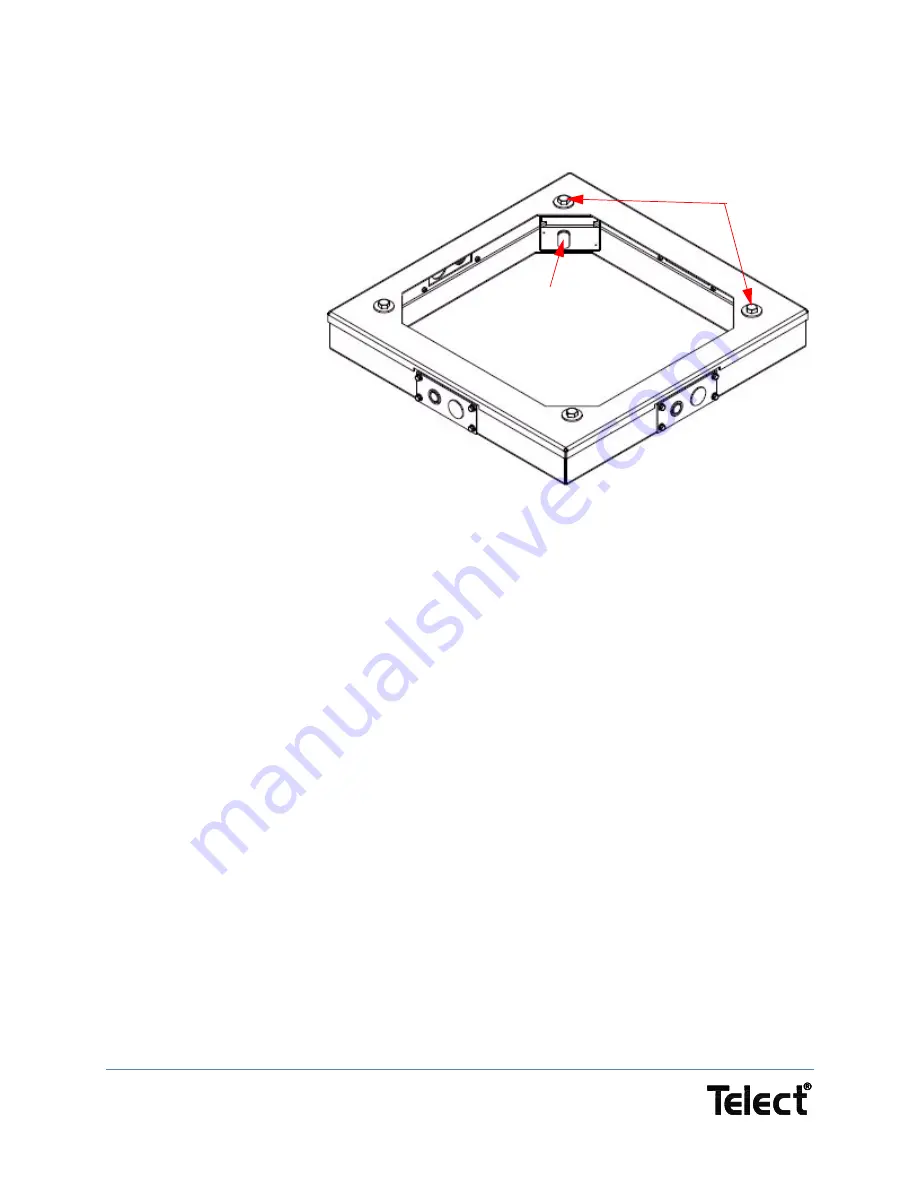
3.2 Mounting the Enclosure to an Installed Plinth
(Part #IOE-ACCS-003-G)
When you install a plinth,
secure it to the concrete pad
first and then bolt the
enclosure to the plinth as
follows. Instructions for
installing the plinth to the
concrete pad are enclosed
in the plinth kit. For plinth
installation, use kit #I0E-
ACCS-003-G (305255). This
kit comes with the 4” tall
plinth, four bolts, four flat
and four split lockwashers.
Procedure steps:
1. Install the anchors as
described in Section “3.1
Installing the Enclosure using a Concrete Installation Kit” on page 11 or as described in the
manufacturer’s instructions.
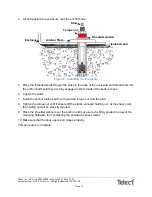
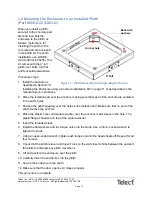
2. Place the isolation pad over the anchors, making sure that each of the anchors are centered
in the pad’s holes.
3. Position the plinth squarely over the holes in the isolation pad. Make sure that no part of the
plinth touches the anchors.
4. Place the plastic cover and square washer over the anchor’s metal sleeve in the hole. The
plastic flange should be on top of the square washer.
5. Insert the threaded studs.
6. Install the flat washers and the torque nuts onto the studs. Use a 3/8-in. socket wrench to
tighten the studs.
7. Using an open-ended wrench, tighten each torque nut until the head shears off. Repeat for all
four corners.
8. Check that the plinth is level and doesn't rock on the slab. Insert shims between the pad and
the plinth to eliminate any plinth movement.
9. Lift and position the enclosure over the plinth.
10. Carefully lower the enclosure onto the plinth.
11. Secure the enclosure to the plinth.
12. Make sure that the door opens and closes properly.
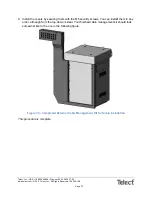
This procedure is complete.
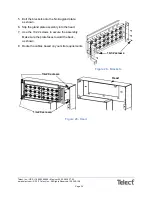
4” tall
Anchor hole
Bolts with
washers
Figure 7 - Plinth Assemby for Single-Bay Enclosure


