Teledyne API M751H High Performance Zero Air Generator
MAINTENANCE
07773B DCN6940
37
5.10 Changing the Regenerative Dryer’s 4-Way Valve
1. Remove the Regenerative Dryer from the chassis as described in Section 5.9
above.
2. Disconnect the two tubing connections and the electrical connection to the 4-way
valve.
3. Remove the 4-way valve bracket from the regenerative upper manifold.
4. Remove the 4-way valve from the bracket.
5. Attach a new valve, complete with tube fittings and muffler(s).
6. Attach the bracket to the upper manifold.
7. Connect the electric cable and two pneumatic fittings.
8. Re-install the dryer in the 751H chassis and tighten the four captive base screws.
5.11 Leak Check
.
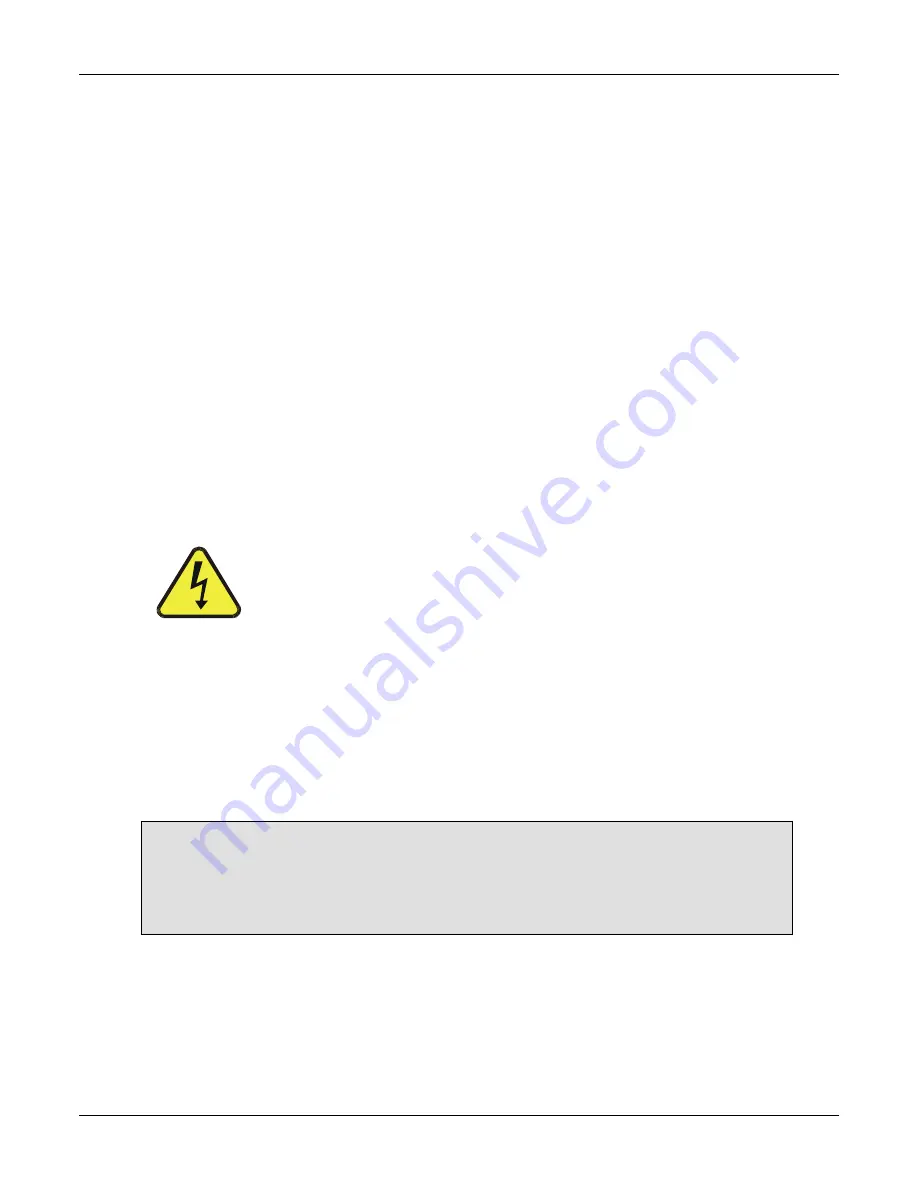
WARNING
ENSURE TO UNPLUG THE
POWER CORD PRIOR TO
PERFORMING ANY LEAK CHECK PROCEDURE
1. Power off the unit and unplug the power cord.
2. Cap the zero out fitting and the drain port fitting.
3. Disconnect the line to the dewpoint sensor manifold and cap it.
4. Plug in the power cord, power on the unit, and allow it to run for one minute (until
it’s pressurized).
5. Turn off the power switch and wait five minutes. The reading on the instrument
panel pressure gauge should not change.
NOTE
This procedure checks the majority of the components and fittings. If you
believe that there is still a leak, please contact Technical Support:
+1 858-657-9800.
Summary of Contents for 751H
Page 2: ......
Page 4: ...ii 07773B DCN6940 This page intentionally left blank...
Page 44: ...A 2 07773B DCN6940 This page intentionally left blank...
Page 46: ...This page intentionally left blank A 4 07773B DCN6940...
Page 47: ...07773B DCN6940 B 1 APPENDIX B SCHEMATICS...
Page 48: ...B 2 07773B DCN6940 This page intentionally left blank...

