TIENet™ 360 LaserFlow™ Velocity Sensor
Section 2 Preparation and Installation
2-7
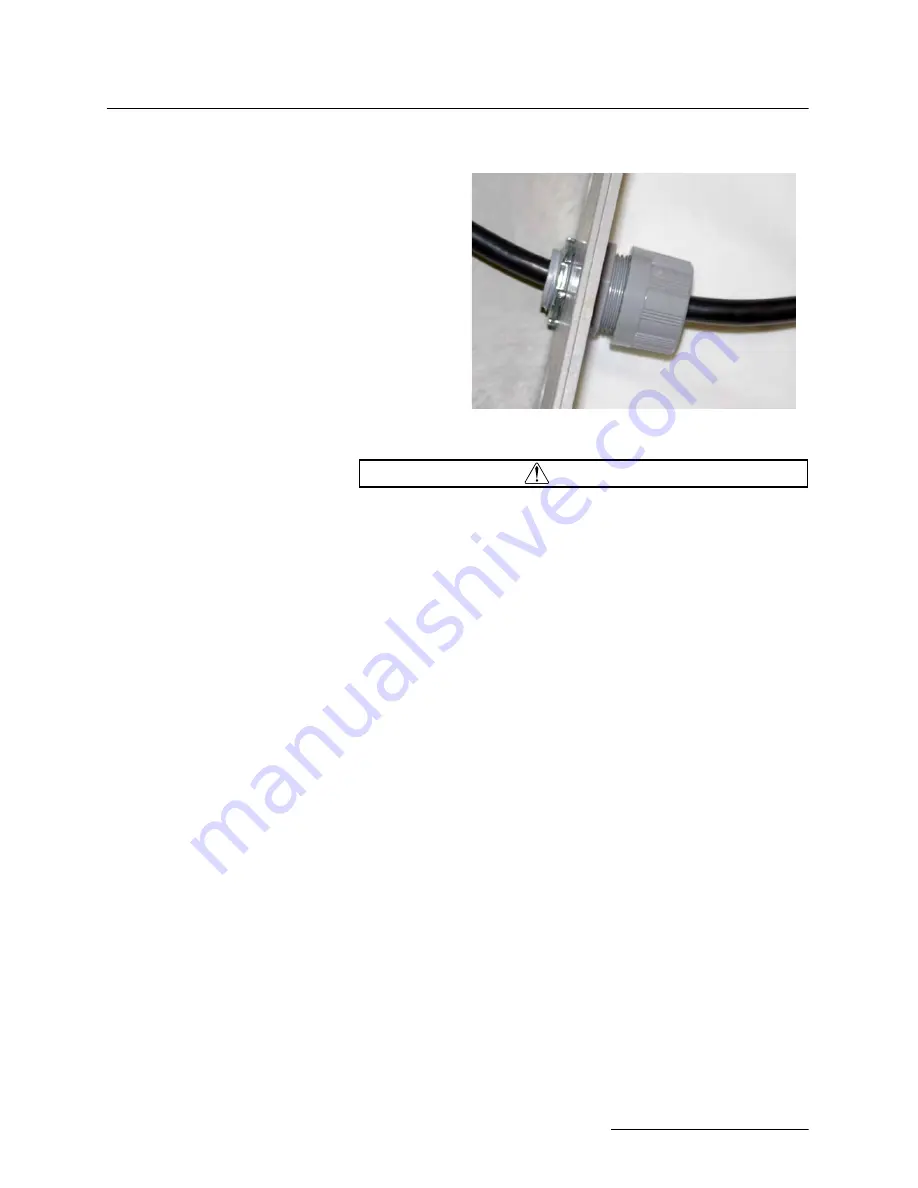
7. Tighten the cord grip sealing nut (Figure 2-7).
Figure 2-7 Position and secure the cable
CAUTION
If using conduit instead of the cord-grip fitting, the conduit must
be sealed to prevent harmful gases and moisture from entering
the Signature enclosure. Failure to seal the conduit may
reduce equipment life.
8. Close the front panel and fasten with the two Phillips
screws.
Summary of Contents for TIENet 360 LaserFlow Ex
Page 2: ......
Page 4: ......
Page 10: ...TIENet 360 LaserFlow Velocity Sensor Safety viii ...
Page 54: ...TIENet 360 LaserFlow Velocity Sensor Section 2 Preparation and Installation 2 32 ...
Page 90: ...TIENet 360 LaserFlow Velocity Sensor Section 4 Setup with 2160 LaserFlow Module 4 20 ...
Page 102: ...TIENet 360 LaserFlow Velocity Sensor Appendix A Replacement Parts A 2 A 2 LaserFlow Sensor ...
Page 103: ...TIENet 360 LaserFlow Velocity Sensor Appendix A Replacement Parts A 3 ...
Page 104: ...TIENet 360 LaserFlow Velocity Sensor Appendix A Replacement Parts A 4 ...
Page 105: ...TIENet 360 LaserFlow Velocity Sensor Appendix A Replacement Parts A 5 ...
Page 106: ...TIENet 360 LaserFlow Velocity Sensor Appendix A Replacement Parts A 6 ...
Page 107: ...TIENet 360 LaserFlow Velocity Sensor Appendix A Replacement Parts A 7 ...
Page 109: ...TIENet 360 LaserFlow Velocity Sensor Appendix A Replacement Parts A 9 ...
Page 111: ...TIENet 360 LaserFlow Velocity Sensor Appendix A Replacement Parts A 11 ...
Page 132: ...TIENet 360 LaserFlow Velocity Sensor D 6 ...
Page 136: ......
Page 138: ...Warranty ...
Page 140: ......


