


16
General Information
SeaBat Sonar UI - User Manual
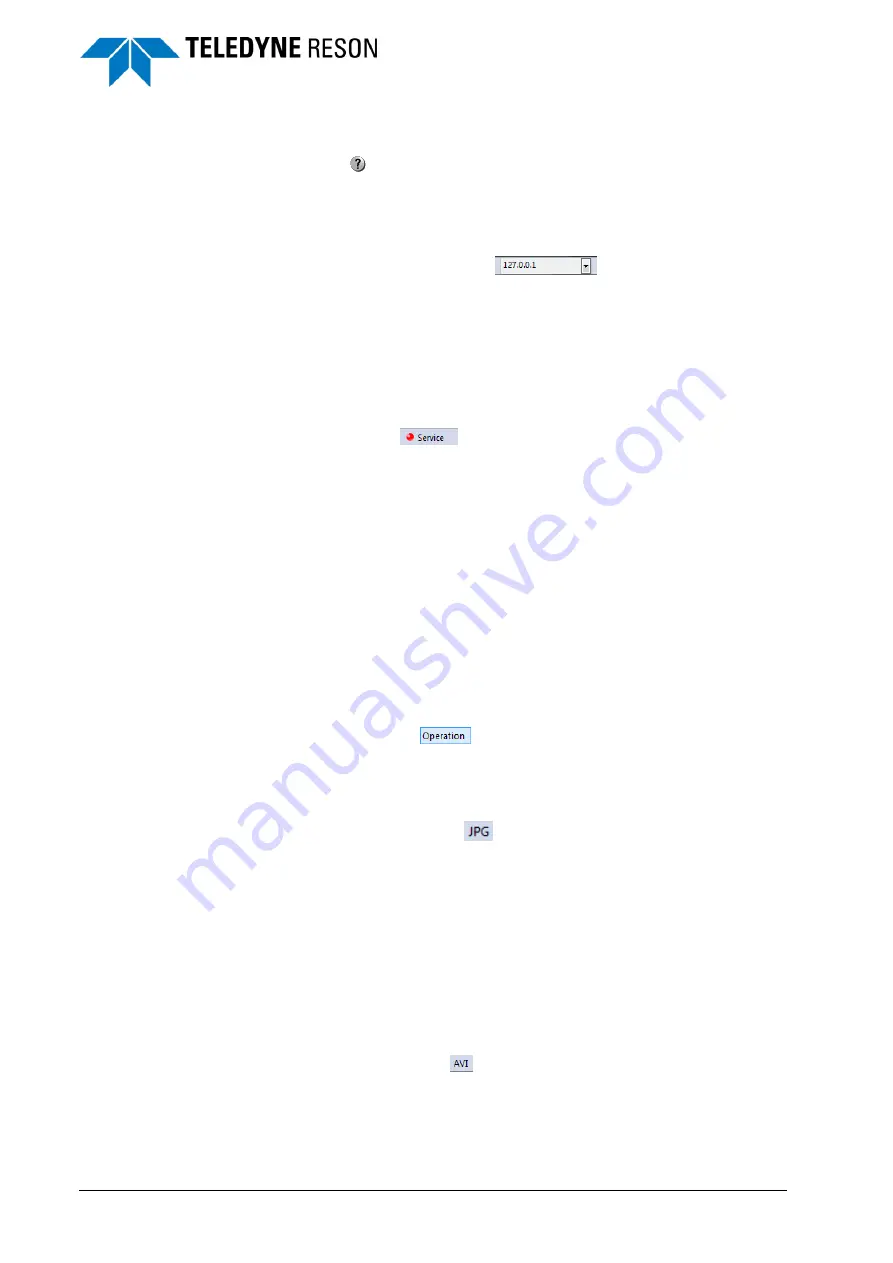
3.3.4 Help File
Click on
to open the help file. The help file is also opened with F1.
The help file is a copy of this Sonar UI Manual.
3.3.5 Sonar Address
Select from the drop down list
the sonar IP address on
the local network that is valid for the sonar. The sonar address is
automatically listed when a sonar 7kCenter is detected. From the drop
down list IP addresses, the computer description as set in the Windows
system settings is displayed for each detected sonar address.
It is also possible to set the address manually.
3.3.6 Service Mode
Click on Service
to open the view with the BITE system
information. See for more information the chapter Service on page 77.
The LED indicator inside the service button will indicate if the BITE
information gives errors in the Service (see page 77). The different colors
are:
Blue
– When the Sonar UI is started the BITE information is not yet
available.
Green
– No errors in the BITE information, all components are
working.
Red
– Error level – Errors, warnings or timeouts in one or more
components. Check the diagram in the Service for more
information (see page 78).
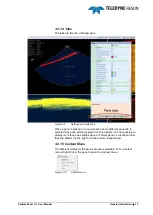
3.3.7 Operation Mode
Click on Operation
to open the view with the sonar data. See for
more information the chapter Operation on page 21.
3.3.8 Save JPG Screen Snapshot
Click on Snapshot button
to create an image of the application
window.
The snapshot will be stored as a JPG with the filename
yyyymmdd_hhmmss.jpg in the location as is defined in the Recording
pane (see pagexxx).
The Save Snapshot option gives a proper screen shot in the
Windows Classic Theme and in the Windows 7 Basic Theme. In the
Windows 7 Theme the option does not give a good screen shot in
the Operation mode.
3.3.9 Start Record AVI
Click on the AVI button
to start the AVI recording of the application
window. During the recording the LED indicator is changed to a green
LED indicator.


