Navigation & Messaging User Guide
11
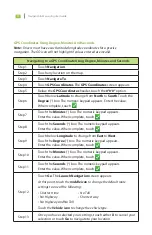
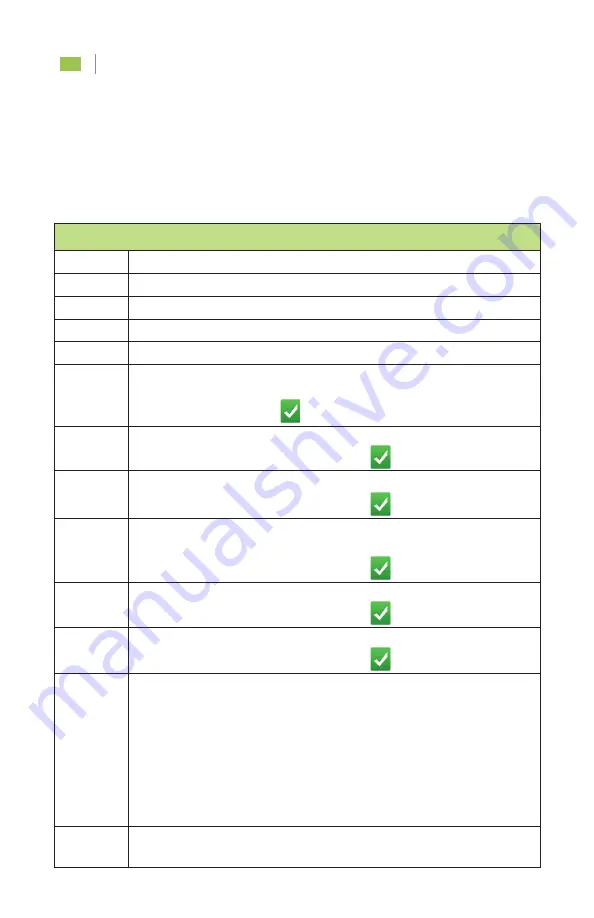
Navigating to a GPS Coordinate Using Degree, Minutes and Seconds
Step 1
Touch Navigation.
Step 2
Touch any location on the map.
Step 3
Touch Navigate To.
Step 4
Touch GPS Coordinates. The GPS Coordinates screen appears.
Step 5
Below the GPS Coordinates header, touch the 0°0’0” option.
Step 6
Touch below Latitude to change from North to South. Touch the
Degree (°) box. The numeric keypad appears. Enter the value.
When complete, touch
.
Step 7
Touch the Minutes (‘) box. The numeric keypad appears.
Enter the value. When complete, touch
.
Step 8
Touch the Seconds (“) box. The numeric keypad appears.
Enter the value. When complete, touch
.
Step 9
Touch below Longitude to change from East to West.
Touch the Degree (°) box. The numeric keypad appears.
Enter the value. When complete, touch
.
Step 10
Touch the Minutes (‘) box. The numeric keypad appears.
Enter the value. When complete, touch
.
Step 11
Touch the Seconds (“) box. The numeric keypad appears.
Enter the value. When complete, touch
.
Step 12
Touch Go. The Launch Navigation screen appears.
At this point, touch the
middle icon
to change the default route
settings to one of the following:
• Shortest time
• No Toll
• No Highway
• Shortest way
• No Highway and No Toll
Touch the
Vehicle icon
to change the vehicle type.
Step 13
Once you have selected your settings, touch either X to cancel your
selection or touch Go to navigate to your location.
GPS Coordinates Using Degree, Minutes And Seconds
Note:
Drivers must have exact latitude/longitude coordinates for a precise
navigation. The GO icon will not highlight if values entered are invalid.
Summary of Contents for FLEET DIRECTOR
Page 1: ...FLEET DIRECTOR TABLET Navigation Messaging User Guide...
Page 2: ......
Page 4: ......
Page 22: ...Navigation Messaging User Guide 17 NOTES...


