2.1
Quick Start Guide
2
SETUP
2.1.5
Check Display
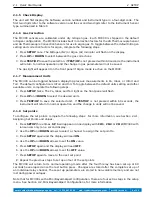
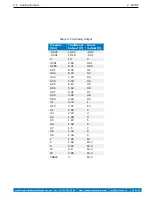
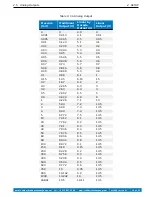
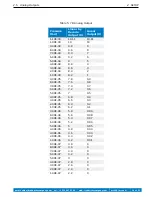
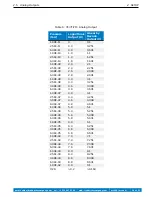
The unit will first display the Software version number and instrument type in a four-digit code. The
first two digits refer to the software version and the second two digits refer to the Instrument Sensor
type summarized in Table 9.
2.1.6
Gas Correction
The MC300 sensors are calibrated under dry nitrogen gas. Each MC300 is shipped in the default
nitrogen configuration. The MC300 includes built in correction factors for the 2A Thermocouple Sensor
and 4A Thermocouple Convection Sensors for use in argon gas. To toggle between the default nitrogen
setting and correction factors for argon, complete the following steps.
1. Press
SETUP
once. The Nitrogen (N2) or Argon (Ar) indicator will flash on the display.
2. Press
UP
or
DOWN
to select between the gas corrections.
3. Press
TEST/OP
to save the selection. If
TEST/OP
is not pressed within 60 seconds, the instrument
will return to normal operation and the change in gas parameter will not be saved.
The gas light will appear lit on the front panel if Argon mode is active on the MC300.
2.1.7
Measurement Units
The MC300 can be toggled between displaying pressure measurements in Pa, mbar, or mTorr and
Torr. The default configuration is mTorr and Torr. To toggle between the default units setting and other
available units, complete the following steps.
1. Press
SETUP
twice. The Pa, mbar, and Torr light on the front panel will flash.
2. Press
UP
and
DOWN
to select the desired units.
3. Press
TEST/OP
to save the selected unit. If
TEST/OP
is not pressed within 60 seconds, the
instrument will return to normal operation and the change in units will not be saved.
2.1.8
Set points
To configure the set points, complete the following steps. For more information, see Section 2.4.1,
Assigning Set Points and Values.
1. Press
SETUP
three times.
SP 1
will appear on one display with
CH 1
,
CH 2
or
CH 3
(MC300 with
ion sensors only) on a second display.
2. Use the
UP
and
DOWN
arrows to select a channel to assign the set point to.
3. Press
SETUP
again and the display will read
ON
.
4. Use the
UP
and
DOWN
arrows to set the
ON
value.
5. Press
SETUP
again and the display will read
OFF
.
6. Use the
UP
and
DOWN
arrows to set the
OFF
value.
7. Press
SETUP
again to move to the next set point.
8. Repeat the previous steps to set up all four of the set points.
The MC300 will return to its normal operating mode after the fourth relay has been set up or 60
seconds have elapsed since the last button press. Changes are stored after the complete set up of
an individual relay channel. These set up parameters are stored in non-volatile memory and are not
lost during power outages.
Note that for MC300s with a Mini Bayard-Alpert configuration, there are four extra steps in the setup
menu. See Section 4.2, Mini Bayard-Alpert Configurations, for more information.
email: sales@frederickscompany.com
tel: +1 215 947 2500
web: frederickscompany.com
mc300_im rev H
6 of 23

