15
Display Panel
display
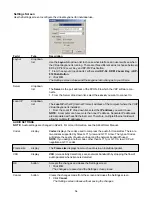
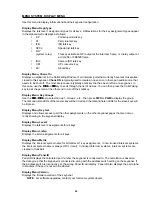
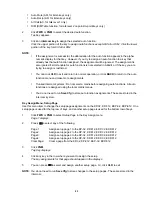
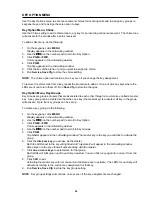
Use the Display Panel to display the different ports associated with each of the
lever keys. The KP-32 can have up to 11 ports assigned.
1-4
LED display
The 1 - 4 LED display lights show which key assignment page is active.
Menu
button
Use the MENU button to activate the underlying menu structure for the VOIP VKP.
When selected, the top-level menu appears in the CWW (call waiting window). The
FWD, BACK, and PGM button allow you to navigate through the menu structure.
1. Click MENU.
The VOIP VKP menu structure appears in the CWW window.
FWD
button
Use the FWD button to scroll forward through the VOIP VKP menu.
1. Click FWD.
The next menu item in the list appears.
BACK
button
Use the BACK button to scroll backward through the VOIP VKP menu.
1. Click BACK.
The previous menu item in the list appears.
Mic Mute
button
Use Mic Mute button to mute the microphone output audio.
1. To enable Mic Mute, click MIC MUTE.
Mic Mute is enabled. The mic mute button is depressed.
1. To disable Mic Mute, click MIC MUTE.
Mic Mute is disabled. The mic mute button is not depressed.
CLR
button
Use the CLR button to clear and close the VKP menu structure.
1. Click CLR.
The menu clears and closes, returning to normal operation mode.
PGM
button
The PGM button accepts the menu selection and moves you futher down into the
menu selection.
1. Click PGM.
The menu selection you made is accepted and the next lowest level in the
menu structure appears.
Number
(pad) 1-9
button(s)
Use the Number Pad to enter in port alphas and IP (Internet Protocol) addresses.
1. Enter the appropriate number by clicking the appropriate numerical pads.
Volume
Adjust
slider
Use the Volume Adjust slider to adjust the keypanel volume level.
1. Drag the Volume Adjust slider right to increase the volume, or left to decrease
the volume.
Summary of Contents for VOIP
Page 2: ...2 ...
Page 6: ...6 ...
Page 17: ...17 This page intentionally left blank ...
Page 18: ...18 This page intentionally left blank ...
Page 38: ......


