31
•
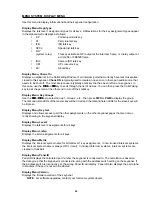
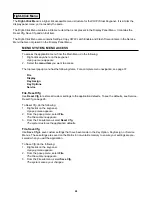
Auto Mute (AM, for listen keys only)
•
Auto Recip (AR, for listen keys only)
•
All Call (AC, for talk level 1 only)
•
DIM (DIM Table function, for talk level 2 on point-to-point keys only)
2.
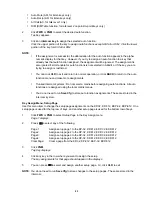
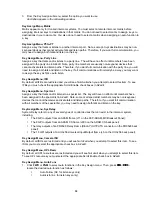
Click FWD or PGM to select the desired auto function.
Tap Key appears.
3.
Click an intercom key to assign the selected auto function.
Click the upper portion of the key to assign auto functions except All Call or DIM. Click the lower
portion of the key for All Call or DIM.
NOTE:
•
If the assignment is successful, the abbreviation for the auto function appears in the alpha-
numeric display for that key. However, if you try to assign an auto function to a key that
already has that auto function assigned, the assignment will be ignored. The assignment is
also ignored if scroll enable for auto functions is not selected in AZedit, or if the key you are
trying to assign is restricted.
•
You can click CLR to exit and return to normal operation, or click BACK to return to the auto
function menu and make more assignments.
•
Trunked intercom systems: Do not select a matrix before assigning auto functions. All auto
functions are assigned using the local matrix menus.
•
You do not need to run Save Cfg to store auto function assignments. These are stored in the
intercom system.
Key Assign Menu, Setup Page
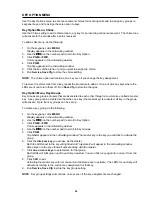
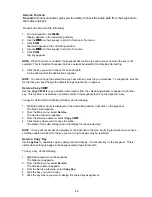
Use this menu item to change the setup page assignments on the KP-32, KP-812, EKP-32 and EKP-812.
One setup page is used for the top row of keys, and another setup page is used for the bottom row of keys.
1.
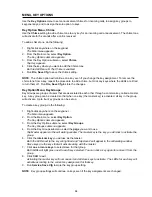
From the Key Assign submenu, select the page you want to work with.
Page 1 displays.
Page 1 :
Assign setup page 1 to the KP-32, KP-812, EKP-32, EKP-812
Page 2:
Assign setup page 2 to the KP-32, KP-812, EKP-32, EKP-812
Page 3:
Assign setup page 3 to the KP-32, KP-812, EKP-32, EKP-812
Page 4:
Assign setup page 4 to the KP-32, KP-812, EKP-32, EKP-812
Clear Page:
Clear a page from the KP-32, KP-812, EKP-32, EKP-812
2.
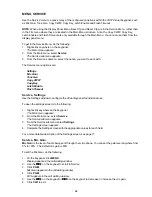
Click PGM.
Tap Key displays.
3.
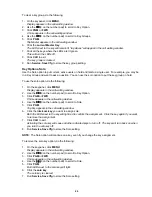
Click any key in the row where you want to assign the setup.
The key assignments for that page should appear in the displays.
4.
You can press
↓↓
↓↓
↓↓
↓↓
↓↓
to select and assign another setup page. Or, click CLR to exit.
NOTE: You do not need to run Save Cfg to store changes to the setup pages. These are stored in the
intercom.
Summary of Contents for VOIP
Page 2: ...2 ...
Page 6: ...6 ...
Page 17: ...17 This page intentionally left blank ...
Page 18: ...18 This page intentionally left blank ...
Page 38: ......


