33
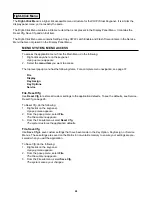
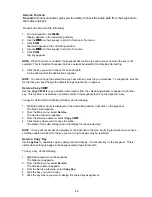
To clear a key group, do the following:
1.
Right-click anywhere on the keypanel.
The Main menu appears.
2.
From the Main menu, select Key Option.
The Key Option submenu appears.
3.
From the Key Option submenu, select Key Groups.
The Key Groups submenu appears.
4.
From the Key Groups submenu, select the page you want to use.
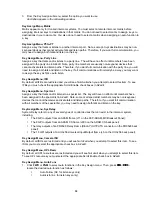
Tap Master appears in the call waiting window.
6.
Click the current master key.
All the LEDs next to the key will remain lit and “tap slaves” will appear in the call waiting window.
7.
Click all the keys where the LEDs are lit green.
This will turn all the LEDs off.
8.
Click CLR to exit.
The Key Group is cleared.
9.
Run Service, Save Cfg to store the key group setting.
Key Options, Solo
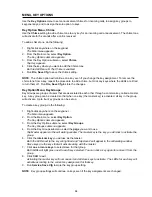
Use the Solo option to put current, active users on hold and talk to a single user. For example, you may be
in a Key Group and want to ask a question. You can use the solo option to put the key group on hold.
To use the solo option, do the following:
1.
Right-click anywhere on the keypanel.
The Main menu appears.
2.
From the main menu, select Key Option.
The Key Option submenu appears.
3.
From the Key Option submenu, select Solo.
Tap Key appears in the call waiting window.
4.
Click the intercom key you want to assign solo.
Both the LEDs next to the key will light red to confirm the assignment. Click the key again if you want
to remove the assignment.
5.
Click CLR to exit.
Activating the solo key will cause all other activated keys to turn off. The keys will turn back on when
you turn the solo key off.
6.
Run Service, Save Cfg to store the Solo setting.
NOTE: The Solo option will continue on a key even if you change the key assignment.
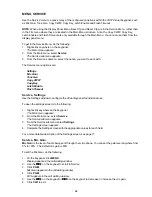
To remove the solo key option, do the following:
1.
Right-click anywhere on the keypanel.
The Main menu appears.
2.
From the main menu, select Key Option.
The Key Option submenu appears.
3.
From the Key Option submenu, select Solo.
Both LEDs next to the solo key will light.
6.
Click the solo key.
The solo key is cleared.
7.
Run Service, Save Cfg to store the Solo setting.
Summary of Contents for VOIP
Page 2: ...2 ...
Page 6: ...6 ...
Page 17: ...17 This page intentionally left blank ...
Page 18: ...18 This page intentionally left blank ...
Page 38: ......


