19
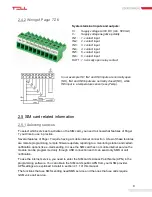
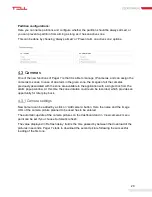
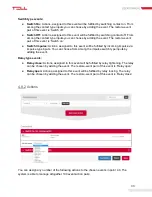
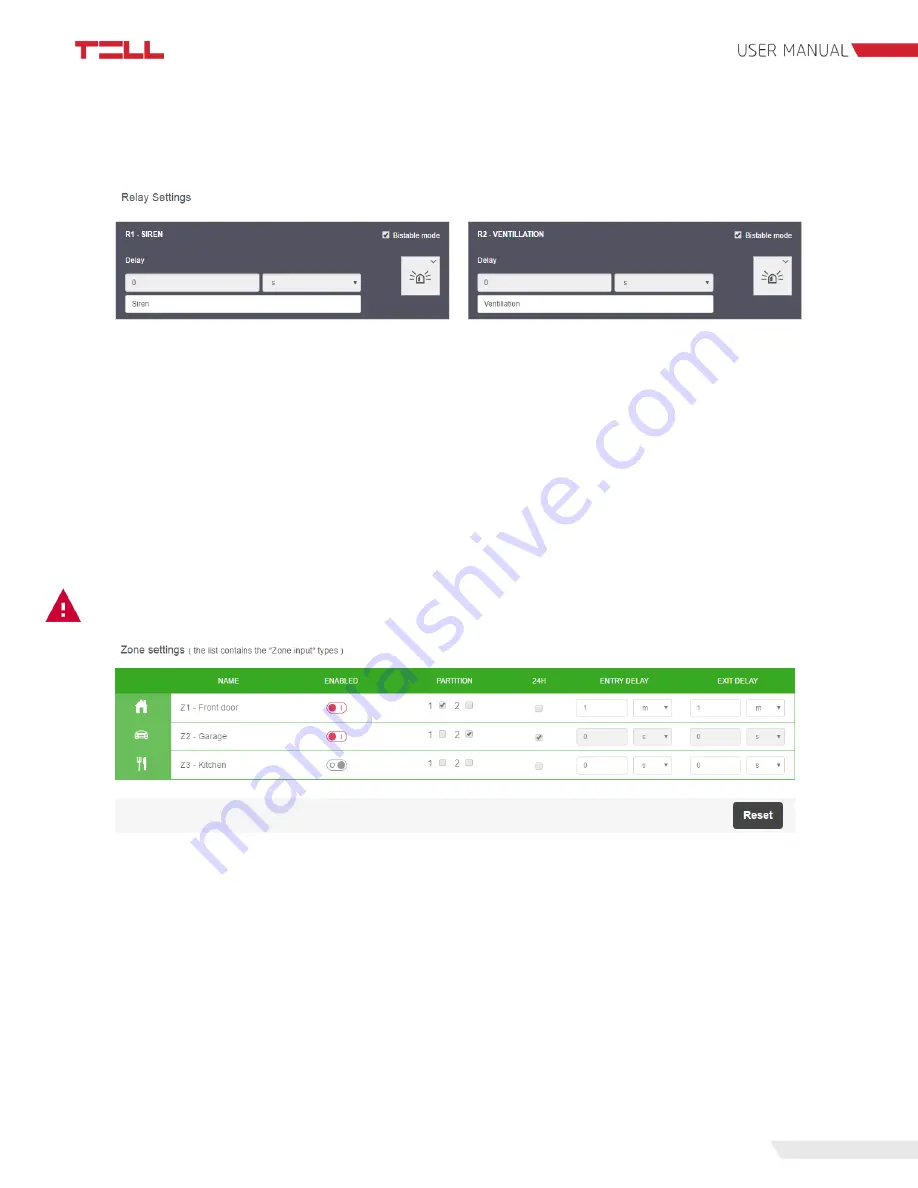
The output’s name and icon are also customizable. Right after the icon is selected, the wiring
diagram above shows the selected icon.
Changes can be saved with the "Save" button at the bottom of the page. To cancel the
changes, you have made since the last save click the "Reset" button.
Zone settings:
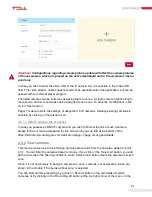
You can customize the inputs defined as zone in the 'Input settings' section and assign them to
partitions (a group of zones). To use a zone, you need to enable it first. A disabled zone doesn't
generate any events, so the signals coming from a zone can be blocked by disabling the zone.
For example, in case of a possible failure, false signals coming from the zone can be eliminated
by this setting.
Attention!
Zones need to be enabled in order to let the incoming contacts to generate
event operations!
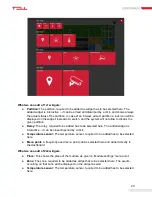
You can assign zones to partitions in the same field, as well as setting up entry and exit delay
times, and 24h zones.
A 24h zone, irrespectively of arming and disarming the partitions, will always be armed.
Under entry and exit delay times that period of time is meant, in which the system does not sign
zone alarm in case of zone detection. This might be needed during arming (entry delay) and
disarming (exit delay) of the system.
Modifications can be saved with help of the ’Save’ button at the bottom of the page. To reject
the modifications done since the last save click on the ’Reset’ button.

