Section 4 INSTALLATION & BASIC OPERATION
60
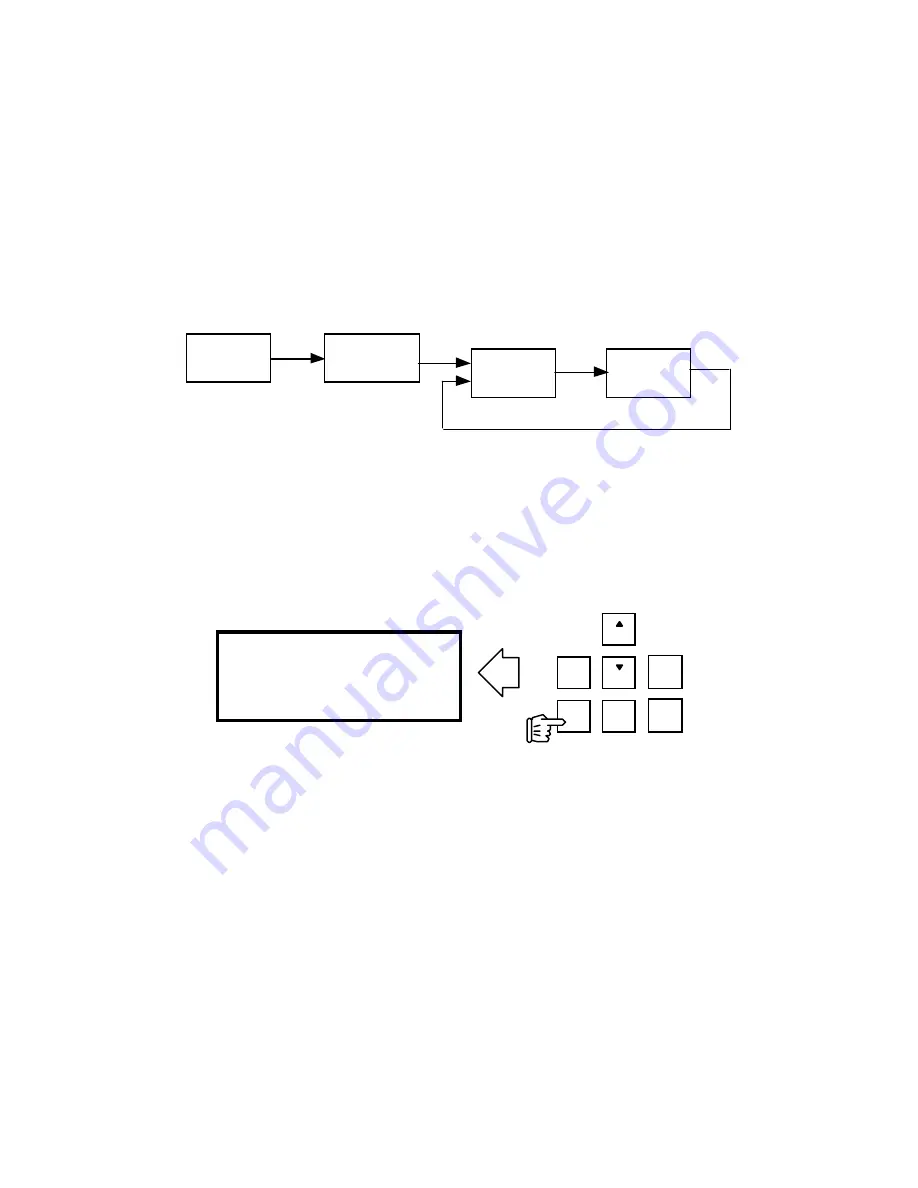
Pressing help repeatedly...
•
Displays help about the selected menu item
•
Displays status screen
•
Displays help about the status screen
•
Displays status screen etc.
As illustrated below:
Status
Screen
Status
Help
Menu
Screen
Help for
Menu Screen
<Help>
<Help>
<Help>
<Help>
Using The Menu System
Menu screens appear on the LCD when either the <
VOL
>, <
UTIL
>, <
DIAL
>,
<
AUTODIAL
>, or <
DROP
> buttons are pushed.
For instance, the <
VOL
> button causes the Volume screen to be displayed:
N O
-
SE L
YE S
+
V O L
SE L
UT IL
H EL P
Headphones [ 1 ]
Phone Speaker 0
Send +4 dBu
<+/-> change
In this menu, you can adjust the headphone volume, the small front panel “phone
speaker” volume, and the send audio level.
The settings in this screen are immediately affected by pressing the <NO - > and <YES
+> buttons.
When the screen first appears,
Headphones
is selected. This is indicated by the
brackets being at either side of the value
1
for headphone level. The <
SEL
> buttons
select the parameter to be changed, and the brackets move to surround the selected
value/mode. As you would expect, the movement happens in the direction of the arrow
on the button.
Let’s say we want to adjust the send level. Press the <
SEL
•> button twice to position
the brackets around the send value:
Summary of Contents for Zephyr
Page 13: ...Table of Contents 13 SECTION 1 QUICK RESULTS ...
Page 26: ...Section 2 INTRODUCTION 26 This page intentially left blank ...
Page 27: ...Section 2 INTRODUCTION 27 SECTION 2 INTRODUCTION ...
Page 38: ...Section 2 INTRODUCTION 38 This page intentionally left blank ...
Page 39: ...39 SECTION 3 ZEPHYR AT A GLANCE ...
Page 52: ...Section 4 INSTALLATION BASIC OPERATION 52 This page intentionally left blank ...
Page 53: ...Section 4 INSTALLATION BASIC OP 53 SECTION 4 INSTALLATION BASIC OPERATION ...
Page 84: ...Section 4 INSTALLATION BASIC OPERATION 84 ...
Page 85: ...Section 5 ISDN 85 SECTION 5 ISDN ...
Page 105: ...Section 6 NON ISDN NETWORKS 105 SECTION 7 AUDIO CODING ...
Page 118: ...Section 7 AUDIO CODING PRINCIPLES 118 This page intentionally left blank ...
Page 119: ...Section 8 DETAILED MENU REFERENCE 119 SECTION 8 DETAILED MENU REFERENCE ...
Page 157: ...Section 9 REMOTE CONTROL 157 SECTION 9 REMOTE CONTROL ...
Page 176: ...Section 9 REMOTE CONTROL 176 This page intentionally left blank ...
Page 177: ...Section 10 ADVANCED PROBLEM SOLVING 177 SECTION 10 ADVANCED PROBLEM SOLVING ...
Page 196: ...Section 10 ADVANCED PROBLEM SOLVING 196 This page intentionally left blank ...
Page 197: ...Section 11 TECHNICAL INFORMATION 197 SECTION 11 DETAILED TECHNICAL INFORMATION ...
Page 219: ...Section 12 SCHEMATICS 219 SECTION 12 SCHEMATICS ...
Page 221: ...Section 13 MANUFACTURER S DATA SHEETS 221 SECTION 13 MANUFACTURER S DATA SHEETS ...
Page 223: ...Section 14 SPECIFICATIONS WARRANTY 223 SECTION 14 SPECIFICATIONS AND WARRANTY ...
Page 228: ...228 This page intentionally left blank ...
Page 229: ...Section 15 APPENDICES 229 SECTION 15 APPENDICES ...


