3
!
!
14
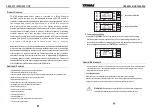
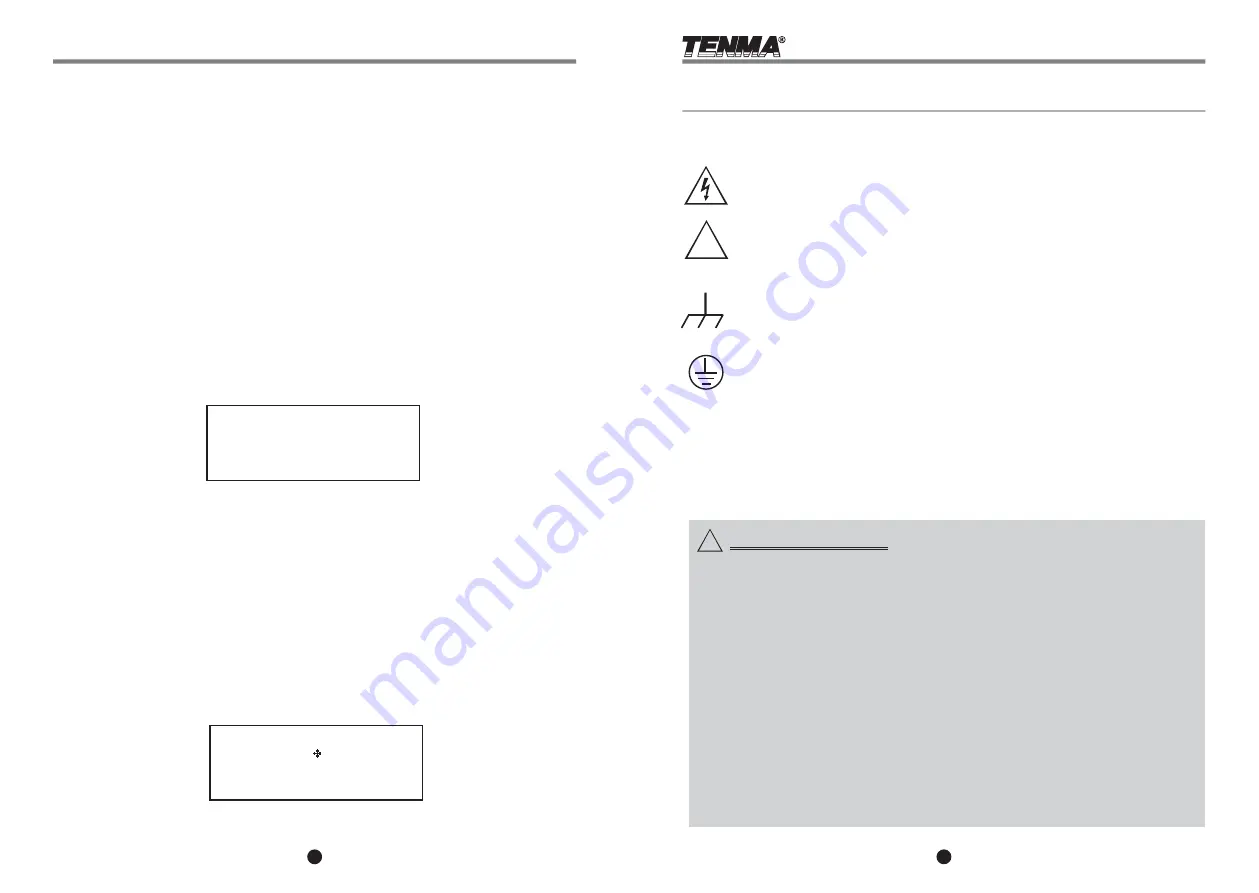
Safety Symbols
SAFETY SYMBOLS
WARNING:
Warning statements identify conditions or practices to avoid
electric shock that could cause personal injury or death.
CAUTION:
Caution statements identify conditions or practices that
could result in damage to this product or other property.
Ground;
Ground terminal
Frame or chassis ground terminal
1. Pressure, shock, abuse, and vibration should be avoided.
2. Do not dismantle, alter, or repair this unit yourself. This could easily damage
the unit, and could cause further property damage, injury, or electrical shock.
3. This unit was designed to be used with 110 volt power. Note the maximum power
and amperage settings, and fuse specifications for use with this product.
4. This unit uses three linear power supplies, and has been designed to ensure that the
machine casing and power are properly grounded when used with a grounded outlet.
5. Never use around high moisture areas, never submerge in water, and never use
with wet hands.
6. Range of operating temperature is 0°C~40°C (32
; do not use in
high temperature, high humidity, high radiation, and areas with magnetic interference.
°F ~ 104°F)
Safety Precautions
2. Adjustment And Calibration
2.1.1 Preparation
a. Power unit on and allow 30 minutes to warm up before calibration.
b. Ambient temperature: 23±5°C, Humidity: Less than RH80
%
.
c. Select a reliable six-and-a-half digital voltmeter with a current test
range more than 5A.
2.1.2 Output Calibration Steps:
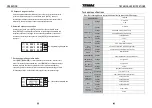
[Step 1]
Press
[SHIFT][4]
to display Password input window, input Password
(293856) by using the number keys, and the Calibration window will
appear. If an incorrect password is entered, the unit returns to the
home screen.
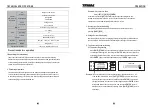
[Step 2]
Control the cursor by using the arrows assigned to the 8, 2, 4, 6 keys.
Set the cursor to the calibrated item of the corresponding channel, and
using a connected voltmeter for correct readings, use the rotary knob
to adjust parameters and regulate the voltage of the corresponding
channel to a 0V reading on the voltmeter. Press
[ENTER]
to store the
calibration data of the corresponding channel. Move the cursor down
to calibrate the other channels with the same procedure.
Tip: Use the F/C feature to switch between broad and precise incremental
control.
Password
******
Zero Correct
CH1Votage Current
CH2Votage Current
CH3Votage Current
H
GENERAL MAINTENANCE


