

EN
ENGLISH
10
BR2020/T (04–98)
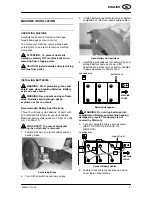
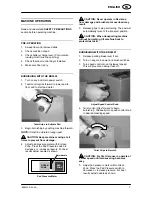
6.
Plug battery charger into machine’s charging
receptacle as shown. Flip up hood support
stand and rest hood on stand.
Charging Batteries
WARNING: Keep hood propped open
when charging batteries to promote
ventilation.
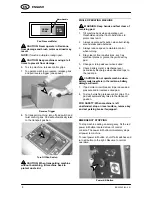
NOTE: Once the charger is connected to the
machine, machine becomes inoperable.
7.
Charger will automatically begin charging and
shut off when fully charged.
8.
When disconnecting charger, always unplug
charger from wall outlet first.
MAINTENANCE
WARNING: Before attempting any
maintenance procedures on machine; stop on
level surface, turn off key, set parking brake
and disconnect battery charger if charging
batteries.
WARNING: Before attempting any
machine repair; disconnect batteries. Repairs
must be performed by authorized personnel.
To keep machine in good working condition,
simply follow machines daily, weekly and monthly
maintenance procedures:
DAILY MAINTENANCE
1.
Remove burnishing pad and clean or replace.
2.
Empty or replace dust control bag.
3.
Clean machine housing with damp cloth.
4.
Recharge batteries.
ATTENTION: RECHARGE BATTERIES ONLY
AFTER A TOTAL OF 30 MINUTES OF USE OR
MORE. THIS WILL PROLONG BATTERY LIFE.
WEEKLY MAINTENANCE
1.
Check fluid level in battery cells.
2.
Clean battery tops of corrosion.
3.
Check for loose or corroded battery cables.
MONTHLY MAINTENANCE
1.
Lubricate caster with a water resistant grease.
2.
Lubricate wheel grease fittings with a water
resistant grease (BR2020 Model).
3.
Check machine for loose nuts and bolts.
4.
Check condition of dust skirt, replace if worn.
EVERY 250 HOURS OF OPERATION
Check motor(s) for carbon brush wear, replace
brushes if worn to a length of 3/8” (1cm) or less.
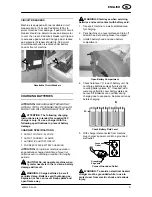
BATTERY MAINTENANCE
WARNING: Keep sparks and open flame
away. Batteries emit hydrogen gas, explosion
or fire can result.
WARNING: Shield eyes when servicing
batteries. Avoid contact with battery acid and
keep all metal objects off batteries.
1.
Always follow proper charging instructions.
(See CHARGING BATTERIES)
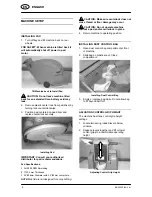
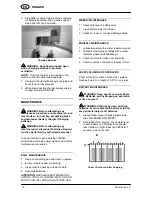
2.
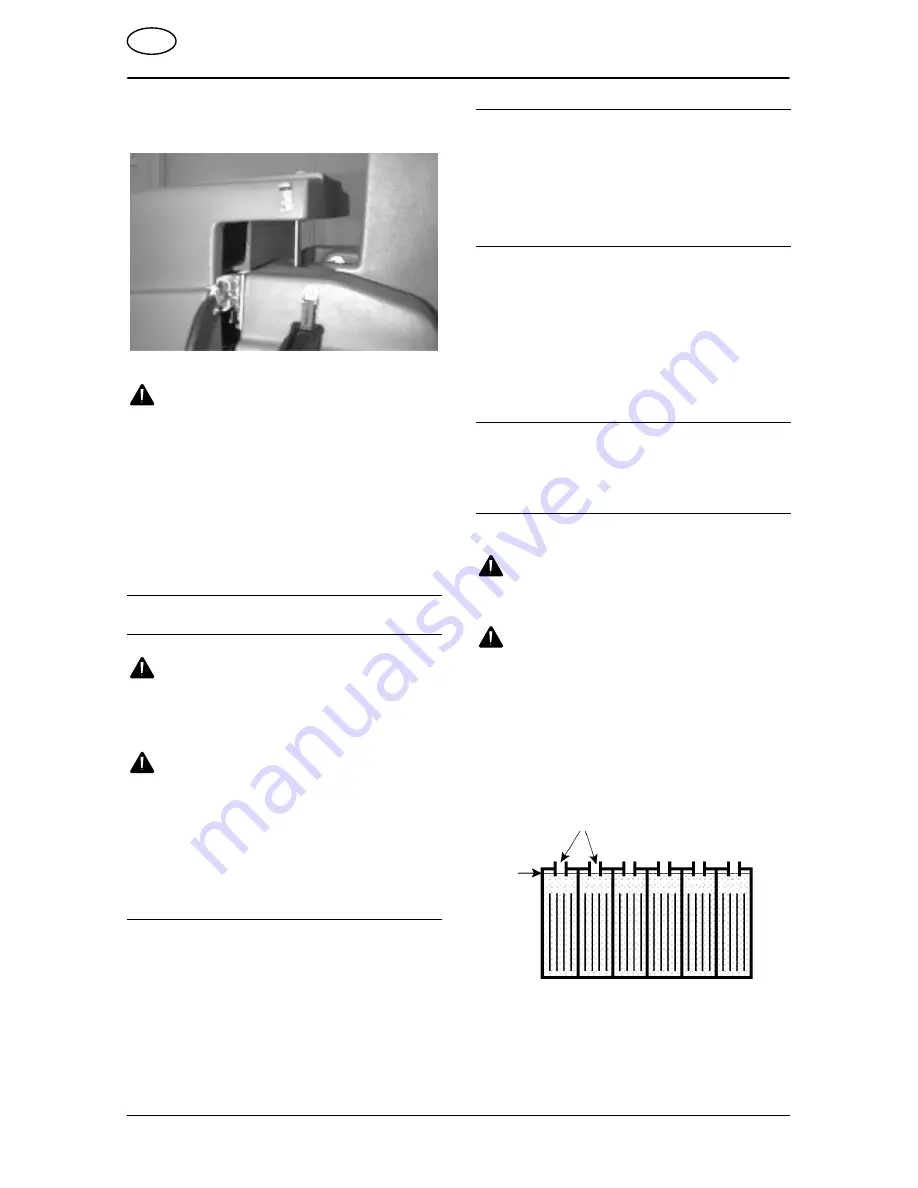
Each week after charging, check water level
in each battery cell. Fluid level (A) should
reach bottom of sight tubes (B). Add fluid if
necessary, do not overfill.
A
B
Correct Fluid Level After Charging


