EN
ENGLISH
6
BR2020/T (04–98)
MACHINE SETUP
INSTALLING PAD
1.
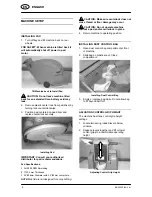
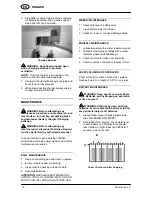
Turn off key and tilt machine back on rear
wheels.
FOR SAFETY: When machine is tilted back it
will automatically shut off power to pad
motor.
Tilt Machine back to Install Pad
CAUTION: Do not leave machine tilted
back for an extended time, battery acid may
leak.
2.
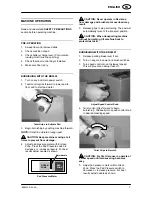
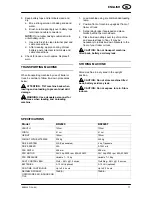
Remove plastic center lock from pad driver by
turning lock counterclockwise.
3.
Position pad centered on pad driver and
replace centerlock securely.
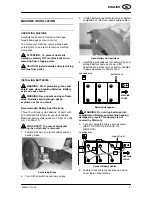
Installing Pad
IMPORTANT: Consult your authorized
distributor for pad recommendations.
Pad Specifications:
For 2000 RPM Burnishing.
1”/25,4 mm Thickness
20”/508mm Diameter with 3.5”/89mm center hole.
NOTE:
Machine is not designed for spray buffing.
CAUTION: Make sure centerlock does not
cross thread or floor damage may occur.
CAUTION: Do not operate machine
without a pad and/or centerlock in place.
4.
Return machine to operating position.
INSTALLING DUST CONTROL BAG
1.
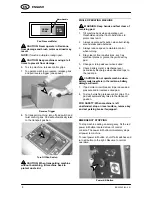
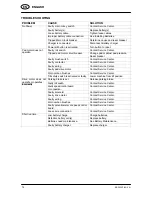
Open dust control bag compartment at front
of machine.
2.
Slide bag on plastic snout. Close
compartment.
Installing Dust Control Bag
3.
Empty or replace bag daily. Do not allow bag
to fill beyond half full.
ADJUSTING CONTROL GRIP HEIGHT
The machine has three control grip height
settings.
1.
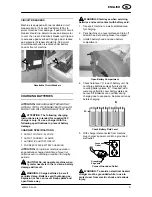
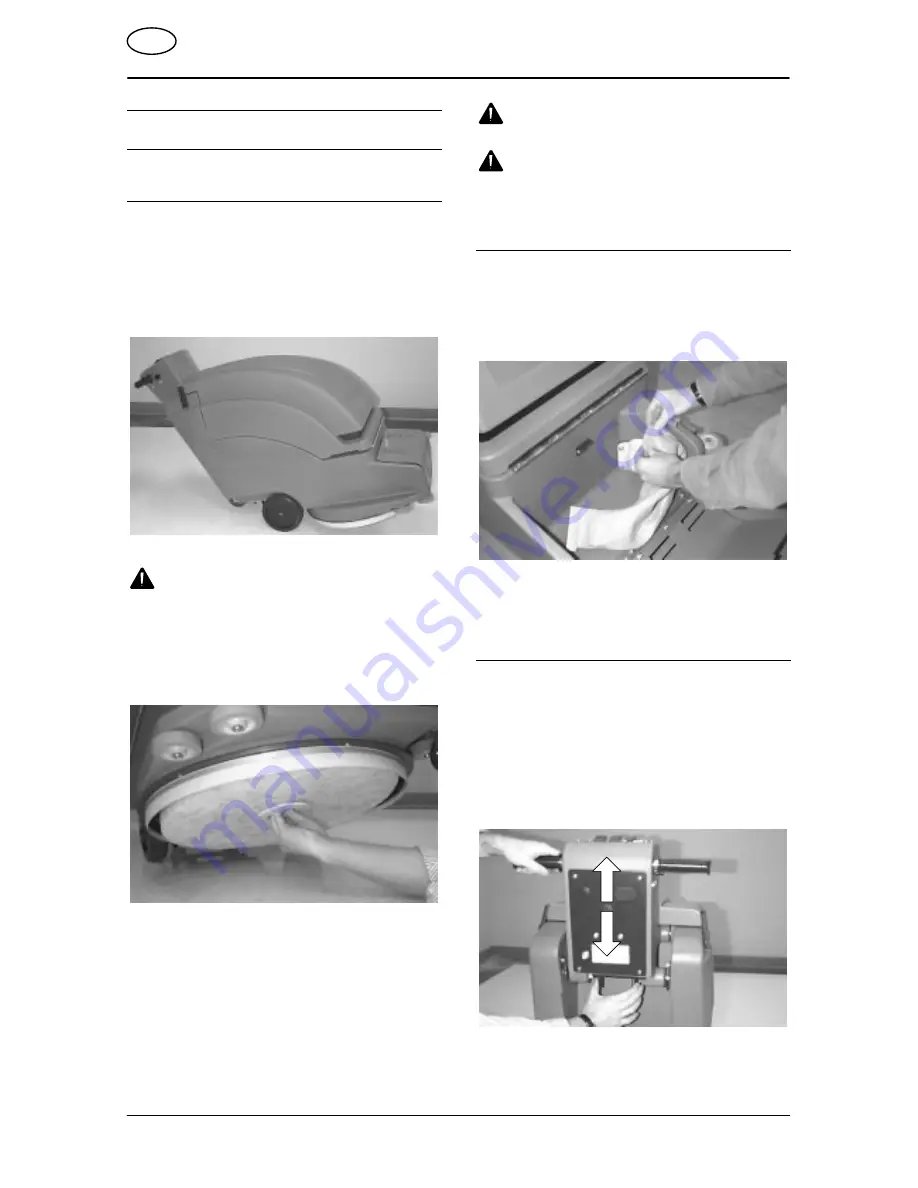
Locate two spring loaded levers below
console.
2.
Squeeze levers together and lift or lower
control grips to a comfortable operating
height.
Adjusting Control Grip Height


