HYDRAULICS
5--19
6100 G/LP 330235 (9--00)
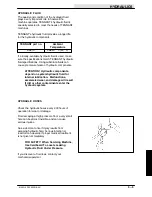
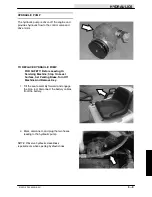
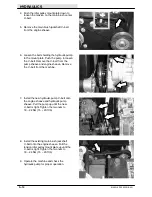
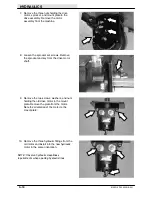
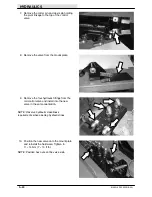
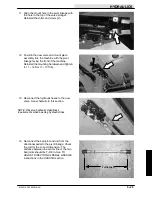
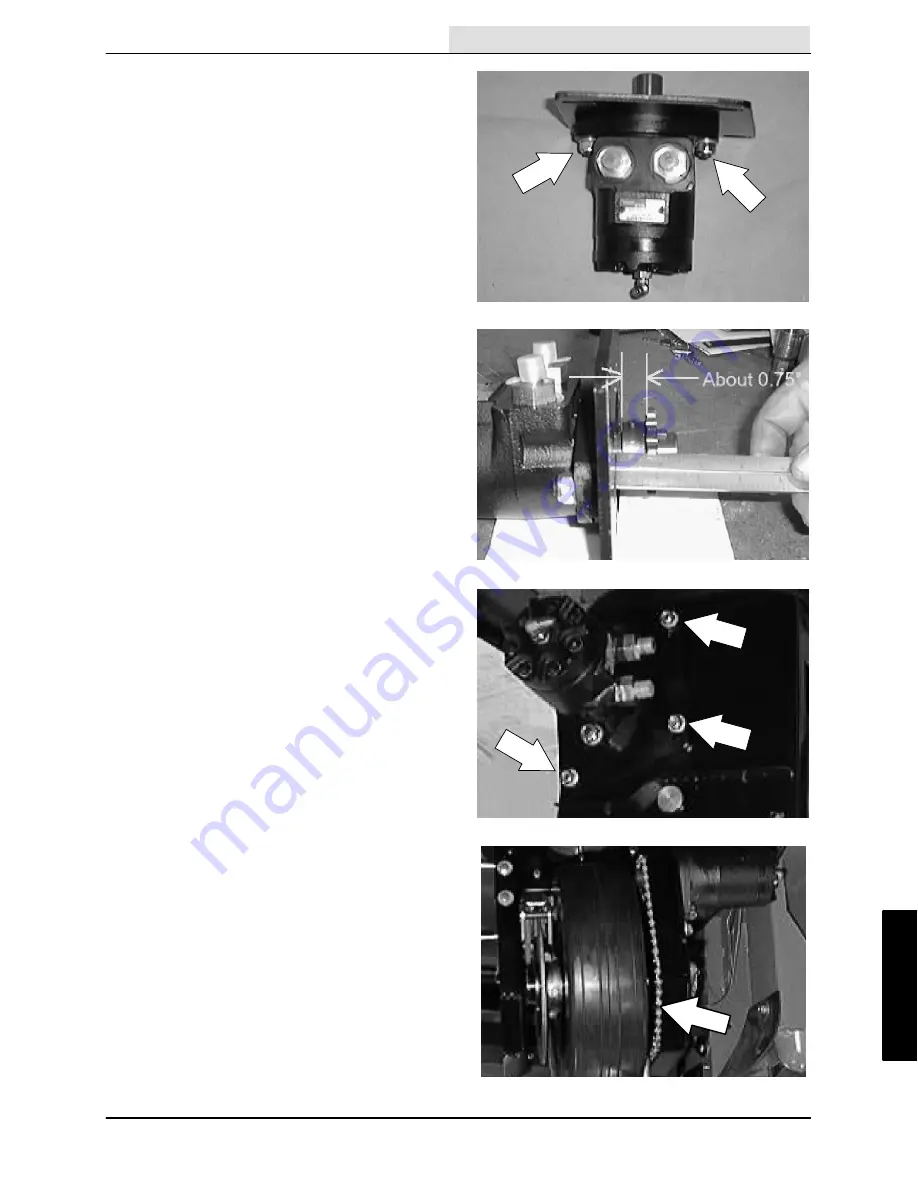
11. Position the new motor and fittings onto the
existing motor mount plate.
Note the
orientation of the motor to the mount plate.
Install the two flat screws, sleeves, washers,
and nuts. Tighten to 37 -- 48 Nm
(26 -- 34 ft lb).
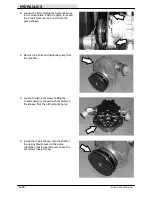
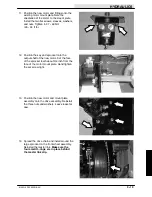
12. Position the key and sprocket onto the
output shaft of the new motor. Set the face
of the sprocket teeth about 3/4 inch from the
face of the motor mount plate. Hand tighten
the set screw tight.
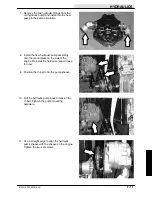
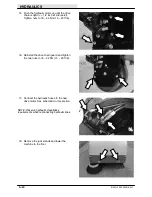
13. Position the new motor and mount plate
assembly onto the drive assembly. Reinstall
the three nuts and washers.
Leave loose for
now.
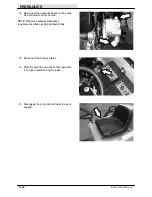
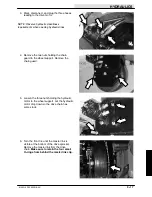
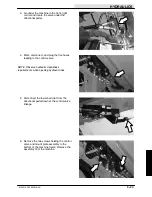
14. Spread the drive chain and install around the
large sprocket on the front wheel assembly.
Reinstall the master link.
Make sure the
four small O--rings are in place behind
the master link clip.
Summary of Contents for 6100 G/LP
Page 1: ...330235 Rev 02 9 01 Service Manual 6100 G LP ...
Page 4: ...GENERAL INFORMATION 1 2 6100 G LP 330235 9 01 ...
Page 18: ...CHASSIS 2 2 6100 G LP 330235 9 00 ...
Page 27: ...CHASSIS 2 11 6100 G LP 330235 9 00 7 Remove the hub assembly from the tire assembly ...
Page 72: ...CHASSIS 2 56 6100 G LP 330235 9 00 ...
Page 74: ...SWEEPING 3 2 6100 G LP 330235 9 00 ...
Page 152: ...ELECTRICAL 4 2 6100 G LP 330235 9 00 ...
Page 175: ...ELECTRICAL 4 25 6100 G LP 330235 9 01 ...
Page 176: ...ELECTRICAL 4 26 6100 G LP 330235 9 01 ELECTRICAL SCHEMATIC GAS 1 2 3 4 ...
Page 177: ...ELECTRICAL 4 27 6100 G LP 330235 9 01 ELECTRICAL SCHEMATIC GAS 1 2 3 4 ...
Page 178: ...ELECTRICAL 4 28 6100 G LP 330235 9 01 ELECTRICAL SCHEMATIC LP 1 2 3 4 ...
Page 179: ...ELECTRICAL 4 29 6100 G LP 330235 9 01 ELECTRICAL SCHEMATIC LP 1 2 3 4 ...
Page 180: ...ELECTRICAL 4 30 6100 G LP 330235 9 01 WIRE DIAGRAM GAS LP ...
Page 181: ...ELECTRICAL 4 31 6100 G LP 330235 9 01 WIRE DIAGRAM GAS LP ...
Page 182: ...ELECTRICAL 4 32 6100 G LP 330235 9 01 ...
Page 190: ...ELECTRICAL 4 40 6100 G LP 330235 9 00 ...
Page 192: ...HYDRAULICS 5 2 6100 G LP 330235 9 00 ...
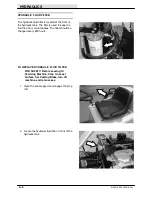
Page 198: ...HYDRAULICS 5 8 6100 G LP 330235 9 00 9 Disengage the prop rod and close the seat support ...
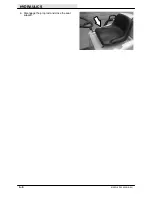
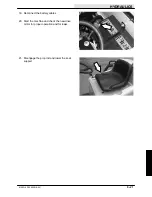
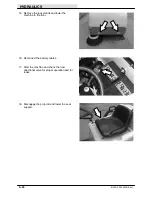
Page 205: ...HYDRAULICS 5 15 6100 G LP 330235 9 00 10 Disengage the seat rod and close the seat assembly ...
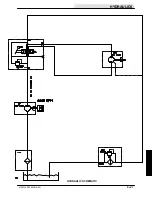
Page 217: ...HYDRAULICS 5 27 6100 G LP 330235 9 00 HYDRAULIC SCHEMATIC ...
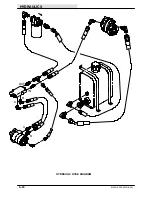
Page 218: ...HYDRAULICS 5 28 6100 G LP 330235 9 00 OUT IN B A B A HYDRAULIC HOSE DIAGRAM ...
Page 220: ...HYDRAULICS 5 30 6100 G LP 330235 9 00 ...
Page 221: ......
Page 222: ......
Page 223: ......
Page 224: ......
Page 225: ......
Page 226: ......
Page 227: ......
Page 228: ......
Page 229: ......
Page 230: ......
Page 231: ......
Page 232: ......
Page 233: ......
Page 234: ......
Page 235: ......
Page 236: ......
Page 237: ......
Page 238: ......
Page 239: ......
Page 240: ......
Page 241: ......
Page 242: ......
Page 243: ......
Page 244: ......
Page 245: ......
Page 246: ......
Page 247: ......
Page 248: ......
Page 249: ......
Page 250: ......
Page 252: ...ENGINE GAS LP 6 2 6100 G LP 330235 9 00 ...

