PLDC04453
REVISION 00
December 23, 2020
TECHNICAL OFFICE
Stavale
1
Move the machine to the tank draining area, and completely empty the solution tank.
2
Move the machine onto flat and dry flooring.
3
Press the emergency switch (Traction) or switches into position "0" (Pad Assist).
4
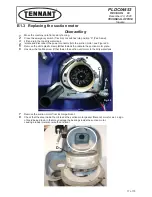
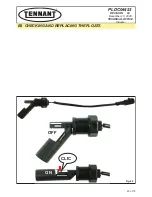
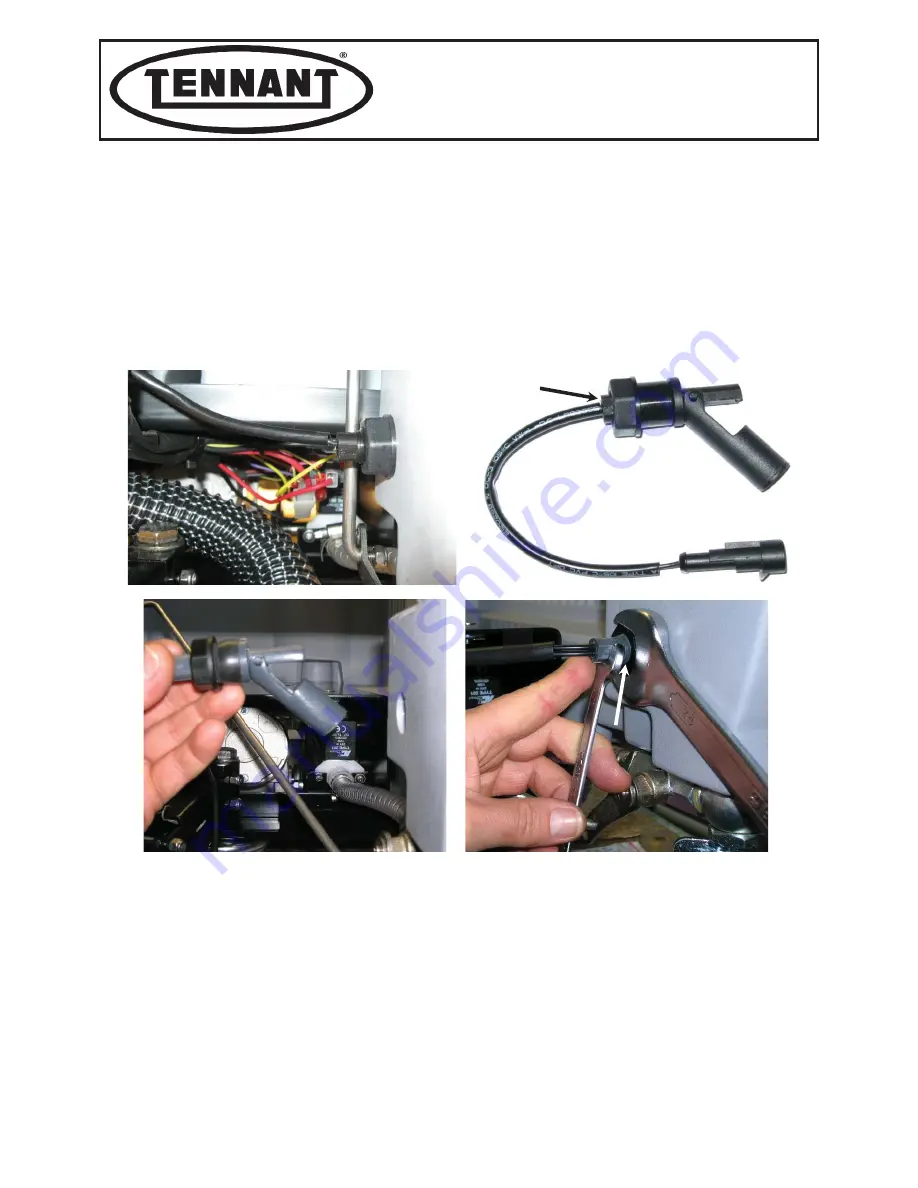
Identify the point where the float is fitted, see paragraph B 3.1.
5
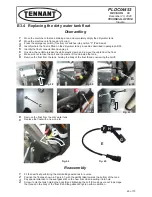
Unplug the connector
A
so as to allow replacement.
6
Cut the plastic clamp that holds the float cable to the main wiring.
7
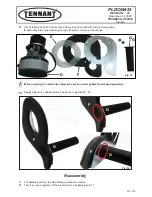
Remove the float from the tank, holding the body of the float
B
and unscrewing the bolt
C
.
8
Remove the float from the solution tank.
9
Replace the float with a new one
D
.
1
Fit the new float performing the dismantling operations in reverse
2
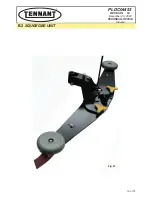
Pay special attention to the position of the float in the tank, see Figure 45.
3
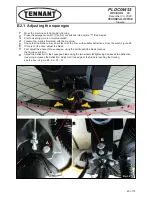
Pay special attention to the seal gasket
E
on the new float.
4
Tighten the float to the tank holding the body
B
and tightening the bolt
C
, making sure
not to damage the thread on the body of the float
B
and the gasket
E
.
5
Use a 10 mm / 0,39 in (13/32) spanner to hold the body of the float and a 24 mm / 0,94 in (61/64) spanner
to tighten the plastic nut, with moderate force.
B3.2 Replacing the solution tank float
Dismantling
Reassembly
Fig. 49
D
E
B
B
C
C
Fig. 52
Fig. 51
Fig. 50
A
27 of 73

