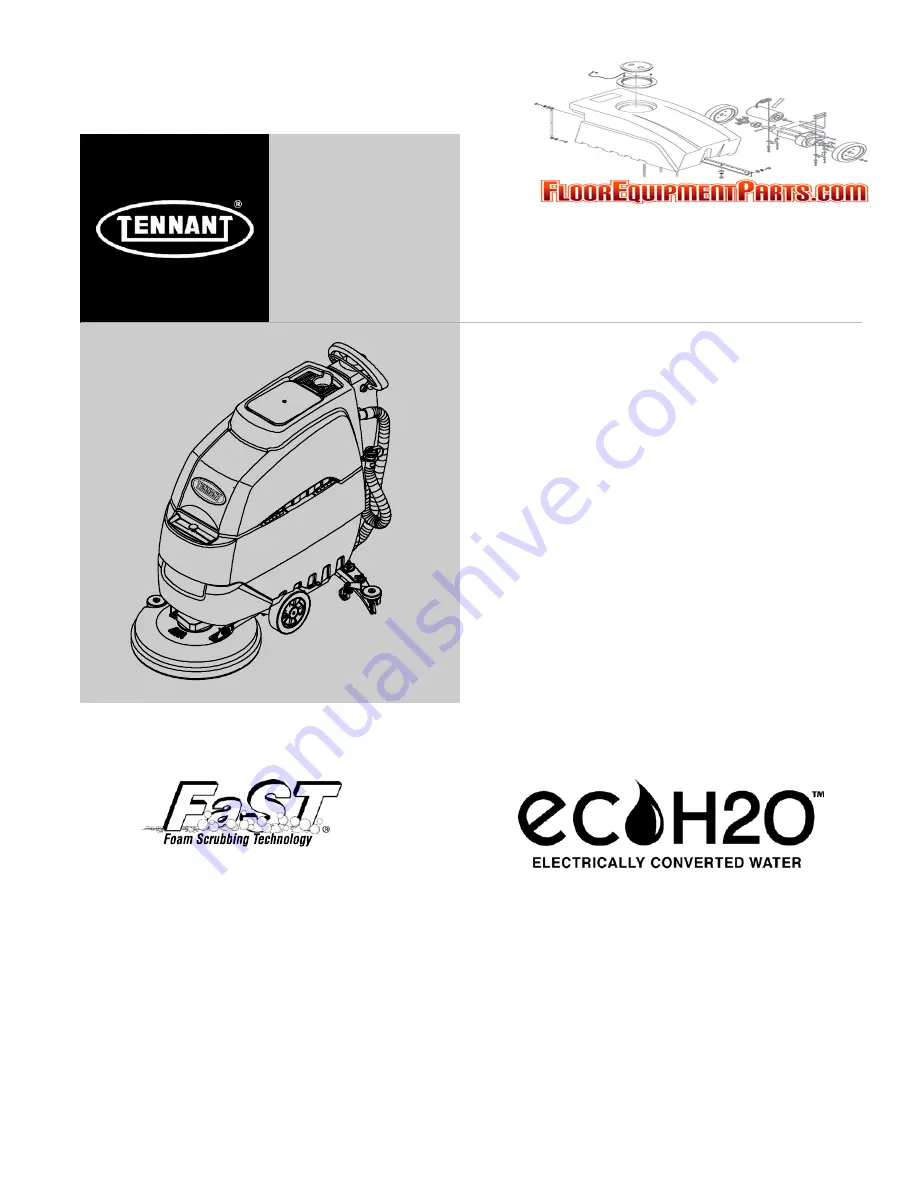
background image

ENGLISH

T3e

Operator Manual

1033579

Rev. 03 (11-2008)

www.tennantco.com

Automatic Scrubber

*1033579*

International

The Safe Scrubbing Alternative

r

Summary of Contents for T3e

Page 1: ...ENGLISH T3e Operator Manual 1033579 Rev 03 11 2008 www tennantco com Automatic Scrubber 1033579 International The Safe Scrubbing Alternativer...

Page 2: ...regularly per the machine maintenance instructions provided S The machine is maintained with manufacturer supplied or equivalent parts PROTECT THE ENVIRONMENT Please dispose of packaging materials ol...

Page 3: ...UIT BREAKER FUSES 14 HOUR METER 14 DRAINING TANKS 15 DRAINING RECOVERY TANK 15 DRAINING SOLUTION TANK 15 CHARGING BATTERIES 15 BATTERY CHARGER SPECIFICATIONS 16 USING THE ON BOARD BATTERY CHARGER 16 O...

Page 4: ...Charge Batteries with Damaged Power Supply Cord Do Not Modify Plug If the charger supply cord is damaged or broken it must be replaced by the manufacturer or its service agent or a similarly qualifie...

Page 5: ...e machine Set parking brake if equipped SAFETY LABELS The safety labels appear on the machine in the locations indicated Replace labels if they are missing or become damaged or illegible SPINNING BRUS...

Page 6: ...witch ec H2O Model 11 Brush Motor Circuit Breaker Button 12 Battery Charge Receptacle 13 Hose Fill Port 14 Solution Tank Sight Gauge Drain Hose 15 Down Pressure Lever 16 Scrub Head Lift Pedal 17 Squee...

Page 7: ...t With assistance carefully lift the machine off the pallet ATTENTION Do not roll machine off pallet unless a ramp is used machine damage may occur ATTENTION To prevent possible machine damage install...

Page 8: ...nto a blended acidic and alkaline solution forming a neutral pH cleaner The converted water attacks the dirt breaks it into smaller particles and pulls it off the floor surface allowing the machine to...

Page 9: ...m hose to the squeegee assembly Loop the hose as shown using the hose clip provided Figure 5 FIG 5 5 Check the squeegee blades for proper adjustment See SQUEEGEE BLADE ADJUSTMENT on page 22 INSTALLING...

Page 10: ...G 10 INSTALLING FaST PAK CARTON FaST Model ATTENTION The FaST PAK Concentrate Formula is specifically designed for the FaST system NEVER use a substitute machine damage may result 1 Remove the perfora...

Page 11: ...or Explosion Hazard Never Use Flammable Liquids FOR SAFETY When using machine follow mixing and handling instructions on chemical containers MACHINE OPERATION FOR SAFETY Do not operate machine unless...

Page 12: ...dal as shown Figure 18 FIG 18 6 Pull the activation bail towards you to start scrubbing Figure 19 The drive model will automatically propel forward To reverse the drive model simply push the activatio...

Page 13: ...ars ATTENTION Do not allow foam to enter the float shut off screen vacuum motor damage will result Foam will not activate the float shut off screen 6 For heavily soiled areas use the double scrubbing...

Page 14: ...ODEL When the discharge level reaches the last yellow light Figure 26 the light will begin to flash stop scrubbing and recharge the batteries If the red light appears the scrubbing function will shut...

Page 15: ...ated in the recovery tank Figure 31 FIG 31 DRAINING SOLUTION TANK To drain any remaining water from the solution tank pull the solution tank level hose off the hose fitting Figure 32 FIG 32 CHARGING B...

Page 16: ...remove the Charger Profile Selection panel and position the switch towards the proper setting GEL or Flooded Figure 34 Charger Profile Switch FIG 34 1 Transport the machine to a well ventilated area...

Page 17: ...ED s blink once repeatedly Loose charger cable connection Check charger cable connection Loose or damaged battery cable Check battery cable connections Defective Battery Replace battery 3 LED s blink...

Page 18: ...s AC power supply cord to a properly grounded receptacle 6 Connect the charger s DC cord into the machine s battery receptacle at the rear of the machine Figure 38 NOTE The machine will not operate o...

Page 19: ...squeegee assembly in the raised position to prevent blade damage FIG 43 6 Check the condition of the squeegee blade wiping edge Figure 44 Rotate blade if worn See SQUEEGEE BLADE REPLACEMENT on page 23...

Page 20: ...ank is empty before removing filter FIG 49 2 Clean the battery tops to prevent corrosion See BATTERY MAINTENANCE on page 23 3 Check for loose battery cable connections 4 Inspect and clean the recovery...

Page 21: ...G 53 ec H2O MODULE FLUSH PROCEDURE This procedure is only required when an alarm sounds and the ec H2O system indicator light begins to blink red 1 Drain the solution tank and recovery tank of all wat...

Page 22: ...ply rotate the blades end for end or top to bottom for a new wiping edge Replace blade if all four edges are worn 1 Remove the squeegee assembly from the machine 2 Loosen the band clamp and remove the...

Page 23: ...g tighten the top nut and replace the plastic bearing cover Repeat step for the other caster 2 mm FIG 59 3 During machine operation with the casters properly adjusted the squeegee blades should deflec...

Page 24: ...rain store indoors 5 If storing machine in freezing temperatures follow the FREEZE PROTECTION instructions below FREEZE PROTECTION 1 Drain the solution tank and recovery tank of all water 2 Empty the...

Page 25: ...ss the module switch again to stop the flush cycle Dispose the antifreeze in an environmentally safe way according to local waste disposal regulations 5 The machine is now ready for scrubbing FaST Mod...

Page 26: ...connect the supply hose to the storage plug Figure 69 FIG 69 7 To drain the antifreeze from the FaST supply hose repeat steps 1 and 2 Dispose of the antifreeze in an environmentally safe way accordin...

Page 27: ...not propel Drive model Main fuse blown Replace 30 Amp fuse Faulty relay switch Contact Service Center Faulty transaxle motor or wiring Contact Service Center Worn motor carbon brushes Contact Service...

Page 28: ...e Remove clogged debris Damaged vacuum hose Replace vacuum hose Recovery tank cover not in place Properly position cover Damaged recovery tank cover seal Replace seal Faulty vacuum motor Contact Servi...

Page 29: ...Two Battery charge level getting low Recharge batteries Three Drive motor tripped Remove overload condition and reset key Short circuit to drive motor Contact Service Center Four Battery lockout Recha...

Page 30: ...mm 763 mm BRUSH MOTOR 746 kW 200 rpm 24 V 42 A VACUUM MOTOR 373 kW 300 W 2 stage 5 7 24 V 13 A WATER LIFT AIR FLOW 1 016 mm 1 84 L3 m BATTERIES Qty 2 12 V Qty 2 12 V Qty 2 12 V BATTERY CAPACITY 105 A...

Page 31: ...O WATER DILUTION RATIO 1 1000 ec H2O SYSTEM MODEL 43 cm Brush Assist 50 cm Brush Assist 50 cm w Drive PRODUCTIVITY RATE Estimated Actual 1 045 m2 h 1 255 m2 h 1 990 m2 h SOLUTION PUMP 24 Volt DC 3 5 A...

Reviews: