April 2019
40 GTH-5519 Part No.
57.0009.0619GT
Fourth Edition - Third Printing
Operating Instructions
Quick Attach Instructions
Version with mechanical locking
1 Drive to the place where you will release the
mounted attachment (when possible, a solid
and sheltered site).
2 Disconnect the quick connectors of the attachment
(if any).
3 Pull out the mechanical pin locking the attachment
after removing the safety split-pin at its end.
4 Rest the attachment flat on the ground.
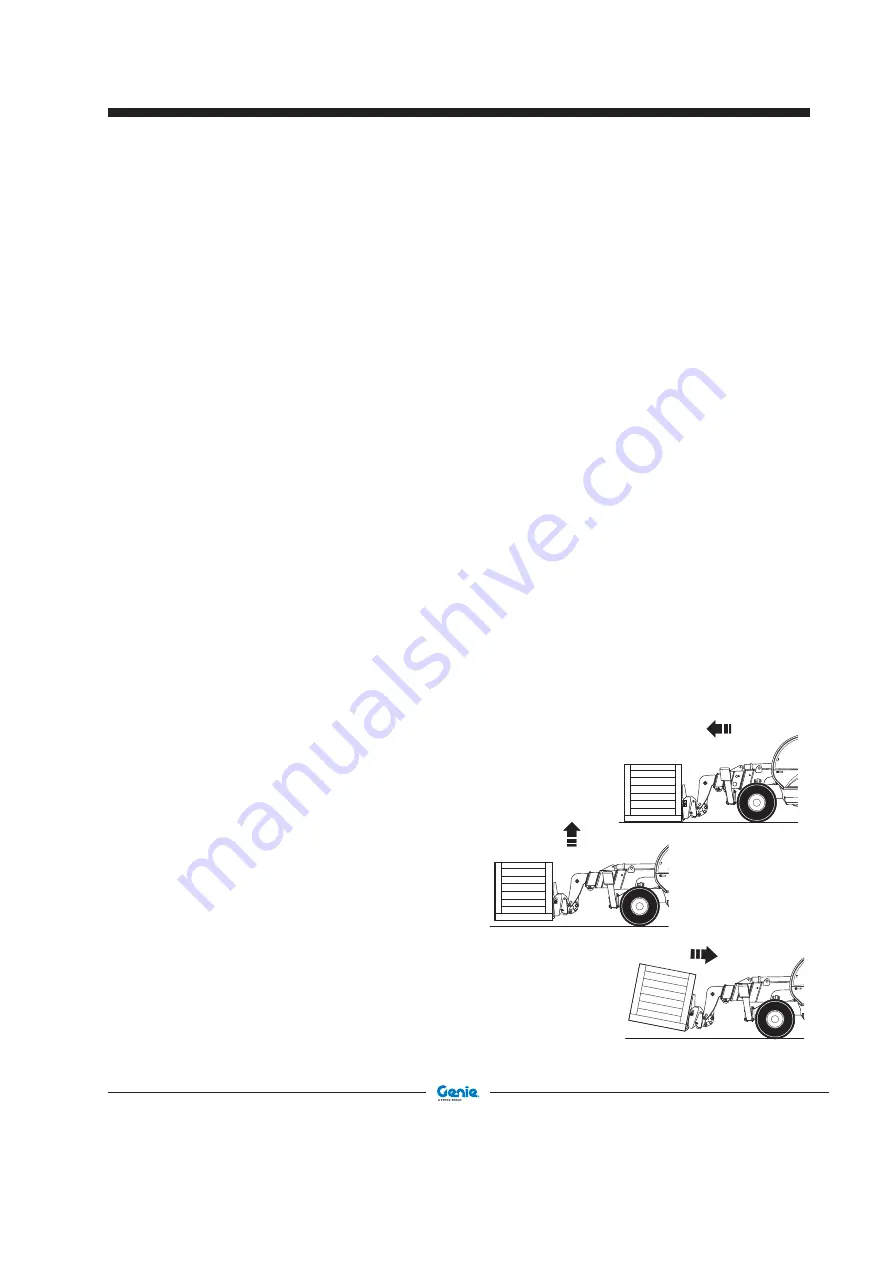
5 Pitch the attachment holding frame forward and
lower the boom to release the attachment upper
lock.
6 Move back with the machine and drive to the new
attachment to be coupled.
7 Hold the frame pitched forward and hook the
upper lock of the new attachment.
8 Retract and raise the attachment a small
distance. It will center automatically on the quick
coupling frame.
9 Refit mechanical locking pin fixing it with its safety
split-pin.
10 Re-couple the connectors of the attachment (if
any).
Version with hydraulic locking
(optional)
1. Drive to the place where you will release the
mounted attachment (when possible, a solid
and sheltered site).
2. Disconnect the quick connectors of the attachment
(if any).
3. Rest the attachment flat on the ground.
4. Press the Lock/Unlock Enabling Switch and keep
it pressed up to the end of Step 5.
5. Free the attachment using the control lever.
6. Pitch the attachment holding frame forward and
lower the boom to release the attachment upper
lock.
7. Move back with the machine and drive to the new
attachment to be coupled.
8. Hold the frame pitched forward and hook the
upper lock of the new attachment.
9. Retract and raise the attachment a small distance.
It will center automatically on the quick coupling
frame.
10. Coupling the attachment using the control lever
together with the dashboard Lock/Unlock
Enabling Switch.
11. Re-couple the connectors of the attachment (if
any).

