Operator's Manual
Second Edition • First Printing
Inspections
28 QS
™
-R12 • QS
™
-R15 • QS
™
-R20
Part No. 1297730GT
Test Drive and Braking
45
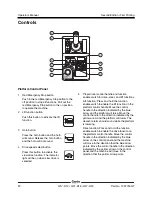
Press the drive function button.
46
Press and hold the function enable switch on
the control handle.
47
Slowly move the control handle in the direction
indicated by the blue arrow on the control
panel until the machine begins to move, then
return the control handle to the center position.
Result: The machine should move in the
direction that the blue arrow points on the
control panel, then come to an abrupt stop
when the control handle is returned to the
center position.
48
Slowly move the control handle in the direction
indicated by the yellow arrow on the control
panel until the machine begins to move, then
return the control handle to the center position.
Result: The machine should move in the
direction that the yellow arrow points on the
control panel, then come to an abrupt stop
when the control handle is returned to the
center position.
Note: The brakes must be able to hold the
machine on any slope it is able to climb.
Test Drive Tilt Cutout
Note: Perform this test from the ground with the
platform controller. Do not stand in the platform.
49
Fully lower the platform.
50
Drive the machine onto a slope where the
chassis angle is greater than 1.5° side to side.
51
Raise the platform to approximately
7 ft/2.13 m.
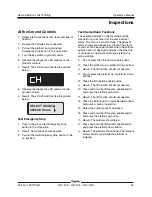
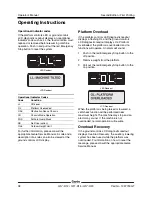
Result: The platform should stop and the tilt
alarm will sound at 180 beeps per minute. The
platform controls LED readout should display
LL and the ground controls LCD should display
LL: Machine Tilted.
52
Press the drive function button.
53
Press and hold the function enable switch on
the control handle.
54
Move the control handle in the direction
indicated by the blue arrow, then move the
control handle in the direction indicated by the
yellow arrow.
Result: The drive function should not work in
either direction.
55
Fully lower the platform.
56
Drive the machine.
Result: The machine should drive.
Summary of Contents for Genie QS-12R
Page 57: ......


