background image

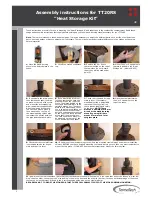
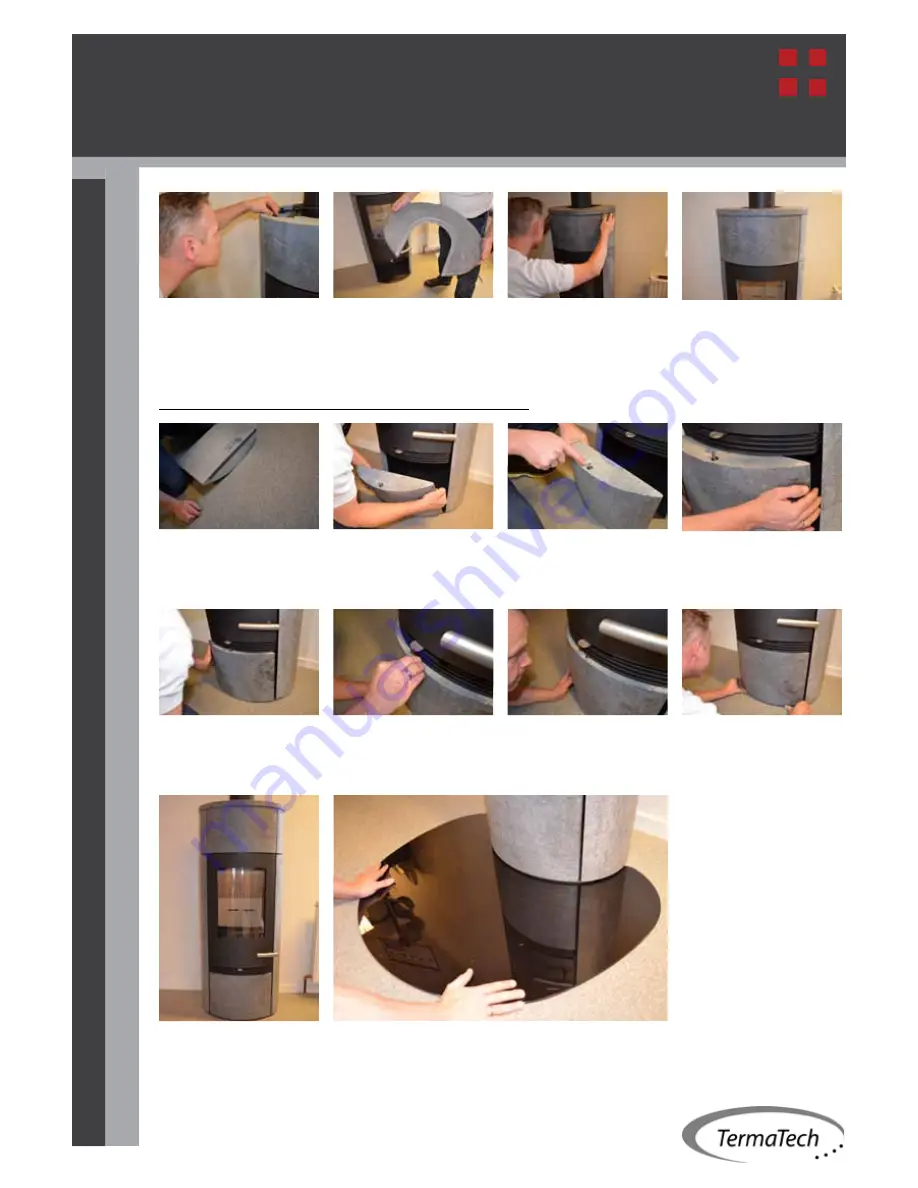
21: 

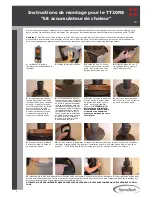
Mount the 4-5 nuts on the 

locking brackets. Screw them 

down as far as possible so that 

the top soapstone lies down 

against the soapstone and is 

level.

22:

 Mount the top soapstone.

23:

 Mount the 2 accompanying 

gaskets on the bottom of the 

soapstone. First clean the stone 

where the gasket is to be adhe-

red to. Remove the plastic plug 

in the bottom of the stove.

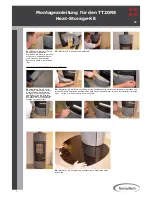
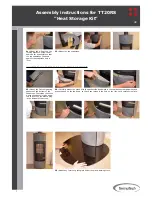
24:

 Carefully mount the stone with the gasket side downward in the combustion compartment and 

press the peg on the top down, so that it can fasten in the hole on the ribs, set it carefully in place.

MOUNTING THE SOAPSTONE IN THE COMBUSTION COMPARTMENT

25:

 Mount any form cut glass plate under the wood-burning stove.

UK

Assembly instructions for TT20RS 

”Heat Storage Kit”

7

Summary of Contents for TT20RS

Page 1: ...r dem Ofen sein falls eine zugeschnit tene TermaTech Glasplatte montiert werden soll 8 Legen Sie die Stahlplattform auf die 4 oder 5 Spezialmuttern oben am Ofen 9 berpr fen Sie dass die Stahlplattform...

Page 2: ...sie Vertikal mit einander passen 16a Lockern Sie immer einen Seitenstein einzeln und richten Sie diesen so dass er auf einer Linie mit dem oberen Stein ist ziehen Sie hierauf die Seitensteine wieder f...

Page 3: ...den Stein berall dort wo die Dichtun gen festgeklebt werden sollen Entfernen Sie den Kunststoff stopfen unten am Ofen 24 Montieren Sie den Stein vorsichtig mit der Dichtungsseite nach unten zeigend i...

Page 4: ...kaminen till br nnbart material b 288mm Bild 4 350 mm vid sidan av kaminen till br nnbart material Bild 4 100 mm vid h rnplacering 45 a 457mm b 323mm Bild 3 1000 mm framf r kaminen till br nnbart mat...

Page 5: ...a minimum of 8 mm air under the wood burning stove if you would like to mount a TermaTech form cut glass plate 8 Place the steel platform on the 4 or 5 special nuts on the top of the stove 9 Check th...

Page 6: ...hall now be adju sted so that they are in plumb 16a Loosen the side stones one at a time and adjust them in so that they are level with the top stone then tighten the side stone again 18 Mount the sto...

Page 7: ...stone where the gasket is to be adhe red to Remove the plastic plug in the bottom of the stove 24 Carefully mount the stone with the gasket side downward in the combustion compartment and press the p...

Page 8: ...nnbart material Bild 1 Bild 2 Isolerad R kr r 100 mm bakom kaminen till br nnbart material b 288mm Bild 4 350 mm vid sidan av kaminen till br nnbart material Bild 4 100 mm vid h rnplacering 45 a 457m...

Page 9: ...ace la plaque d acier sur les 4 ou 5 vis sp cia les sur le dessus du po le 9 Assurez vous que la plaque d acier est viss e en but e et qu elle est de niveau 10 Si vous installez le po le avec un condu...

Page 10: ...bien verticaux 16a Desserrez les blocs lat raux un par un et ajustez les de fa on bien les aligner avec le bloc sup rieur Revissez ensuite le bloc en question 18 Mettez en place la pierre d accumulati...

Page 11: ...e joint Retirez les bouchons de plastique situ au fond du po le 24 Montez pr cautionneusement la pierre avec le joint vers le bas dans le rack bois et enfoncez l ergot situ en haut de fa on ce qu il p...

Page 12: ...2 Isolerad R kr r 100 mm bakom kaminen till br nnbart material b 288mm Bild 4 350 mm vid sidan av kaminen till br nnbart material Bild 4 100 mm vid h rnplacering 45 a 457mm b 323mm Bild 3 1000 mm fram...

Page 13: ...achel zijn als u een TermaTech voorgevormde glasplaat wilt aanbrengen 8 Plaats het stalen plateau op de 4 of 5 speciale moeren bovenop de kachel 9 Controleer of het stalen plateau zover mogelijk is va...

Page 14: ...n dienen nu zo te worden aange past dat ze loodrecht op elkaar staan 16a De spekstenen zijkanten een voor een losmaken en zo aanpassen dat ze gelijk liggen met de spekstenen bovenkant Zet ze op nieuw...

Page 15: ...waarop de pakking moet worden aangebracht De plastic plug op de bodem van de kachel verwijderen 24 De steen met de pakkingzijde naar beneden voorzichtig in de verbrandingsruimte monteren en de pen aa...

Page 16: ...till br nnbart material Bild 1 Bild 2 Isolerad R kr r 100 mm bakom kaminen till br nnbart material b 288mm Bild 4 350 mm vid sidan av kaminen till br nnbart material Bild 4 100 mm vid h rnplacering 4...

Reviews: