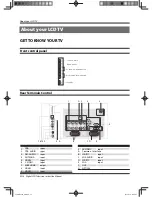
About your LCD TV
EN-9 Digital LCD Television Instruction Manual
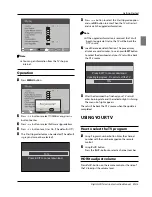
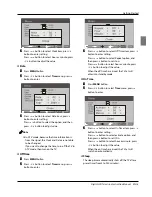
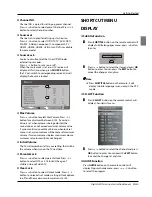
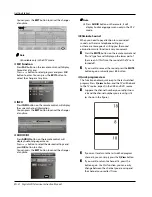
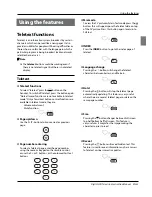
Press the
B
SOURCE
button to select SCART mode.
Press the
C
PLAY
button on the external device.
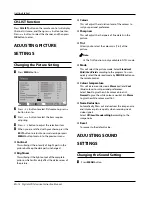
HDMI INPUT
Connect the cable from the HDMI device to the TV
A
HDMI socket.
Press the
B
SOURCE
button to select HDMI mode.
Refer to the HDMI device user guide for how to
C
operate.
MOUNT YOUR TV ONTO THE WALL
You can mount your TV onto the wall by using a wall
bracket (not supplied). Use M4/M6 machine screws (4
pcs) to screw the TV onto the bracket (not supplied).
PREPARATION OF
YOUR REMOTE
CONTROL
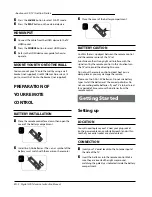
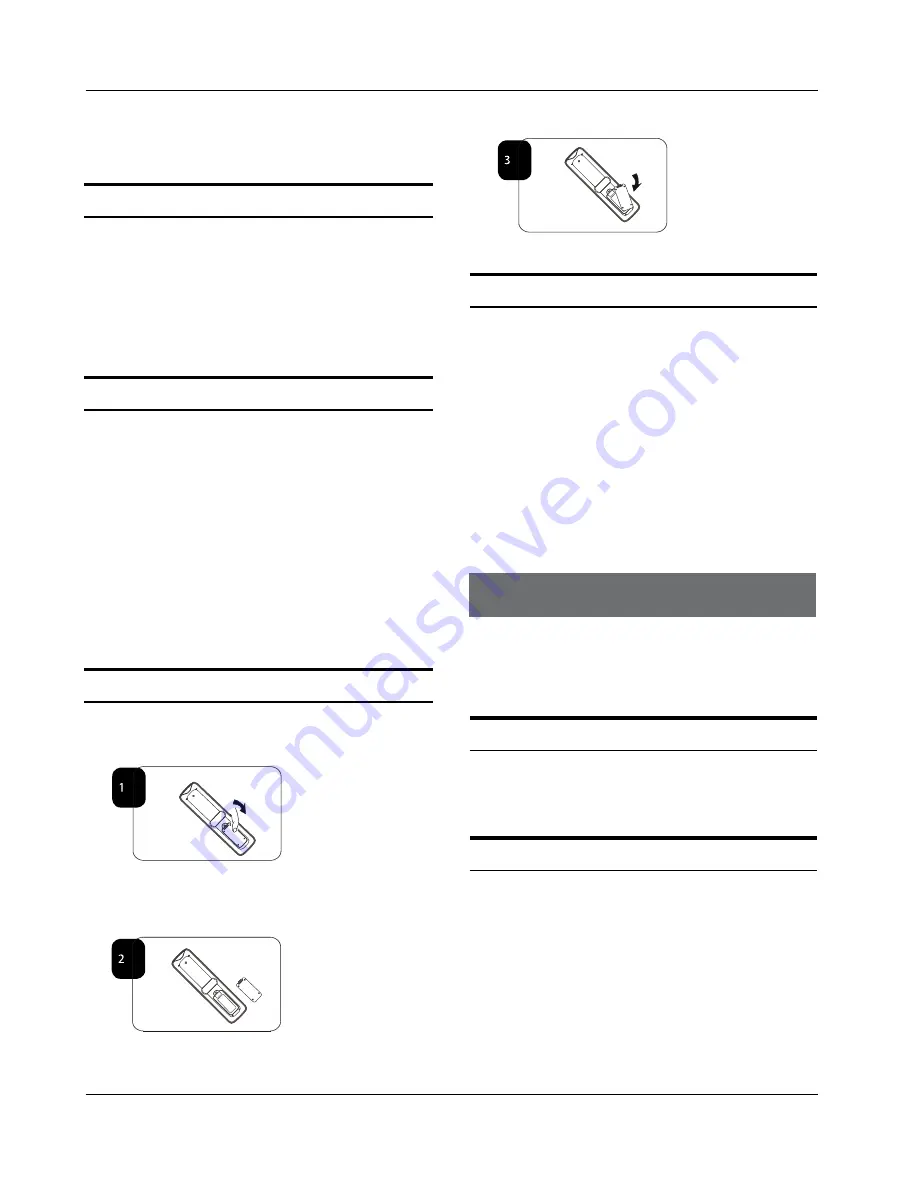
BATTERY INSTALLATION
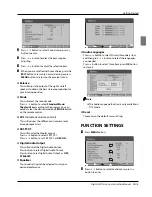
Place the remote control face down, then open the
A
cover of the battery compartment.
Install two AAA batteries. (The + and - symbol of the
B
battery must match with the marks on the remote).
Close the cover of the battery compartment.
C
BATTERY CAUTION
Confirm there is no object between the remote control
and the remote sensor of the TV set.
Sunshine or other strong light will interfere with the
signal sent by the remote control. In this situation turn
the TV set to avoid the direct light source.
Do not put the remote control in direct heat or in a
damp place as you may damage the remote.
Please use two AAA 1.5V batteries. Do not mix battery
types. Install the batteries at the correct polarities. Do
not use rechargeable batteries. If your TV is to be stored
for a period of time, remove the batteries from the
remote control.
Getting Started
Setting up
LOCATION
You will need to place your TV near your plug socket
(so the power cable can comfortably reach) and within
reach of your aerial socket or extension lead.
CONNECTION
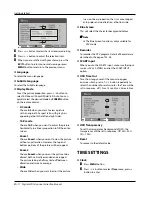
Insert your TV aerial lead into the Antenna input at
A
the side of the TV.
Insert the batteries into the remote control. Make
B
sure they are inserted the right way around,
matching the polarity as indicated inside the battery
compartment.
About your LCD TV / Getting Started


