Step 7: Administrator Settings
Please set the administrator password and complete the administrator security mailbox (this is used for
administrator authentication) (Note: It is extremely important that you take care when completing this step.
If the administrator loses their password, completing the administrator security mailbox will allow them to
reset their password). Afterwards, click
“Send Code”
, and the security mailbox will receive an email with a
verification code. Please log in to the security mailbox in order to obtain your code, and then complete the
administrator settings.
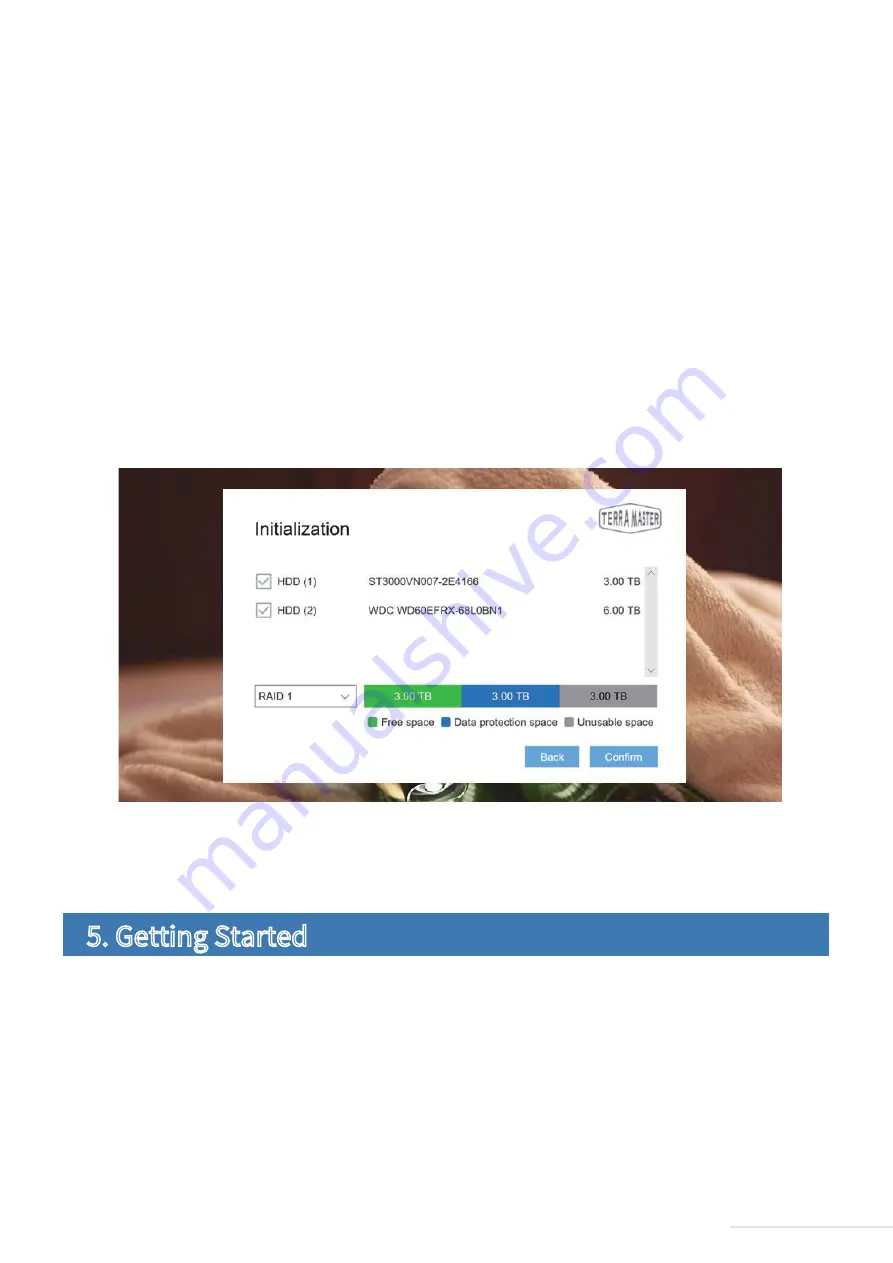
Step 8: Create RAID
Please select the RAID type, and then select the hard drive you intend to use to create RAID and click
Confirm
.
There are two file systems to choose from: EXT 4 and Btrfs. The system default file format is Btrfs. If you need
to modify the file format, go to the control panel of TOS. When the RAID has been created, hard drive
formatting will occur. Therefore, please back your data up in advance (Note: Please take a moment to wait for
hard drive formatting to finish. When you see “Congratulations! Initialisation is complete!”, this indicates
that your TNAS is ready for use).
10
Model:U8-111
As a final note, if you receive an error message stating that the number of hard drives you have picked does
not match the RAID type you have selected, please reset your settings.
This section provides a quick overview of your TNAS device’s core functions.
5. Getting Started


