Payload Installation
50
RangePro RPX8-P User Manual
5 • Assemble RangePro RPX8-P for Flight
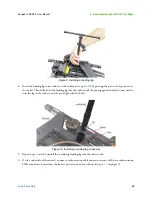
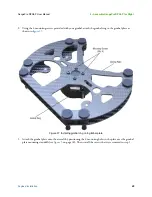
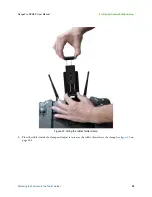
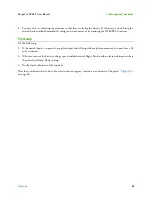
Figure 28. Installing gimbal on gimbal ring
4.
Align the white dot on the gimbal with the alignment mark on the gimbal ring (see
), then insert
the gimbal into the ring.
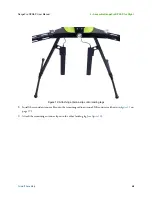
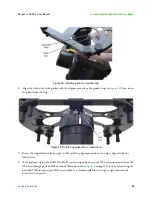
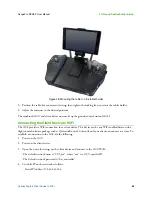
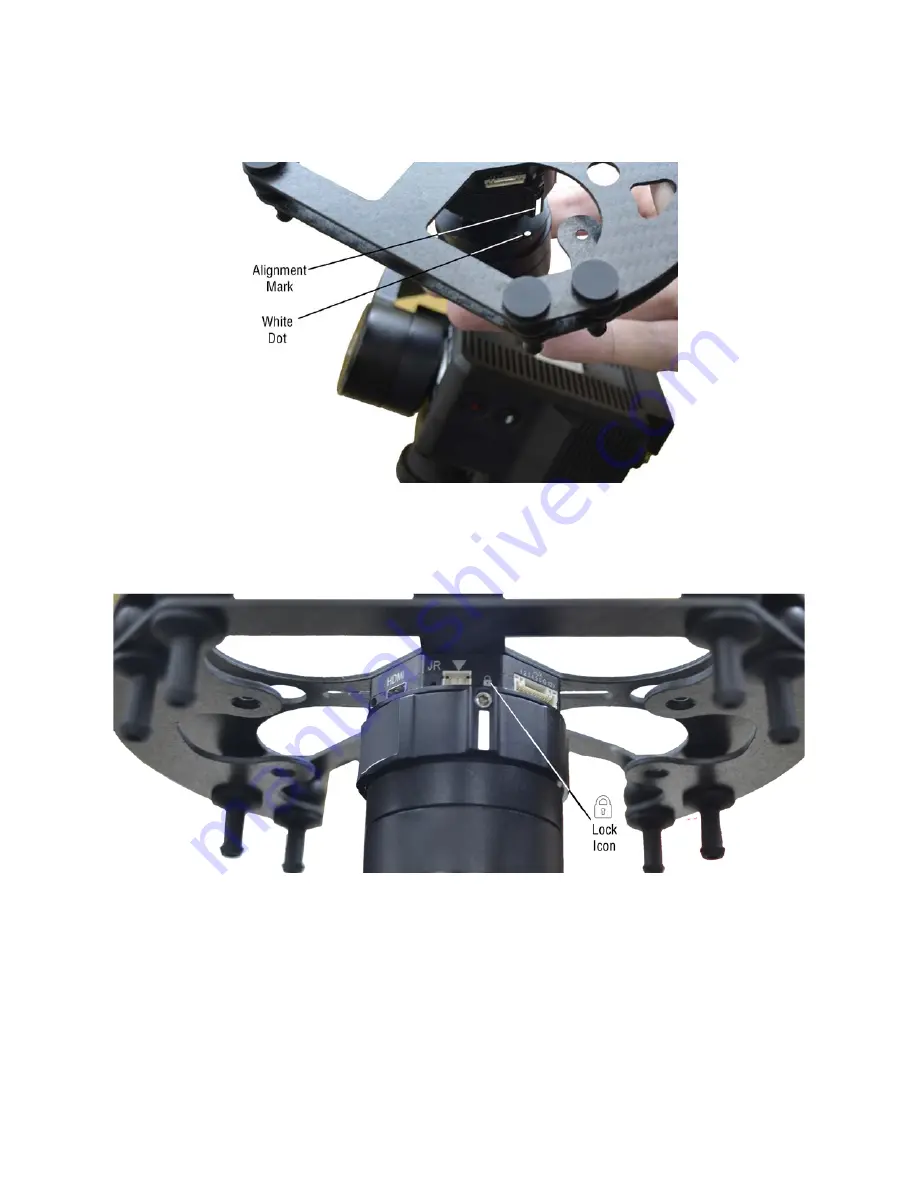
Figure 29. Rotate ring clockwise to locked icon
5.
Rotate the ring clockwise (from right to left) until the alignment mark on the ring is aligned with the
locked icon
6.
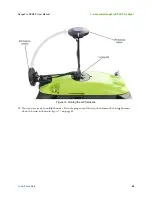
If the payload, such as the FLIR Duo Pro R, requires input from a passive GPS antenna, connect from the
GPS feed-through payload GPS antenna SMA connector (see
on page 32) to the payload using the
provided SMA to right-angle SMA micro cable. It is recommended that the right-angle connector be
attached to the camera.
Summary of Contents for RangePro RPX8-P
Page 90: ...90 Chapter 12 Contacting TerraView for Support Chapter Contents Support Options 91...
Page 104: ...104 Appendix F LED Meanings Chapter Contents Introduction 105...
Page 119: ...119 Appendix K Configuration Specific Parameters Chapter Contents Load Specific Parameters 120...
Page 121: ...121 Appendix L Making Sense of Motor Tests Chapter Contents Making Sense of Motor Tests 122...
Page 123: ...123 Appendix M Serial Port Assignment Chapter Contents Serial Port Assignment 124...

