Operation Procedure
4.
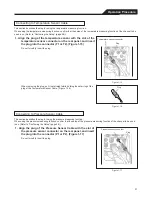
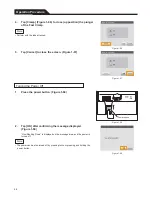
After confirming the message displayed and expose the
pressure sensor to the air, tap [OK]. (Figure 1-50)
Calibration of the pressure sensor is started.
Figure 1-50
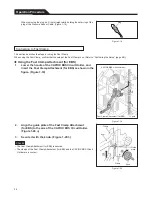
When calibration has been finished normally, “0” will be displayed at the side
of [CAL]. (Figure 1-51)
When any number other than “0” or “----” is displayed, perform calibration
again.
Figure 1-51
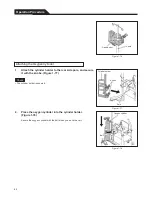
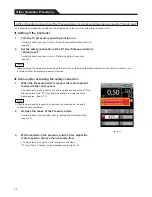
When using the Fast Clamp, confirm that the setup of the Fast Clamp is on. (Refer to “Confirming the Setup” (page 48).)
51
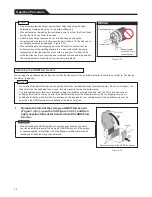
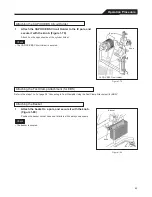
• Do not attach the Fast Clamp to the blood inlet line of the centrifugal pump. Air bubbles may occur if the blood inlet line is
clamped, as the inside of the centrifugal pump will be negatively pressurized.
Warning
Attaching the Fast Clamp
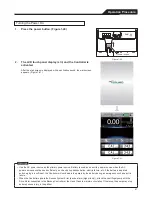
• Do not attach the Fast Clamp to any tube other than the dedicated tube (internal diameter: 9.5 mm (3/8 inches)). If a tube
other than the dedicated tube is used, this may result in decreased performance.
Caution
Summary of Contents for CAPIOX EBS Circuit with X coating
Page 1: ...CAPIOX Emergency Bypass System Instructions for use...
Page 4: ...CAPIOX EBS Circuit with X coating Instructions for use...
Page 8: ...Structure Structure...
Page 25: ...EBS and X coating are trademarks of TERUMO CORPORATION 2019 XX...
Page 26: ...CAPIOX EBS Cannula Kit with X coating Instructions for use...
Page 29: ...CAPIOX Centrifugal Pump Controller SP 200 Instructions for use...
Page 175: ...Memo 146...
Page 176: ...147 Memo...

