ALUMINIUM PIPEWORK - ALUMINIUM PIPEWORK - ALUMINIUM PIPEWORK - ALUMINIUM PIPEWORK - ALUMINIUM PIPEWORK - ALUMINIUM PIPEWORK
97
FLUID POWER DISTRIBUTION SYSTEMS - FLUID POWER DISTRIBUTION SYSTEMS - FLUID POWER DISTRIBUTION SYSTEMS - FLUID POWER DISTRIBUTION SYSTEMS - FLUID POWER DISTRIBUTION SYSTEMS
HBS
-
AP
A
SSEMBLING INSTRUCTIONS
1. INTRODUCTION
1.1. This manual is very easy to consult and we recommend reading it before starting work, bearing in mind the re-
gulations in your country.
1.2. Pay attention to the instructions identified by the mark ATTENTION.
1.3. The HBS and AP ranges of products from TESEO are suitable for the distribution of compressed air, nitrogen,
vacuum and inert gases.
1.4. For any application with water distribution, please check our sheet on page 96. For other fluids it is necessa-
ry to know their exact composition and to check if they are compatible with the HBS and AP system; in case of
any doubt, please contact the technical department of TESEO.
1.5. ATTENTION: TESEO is not responsible for problems due to failure to follow the instructions contai-
ned in within this manual.
3. PREPARATION
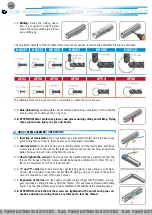
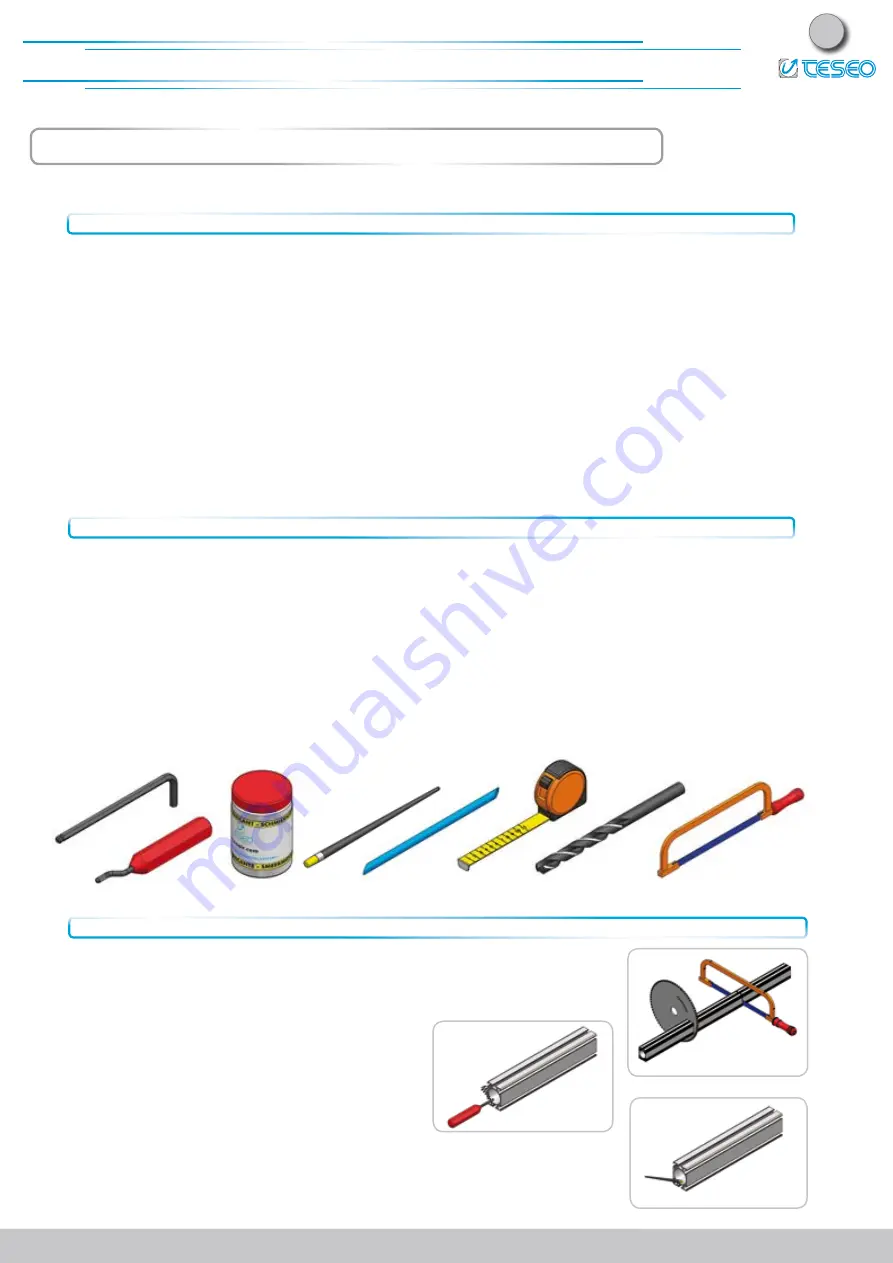
3.1. Cutting: this can be done by hand, using a hacksaw provided that the blade has
been lubricated with vaseline or other oils, as aluminium is a material which could
clog the tool. When making many cuts, we suggest using a circular chop saw with
metal cutting blade.
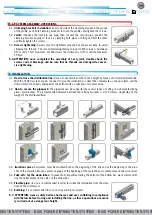
3.2. Deburring: after cutting the pipe, it is necessa-
ry to remove the sharp edges using a de-burring
tool. This operation is required to avoid any da-
mage to the o-ring and to make easier the con-
nection.
2. TOOLS AND FIXTURES
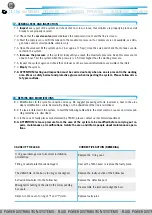
2.1. The tools required to install even a small system are: one Allen wrench for 4 and 5 mm slots, one de-burring
tool or one scraper, neutral grease, one drill bit and one drilling machine, one hacksaw, some small tubes for
placing the small plates, one tape measure.
2.2. The tools suggested for fast and safe work are: one pair of adjustable pliers, one battery screwdriver, one
drilling jig, one chop saw with metal circular blade, one stepped cone cutter or cone cutter, one PTFE tape or
sealing band, one torque wrench, one level or one plumb line, one bench on wheels.
2.3. Close attention should be paid to safety. To this purpose, scaffolding, helmets, harnesses, gloves and protec-
tive glasses must be used by all personnel.
2.4. ATTENTION: follow the regulations concerning safety at work presently in force in your country.
3.3. Lubrication: in order to make it easier to insert joint, lubricate the inner surface
of the hollow bar with neutral grease (ref. page 35), in order to avoid any damage
to the O ring.


