10
DVD Home
Theatre
TV
with an
S-Video Jack
2.
In
s
e
r
t t
he S
-V
ideo c
ab
l
e i
n
to th
e S
-V
IDE
O OU
T j
a
c
k on t
he b
a
ck o
f y
o
u
r DVD H
O
ME
THEATRE
SYS
T
EM
a
nd to
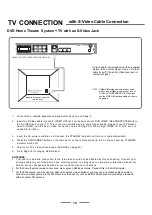
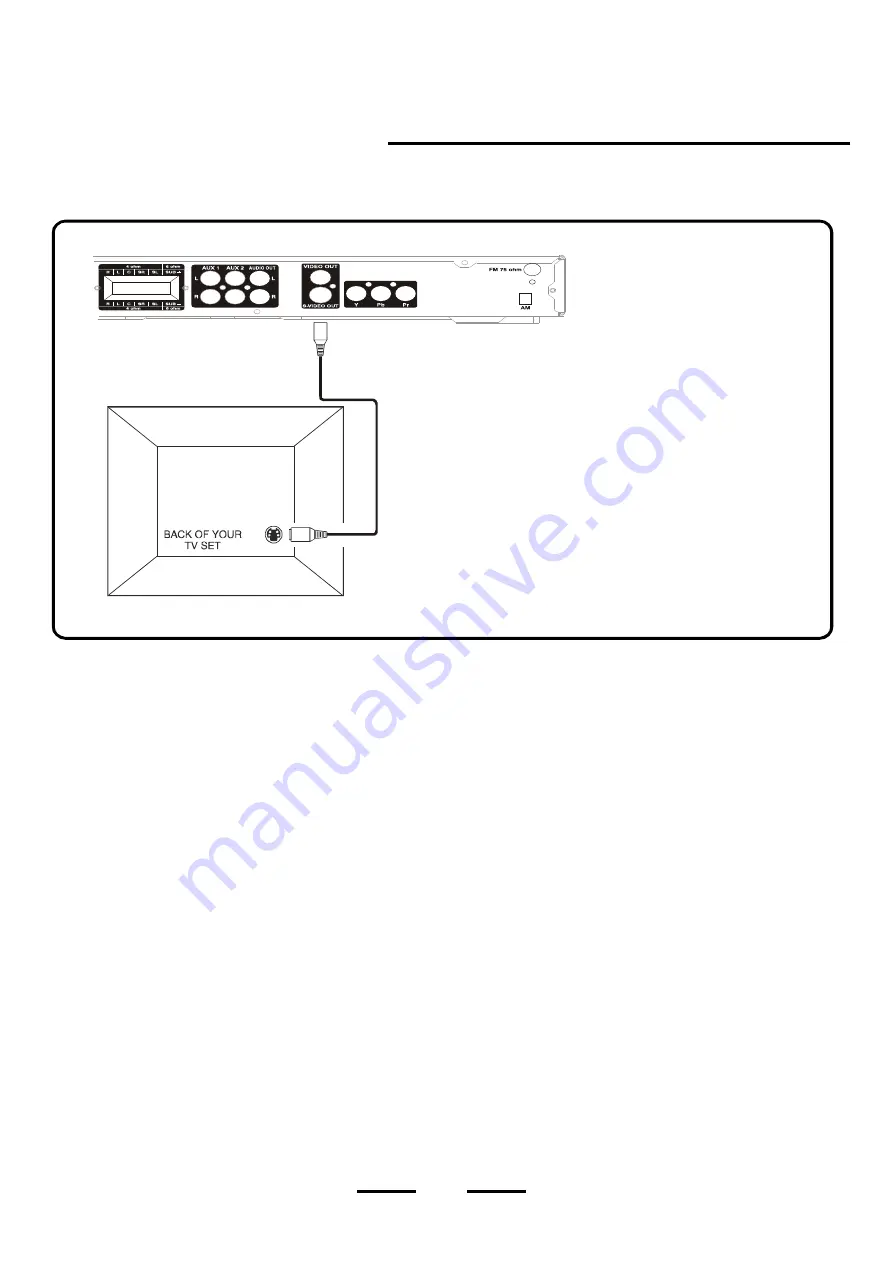
the S-VIDEO jack on your TV. This connection will allow you to enjoy higher quality images. If your TV Doesn t
ha ve S-VIDEO , use the ba sic video conne ction listed on Page 9 (
y
e
ll
o
w plug s: VIDEO IN or OUT are not
needed for S
-V
i
de
o
3.
Insert the AC p
o
w
e
r cord into an AC socket, the STANDBY indicator will turn on in red automatically.
4.
Press the ON/STANDBY button on the main set or on the remote control to turn on the set, and the STANDBY
indicator will be off.
5.
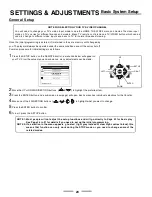
Select your TV s video channel (see the NOTE on page 23).
6.
Go to Page 32 for playing DVDs (discs).
ANTENNAS:
1. Your cab le or anten na conn ection to the television sho uld no t be affected by this con nection . Conne ct your
antenn a cab le to your t elevision as you normally would. You may ne ed to consult your television manua l for
details, but no changes will be made to your current antenna connections.
N
OTE
:
Yellow Video plug and wire are not used
when using S-Video or
component
. If your
TV
has no
COMPONENT
or S-Video jack,
use the
VIDEO IN jack and cable as shown
on
page 9.
TV CONNECTION
S-Video cable
(
not
included)
provides
a
sharper
picture
than
normal
video.
Use
an
S-
Video
ca
ble if your TV has an S-Video jack
(
but not
component
jack).
with S-Video Cable Connection
1.
Connect the 5 satellite speakers and subwoofer as shown on P
age 5.
,
,
CONNECT ALL SPEAKERS AS SHOWN ON PAGE
5
.
NOTE: On some TVs, this jack
is in the front.
h
2
..
3.
For the home
theatre
antenna connections, we supply an AM loop antenna. Connect this to the AM terminals.
For the FM antenna, you may use the indoor wire antenna we supplied or you may use an antenna spliter & cable to
connect an outdoor antenna to the FM antenna on the back of your set. Better FM reception will probably be received
with an outdoor FM antenna.
h
).


