
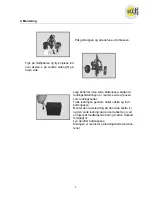


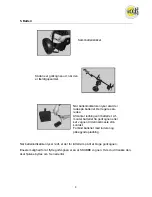
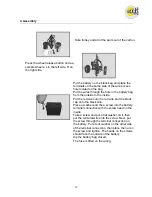
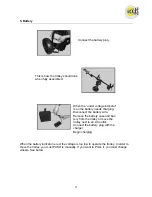

Flip down the upper bag support.
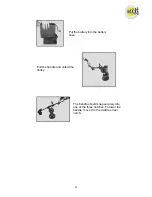
Hang the battery case onto the
flat bar located between the rear
wheels. Then place the battery
in its zipped up case into the
holder and put the strap over the
top of the battery.
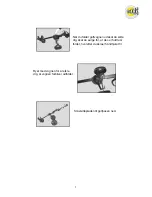
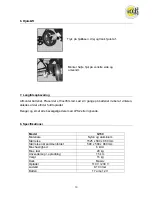
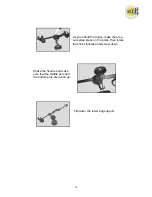
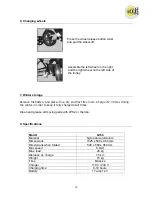
Rotate the accelerator knob clock-
wise to start. The more you turn the
knob the faster the trolley goes.
Turn the accelerator knob counter
clockwise to OFF to stop the trolley.
16


