14
Charging Procedure
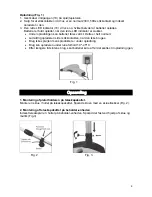
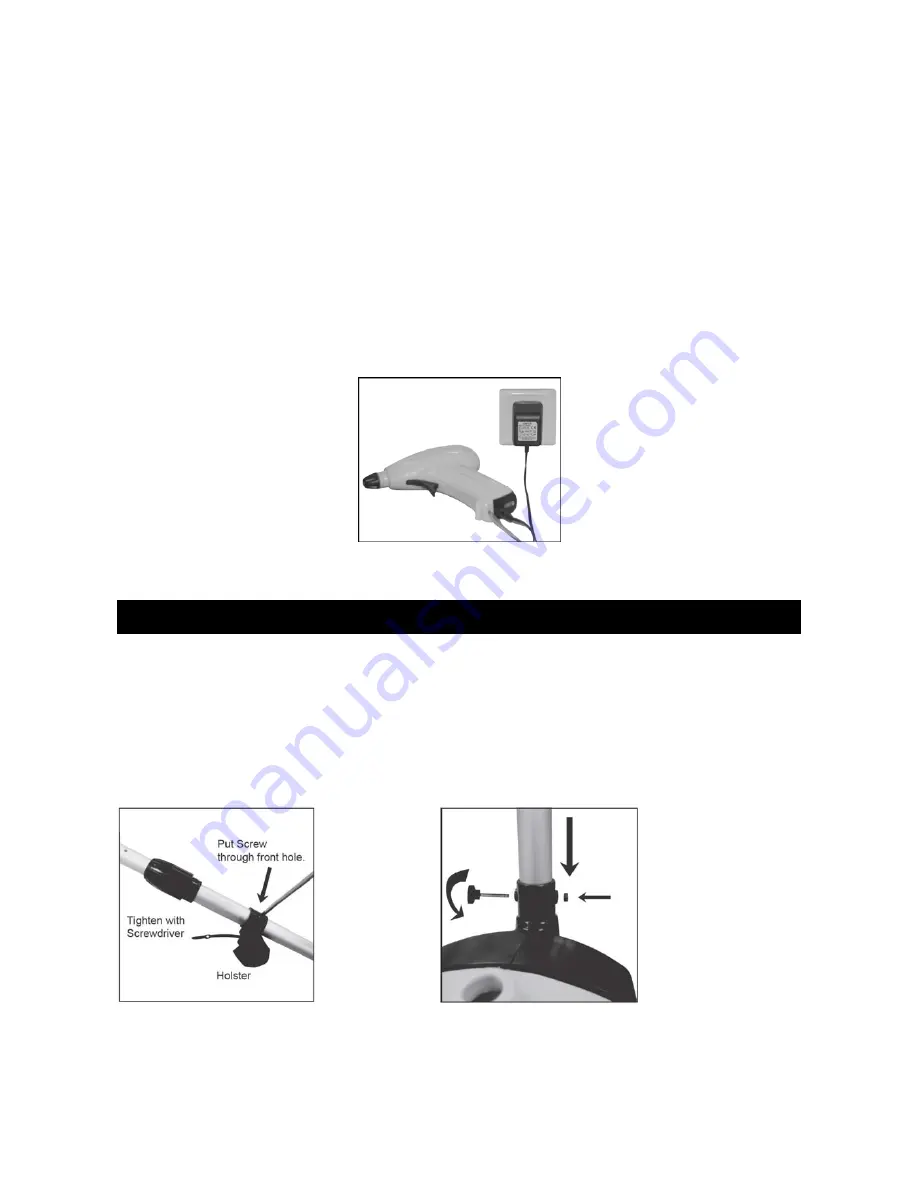
(Fig. 1)
4. Insert the charger cable into charging inlet (19) on the tool.
5. Making sure the wall outlet in your home is normal household voltage (AC230V, 50Hz).
Insert the battery charger plug into the mains power supply.
6. The red LED charging indicator (18) lights up to tell you that the battery pack is on
charge. The battery is fully charged when the red LED charging indicator (18) is no
longer light.
During the charging process, the body of the tool will warm up, but this is perfectly
normal.
When not using the tool for extended periods, disconnect the battery charger from
the socket.
When the tool is charging, you must not use it.
Only charge the battery between in warm conditions 10º- 45º C
After prolonged use, allow battery to cool down first before recharging.
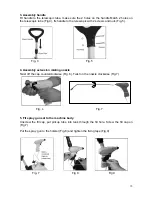
Fig. 1
Assembly
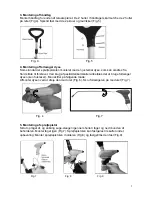
1. Fitting holster to the telescopic tube.
Put screw through front hole on the telescopic tube. Tighten the screw with screw driver
(Fig. 2).
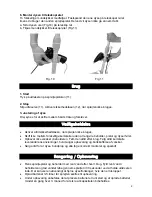
2. Fitting telescopic tube to the machine body
Insert the telescopic tube into the hole on the machine body. Fix it with nut and screw
(Fig.3).
Fig. 2 Fig. 3


