Quick-Start Guide
6
SLAU715 – February 2017
Copyright © 2017, Texas Instruments Incorporated
ADC08060 Evaluation Module
2.2.2
ADC08060EVM Setup
Next, setup the ADC08060EVM using the following:
1. Connect the banana jack power-supply cables to the EVM. Connect the red wire to 5 VDC ±0.1 VDC
of a power supply rated for at least 3 A to connector J4. Connect the black wire to J5 (GND) of the
power supply.
2. Turn on the power supply. The power draw should be around 0.08 A.
3. Set the analog input signal generator for 10.1-MHz, –1 dB from full scale.
4. Place a 10-MHz bandpass filter at the output of the analog signal generator to remove noise and
harmonics from the signal generator.
5. Connect the analog input signal generator to the EVM though SMA connector INPUT (J6) and provide
a 10.1-MHz signal.
2.3
Software Setup Procedure
The software can be opened and configured once the hardware is properly set up.
2.3.1
HSDC Pro GUI Configuration
1. Open High Speed Data Converter Pro by going to
Start Menu
→
All Programs
→
Texas Instruments
→
High Speed Data Converter Pro
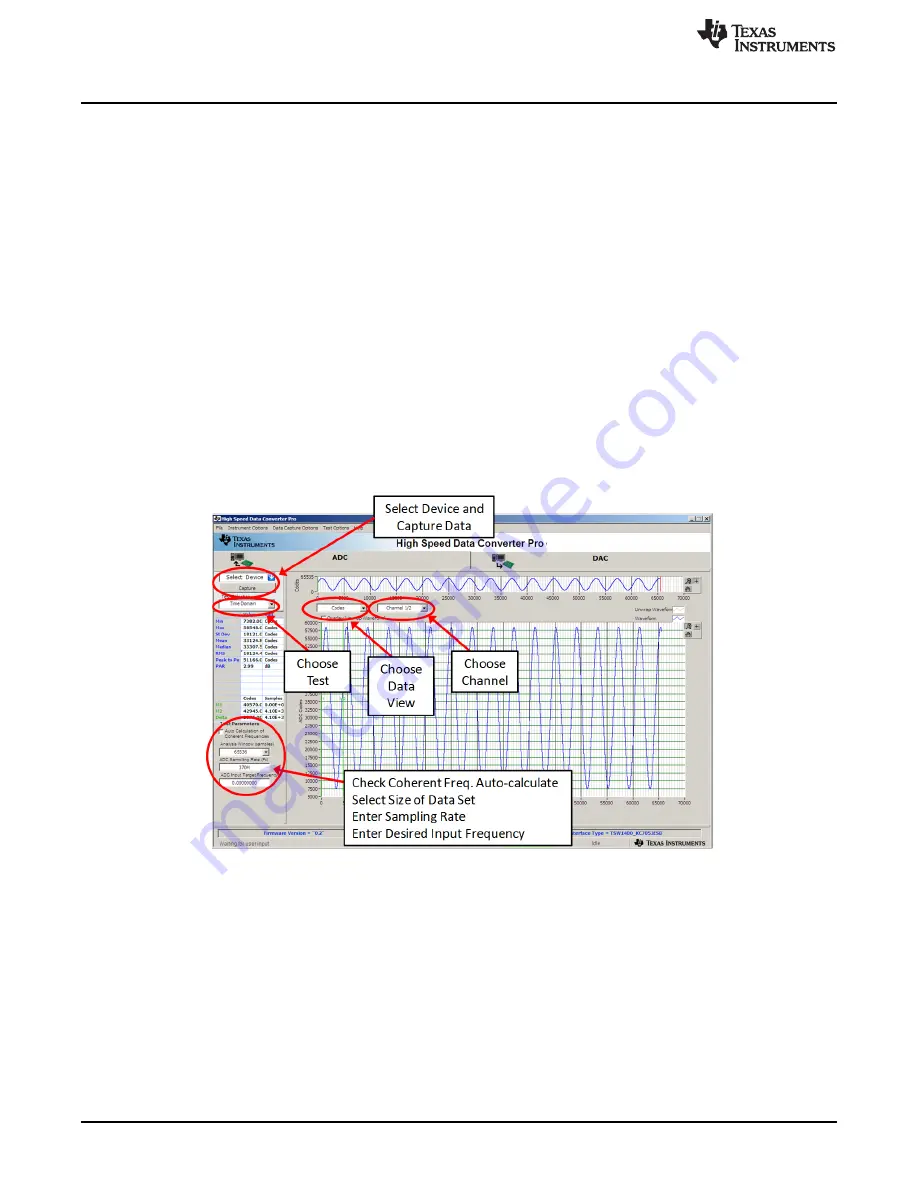
. The GUI main page looks as shown in
Figure 3. HSDC Pro GUI Main Panel
2. When prompted to select the capture board, select the TSW1400 whose serial number corresponds to
the serial number on the TSW1400EVM and click
OK
. This popup can be accessed through the
Instrument Options
menu.
3. If no firmware is currently loaded, there is a message indicating this. Click on
OK
.
4. Verify the
ADC
tab at the top of the GUI is selected.
5. Use the
Select ADC
drop-down menu at the top left corner to select
ADC08060_cmos
.
6. When prompted to update the firmware for the ADC, click
Yes
and wait for the firmware to download to
the TSW1400. This takes a couple of seconds.
7. Enter “60M” into the
ADC Output Data Rate
field at the bottom left corner then click outside this box or
press
Return
on the PC keyboard.
8. Click
Capture
in HSDC Pro to capture data from the ADC.


