Getting Started
5.
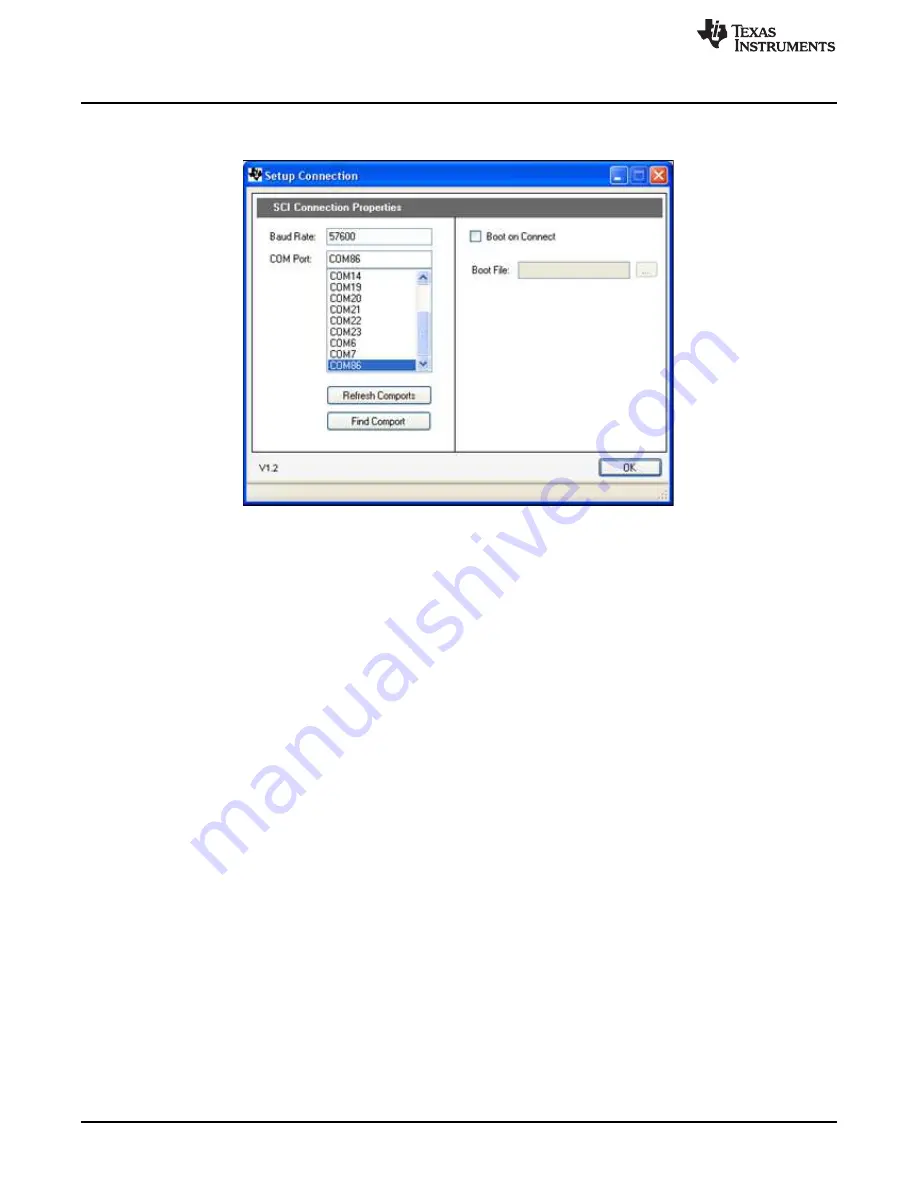
Click Setup Connection and make sure the baud rate is set to 57600 and that the Boot on Connect
box is unchecked.
Figure 6. GUI Setup Connections Window
6. Select the serial COM port. This can be found by going to:
Control Panel
→
System
→
Hardware tab
→
Device Manager
→
Ports(COM and LPT)
Look for the COM port that is named USB Serial Port (or similar) and note the number. Select this
COM port in the Setup Connection window and click OK to close the window. Hint: Try selecting the
largest number or refreshing the list while connecting or disconnecting the USB cable to or from the
board to see which one changes.
7. Click Connect in the GUI main window. The status bar at the bottom left corner of the GUI turns green
and says Connected once the GUI is connected.
8. Use the Color Presets provided or manually adjust the current level for each LED string to vary the
color generated by each LED array.
9. When finished, set each LED string’s Target Current to 0.00A and press Disconnect to terminate the
connection.
4.2
Capacitive Touch Demo
The LED BoosterPack experimenter’s kit comes with an MSP430 device and headers such that a user
can connect the Capacitive Touch BoosterPack and use it to control the LEDs. This interface is meant to
demonstrate how an OEM lighting company might implement touch-based control of LED lighting
applications.
No external hardware is required to run this demo, which makes it a great demo to show when one is
away from a PC. To explore deeper, the underlying reference software can be found within controlSUITE.
10
C2000 LED BoosterPack
SPRUHH9 – July 2012
Copyright © 2012, Texas Instruments Incorporated


