2.5.5
Installing External Microphone
An external microphone can be attached to the notebook using the leftmost
audio connector (when viewed from the rear of the notebook). When the
external microphone is installed and the unit powered up, the internal
microphone is disabled.
2.5.6
Installing External Audio Input Devices
The middle audio jack on the rear of the notebook allows you to connect an
external sound source (e.g. tape player, radio, etc. ) to the notebook.
2.5.7
Installing External Audio Output Devices
The rightmost audio jack (when viewed from the rear of the notebook)
provides an audio line output cable of driving external headphones,
speakers or an external amplifier.
2.6
Installing the AC Power Adapter
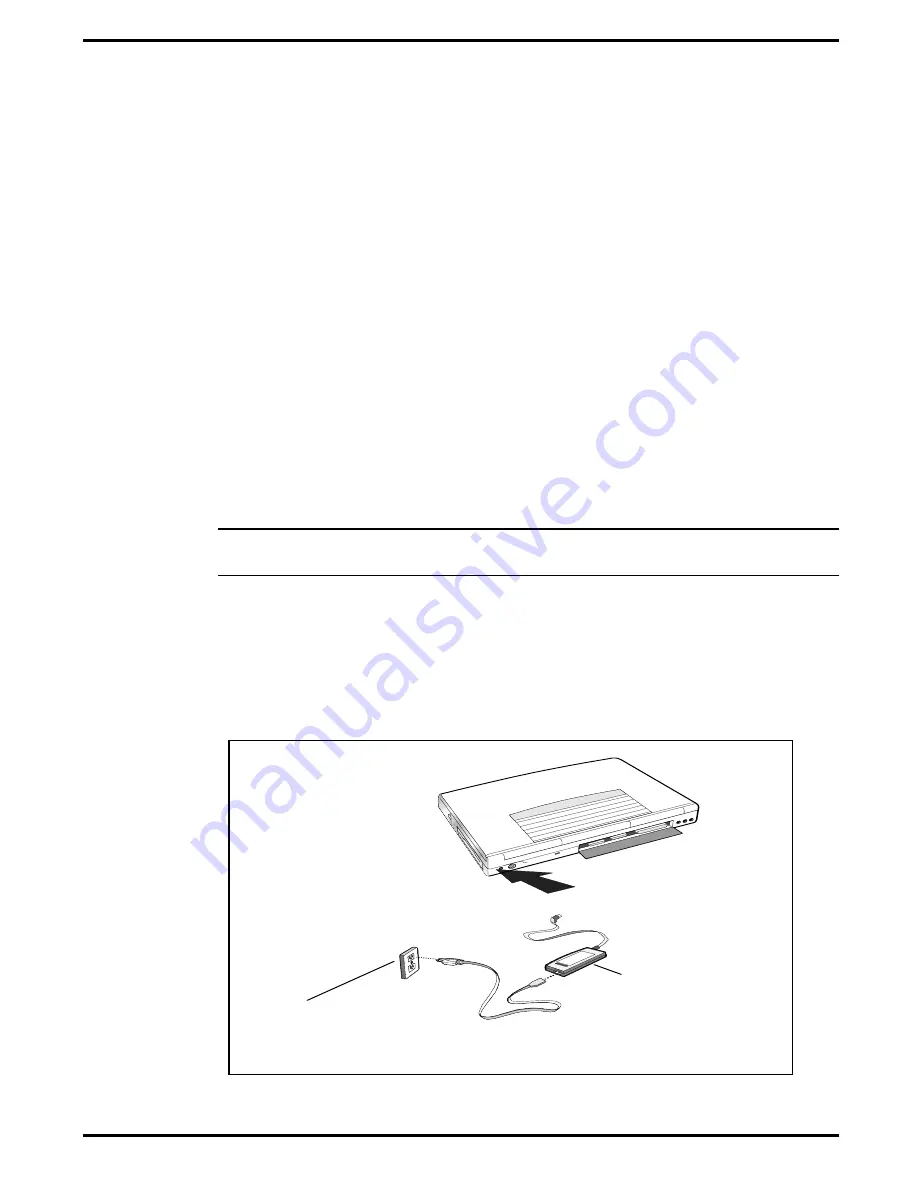
Use the following procedures to connect the AC Adapter to the system:
c
Caution: Use only the AC Adapter supplied with the computer; other
adapters can damage the unit.
1.
Remove the AC adapter from the packaging. Connect the round coaxial
connector supplied with the notebook to the power receptacle on the
rear of the notebook as shown in Figure 2-9.
2.
Connect the female side of the AC Power cord to the AC Adapter and
connect the male end to a grounded AC outlet
.
A C A d a p t e r
AC Po wer
(120VAC to 230 VAC,
50 to 60 Hz)
Figure 2-9 AC Adapter Installation
2-10
Installation


