526
Graphs & Geometry
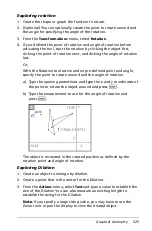
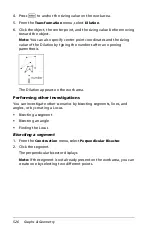
4. Press
·
to anchor the sizing value on the work area.
5. From the
Transformation
menu, select
Dilation
.
6. Click the object, the center point, and the sizing value before moving
toward the object.
Note:
You can also specify center point coordinates and the sizing
value of the Dilation by typing the numbers after an opening
parenthesis.
The Dilation appears on the work area.
Performing other investigations
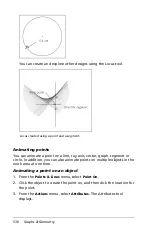
You can investigate other scenarios by bisecting segments, lines, and
angles, or by creating a Locus.
•
Bisecting a segment
•
Bisecting an angle
•
Finding the Locus
Bisecting a segment
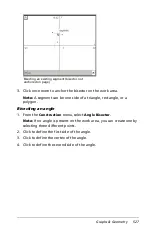
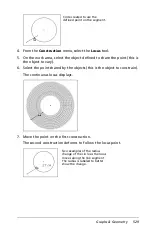
1. From the
Construction
menu, select
Perpendicular Bisector
.
2. Click the segment.
The perpendicular bisector displays.
Note:
If the segment is not already present on the work area, you can
create one by selecting two different points.
Summary of Contents for TI-Nspire
Page 38: ...26 Setting up the TI Nspire Navigator Teacher Software ...
Page 46: ...34 Getting started with the TI Nspire Navigator Teacher Software ...
Page 84: ...72 Using the Content Workspace ...
Page 180: ...168 Capturing Screens ...
Page 256: ...244 Embedding documents in web pages ...
Page 336: ...324 Polling students ...
Page 374: ...362 Using the Review Workspace ...
Page 436: ...424 Calculator ...
Page 450: ...438 Using Variables ...
Page 602: ...590 Using Lists Spreadsheet ...
Page 676: ...664 Using Notes You can also change the sample size and restart the sampling ...
Page 684: ...672 Libraries ...
Page 714: ...702 Programming ...
Page 828: ...816 Data Collection and Analysis ...
Page 846: ...834 Regulatory Information ...
Page 848: ...836 ...

