712
Data Collection and Analysis
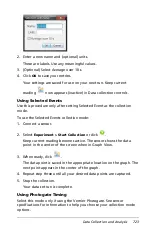
1. Start with a new document.
When possible, start from a new document or new problem within an
existing document. This ensures the Vernier DataQuest™ application
is set to the default values. See
Starting a new document or problem
.
Note:
It is also recommended to have only one document open
because the system may not know which document to assign the
sensor.
2. Connect your data collection device. The sensor is displayed in your
Vernier DataQuest™ document.
Auto launch will open the application on the current page if the page
is not split and there is no application already on the page.
Otherwise, a new full page is inserted immediately after the current
page with the Vernier DataQuest™ application.
See
Data collection devices
for more information about the different
data collection options.
3. Select
Experiment > New Experiment
to reset sensor defaults.
This ensures the default data collection mode and the settings are set
for the connected sensors and it removes any existing data.
Important:
This step is extremely important when you are not
starting from a new document or problem.
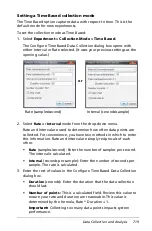
4. (Optional) Modify the data collection mode and data collection
settings.
If desired, you can modify the default mode and settings to match the
experiment you are performing.
•
To change the mode and settings select
Experiment > Collection
Mode
.
•
Set the desired data collection mode for your experiment.
See
Setting and using a collection mode
.
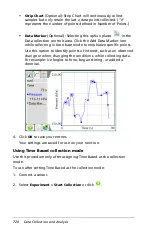
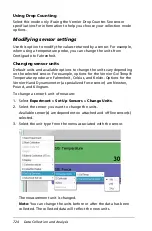
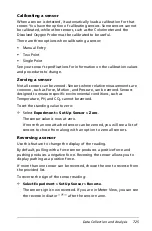
5. (Optional) Modify the sensor settings
If desired, you can modify how the sensor values are displayed and
stored in the application. You can change units, modify the sensor
calibrations, and change the displayed precision of the data.
See
Modifying sensor settings
.
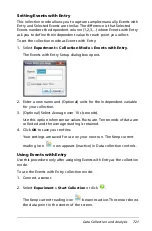
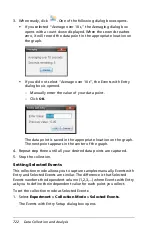
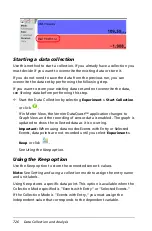
6. Start the Data Collection by selecting
Experiment > Start Collection
or click
.
Summary of Contents for TI-Nspire
Page 38: ...26 Setting up the TI Nspire Navigator Teacher Software ...
Page 46: ...34 Getting started with the TI Nspire Navigator Teacher Software ...
Page 84: ...72 Using the Content Workspace ...
Page 180: ...168 Capturing Screens ...
Page 256: ...244 Embedding documents in web pages ...
Page 336: ...324 Polling students ...
Page 374: ...362 Using the Review Workspace ...
Page 436: ...424 Calculator ...
Page 450: ...438 Using Variables ...
Page 602: ...590 Using Lists Spreadsheet ...
Page 676: ...664 Using Notes You can also change the sample size and restart the sampling ...
Page 684: ...672 Libraries ...
Page 714: ...702 Programming ...
Page 828: ...816 Data Collection and Analysis ...
Page 846: ...834 Regulatory Information ...
Page 848: ...836 ...

