Capturing Screens
157
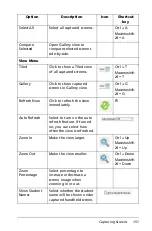
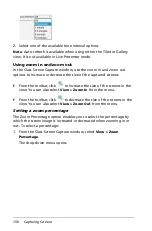
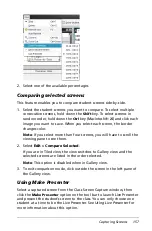
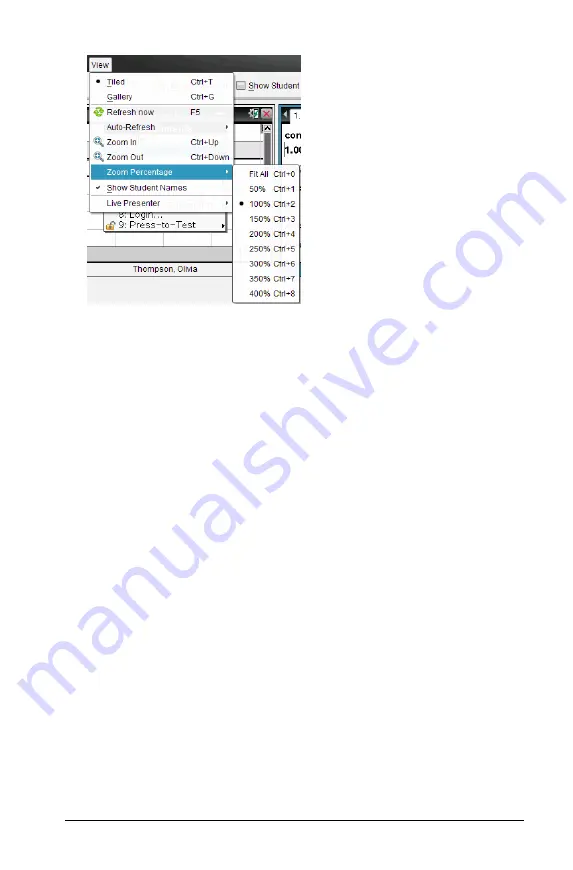
2. Select one of the available percentages.
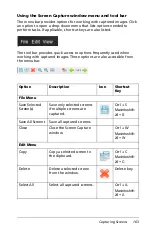
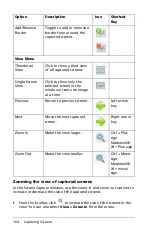
Comparing selected screens
This feature enables you to compare student screens side-by-side.
1. Select the student screens you want to compare. To select multiple
consecutive screens, hold down the
Shift
key. To select screens in
random order, hold down the
Ctrl
key (Macintosh®:
“
)
and click each
image you want to save. When you select each screen, the border
changes color.
Note
: If you select more than four screens, you will have to scroll the
viewing pane to see them.
2. Select
Edit > Compare Selected
.
If you are in Tiled view, the view switches to Gallery view and the
selected screens are listed in the order selected.
Note
: This option is disabled when in Gallery view.
3. To exit comparison mode, click outside the screen in the left pane of
the Gallery view.
Using Make Presenter
Select a captured screen from the Class Screen Capture window, then
click the
Make Presenter
option on the tool bar to launch Live Presenter
and present the student’s screen to the class. You can only choose one
student at a time to be the Live Presenter. See
Using Live Presenter
for
more information about this option.
Summary of Contents for TI-Nspire
Page 38: ...26 Setting up the TI Nspire Navigator Teacher Software ...
Page 46: ...34 Getting started with the TI Nspire Navigator Teacher Software ...
Page 84: ...72 Using the Content Workspace ...
Page 180: ...168 Capturing Screens ...
Page 256: ...244 Embedding documents in web pages ...
Page 336: ...324 Polling students ...
Page 374: ...362 Using the Review Workspace ...
Page 436: ...424 Calculator ...
Page 450: ...438 Using Variables ...
Page 602: ...590 Using Lists Spreadsheet ...
Page 676: ...664 Using Notes You can also change the sample size and restart the sampling ...
Page 684: ...672 Libraries ...
Page 714: ...702 Programming ...
Page 828: ...816 Data Collection and Analysis ...
Page 846: ...834 Regulatory Information ...
Page 848: ...836 ...

