212
Working with PublishView™ documents
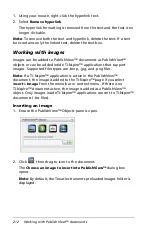
1. Using your mouse, right-click the hyperlink text.
2. Select
Remove hyperlink
.
The hyperlink formatting is removed from the text and the text is no
longer clickable.
Note
: To remove both the text and hyperlink, delete the text. If a text
box contains only the linked text, delete the text box.
Working with images
Images can be added to PublishView™ documents as PublishView™
objects or can be added inside TI-Nspire™ applications that support
images. Supported files types are .bmp, .jpg, and .png files.
Note
: If a TI-Nspire™ application is active in the PublishView™
document, the image is added to the TI-Nspire™ page if you select
I
nsert > Image
from the menu bar or context menu. If there is no
TI-Nspire™ document active, the image is added as a PublishView™
object. Only images inside TI-Nspire™ applications convert to TI-Nspire™
documents (.tns files).
Inserting an image
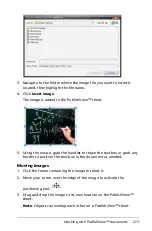
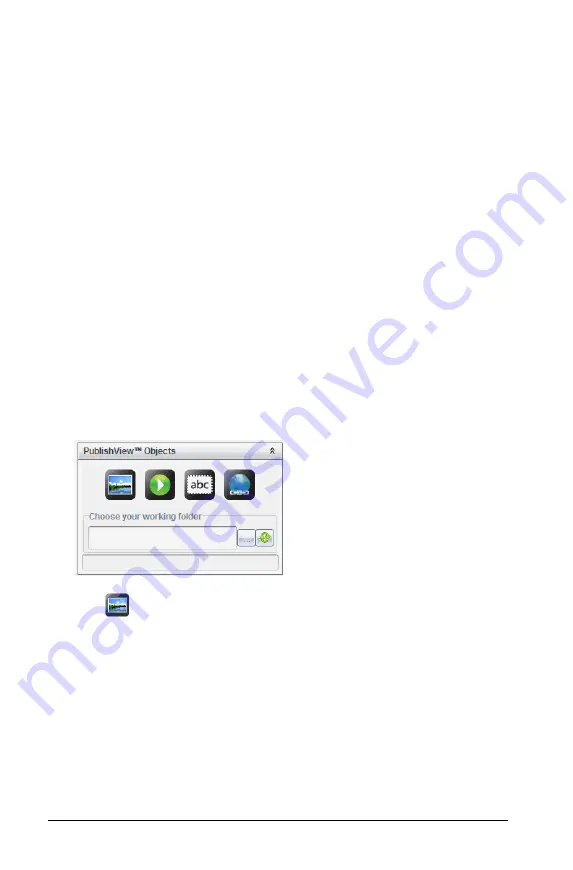
1. Ensure the PublishView™ Objects pane is open.
2. Click
, then drag to icon to the document.
The
Choose an image to insert into PublishView™
dialog box
opens.
Note
: By default, the Texas Instruments preloaded images folder is
displayed.
Summary of Contents for TI-Nspire
Page 38: ...26 Setting up the TI Nspire Navigator Teacher Software ...
Page 46: ...34 Getting started with the TI Nspire Navigator Teacher Software ...
Page 84: ...72 Using the Content Workspace ...
Page 180: ...168 Capturing Screens ...
Page 256: ...244 Embedding documents in web pages ...
Page 336: ...324 Polling students ...
Page 374: ...362 Using the Review Workspace ...
Page 436: ...424 Calculator ...
Page 450: ...438 Using Variables ...
Page 602: ...590 Using Lists Spreadsheet ...
Page 676: ...664 Using Notes You can also change the sample size and restart the sampling ...
Page 684: ...672 Libraries ...
Page 714: ...702 Programming ...
Page 828: ...816 Data Collection and Analysis ...
Page 846: ...834 Regulatory Information ...
Page 848: ...836 ...

