452
Graphs & Geometry
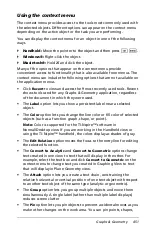
angles, values, text, graphed functions, the axes, and the work area
background.
Other options that are appropriate for various objects also display on the
context menu. See
Working with Documents in the TI-Nspire™ software
for more information about using color in documents and changing the
Graphs & Geometry application’s settings for the default plot label
display.
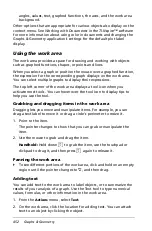
Using the work area
The work area provides a space for drawing and working with objects
such as graphed functions, shapes, or points and lines.
When you select a graph or position the mouse over a graphed function,
the expression for the corresponding graph displays on the work area.
You can select multiple graphs to display their expressions.
The top left corner of the work area displays a tool icon when you
activate most tools. You can hover over the tool icon to display tips to
help you use the tool.
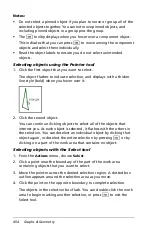
Grabbing and dragging items in the work area
Dragging lets you move and manipulate items. For example, you can
drag a text label to move it or drag a circle’s perimeter to resize it.
1. Point to the item.
The pointer changes to show that you can grab or manipulate the
item.
2. Use the mouse to grab and drag the item.
Handheld:
Hold down
x
to grab the item, use the touchpad or
clickpad to drag it, and then press
x
again to release it.
Panning the work area
`
To see different portions of the work area, click and hold on an empty
region until the pointer changes to
ù
, and then drag.
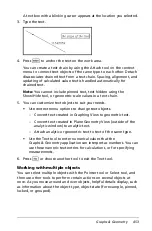
Adding text
You can add text to the work area to label objects, or to summarize the
results of your analysis of a graph. Use the Text tool to type numerical
values, formulas, or other information in the work area.
1. From the
Actions
menu, select
Text
.
2. On the work area, click the location for adding text. You can attach
text to an object by clicking the object.
Summary of Contents for TI-Nspire
Page 38: ...26 Setting up the TI Nspire Navigator Teacher Software ...
Page 46: ...34 Getting started with the TI Nspire Navigator Teacher Software ...
Page 84: ...72 Using the Content Workspace ...
Page 180: ...168 Capturing Screens ...
Page 256: ...244 Embedding documents in web pages ...
Page 336: ...324 Polling students ...
Page 374: ...362 Using the Review Workspace ...
Page 436: ...424 Calculator ...
Page 450: ...438 Using Variables ...
Page 602: ...590 Using Lists Spreadsheet ...
Page 676: ...664 Using Notes You can also change the sample size and restart the sampling ...
Page 684: ...672 Libraries ...
Page 714: ...702 Programming ...
Page 828: ...816 Data Collection and Analysis ...
Page 846: ...834 Regulatory Information ...
Page 848: ...836 ...


