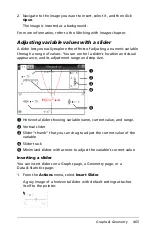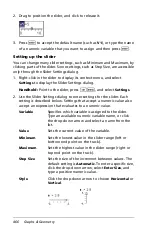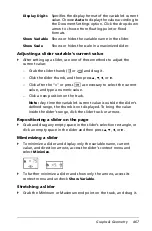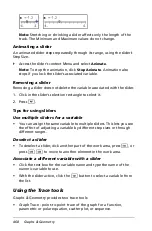
Graphs & Geometry
459
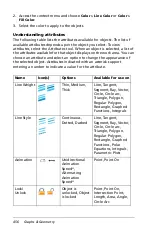
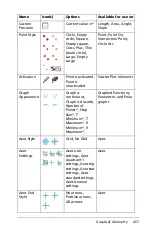
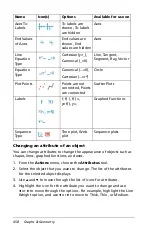
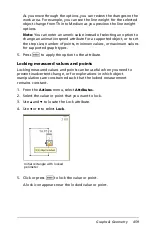
As you move through the options, you can review the changes on the
work area. For example, you can see the line weight for the selected
object change from Thin to Medium as you preview the line weight
options.
Note:
You can enter a numeric value instead of selecting an option to
change an animation speed attribute for a supported object, or to set
the step size, number of points, minimum values, or maximum values
for supported graph types.
5. Press
·
to apply the option to the attribute.
Locking measured values and points
Locking measured values and points can be useful when you need to
prevent inadvertent change, or for explorations in which object
manipulations are constrained such that the locked measurement
remains constant.
1. From the
Actions
menu, select
Attributes
.
2. Select the value or point that you want to lock.
3. Use
9
and
:
to locate the Lock attribute.
4. Use
7
or
8
to select
Lock
.
5. Click or press
·
to lock the value or point.
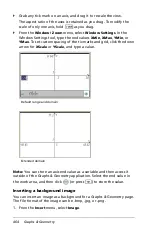
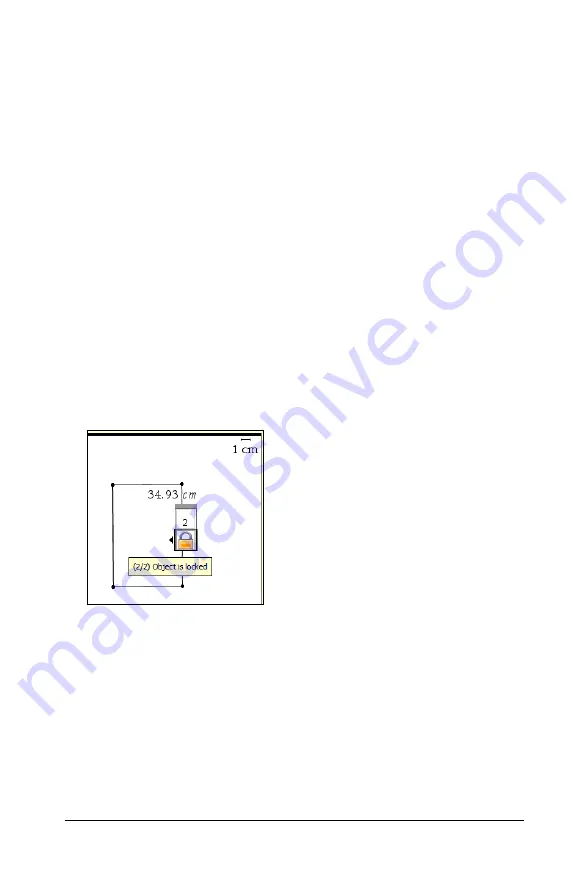
A lock icon appears near the locked value or point.
Initial rectangle with locked
perimeter
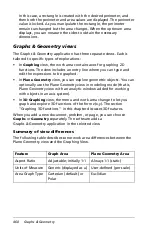
Summary of Contents for TI-Nspire
Page 38: ...26 Setting up the TI Nspire Navigator Teacher Software ...
Page 46: ...34 Getting started with the TI Nspire Navigator Teacher Software ...
Page 84: ...72 Using the Content Workspace ...
Page 180: ...168 Capturing Screens ...
Page 256: ...244 Embedding documents in web pages ...
Page 336: ...324 Polling students ...
Page 374: ...362 Using the Review Workspace ...
Page 436: ...424 Calculator ...
Page 450: ...438 Using Variables ...
Page 602: ...590 Using Lists Spreadsheet ...
Page 676: ...664 Using Notes You can also change the sample size and restart the sampling ...
Page 684: ...672 Libraries ...
Page 714: ...702 Programming ...
Page 828: ...816 Data Collection and Analysis ...
Page 846: ...834 Regulatory Information ...
Page 848: ...836 ...

