Data Collection and Analysis
723
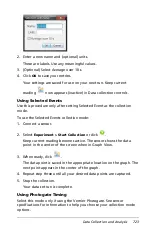
2. Enter a new name and (optional) units.
These are labels. Use any meaningful values.
3. (Optional) Select Average over 10 s.
4. Click
OK
to save your entries.
Your settings are saved for use on your next run. Keep current
reading
now appears (inactive) in Data collection controls.
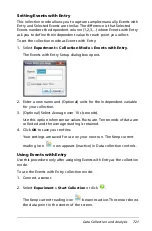
Using Selected Events
Use this procedure only after setting Selected Event as the collection
mode.
To use the Selected Events collection mode:
1. Connect a sensor.
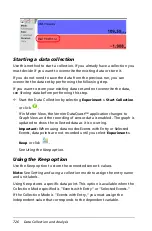
2. Select
Experiment > Start Collection
or click
.
Keep current reading becomes active. The sensor shows the data
point in the center of the screen when in Graph View.
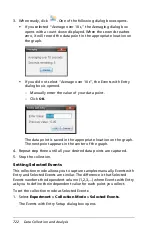
3. When ready, click
.
The data point is saved in the appropriate location on the graph. The
next point appears in the center of the graph.
4. Repeat step three until all your desired data points are captured.
5. Stop the collection.
Your data set run is complete.
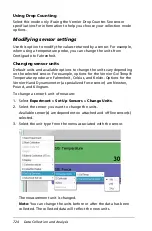
Using Photogate Timing
Select this mode only if using the Vernier Photogate. See sensor
specifications for information to help you choose your collection mode
options.
Summary of Contents for TI-Nspire
Page 38: ...26 Setting up the TI Nspire Navigator Teacher Software ...
Page 46: ...34 Getting started with the TI Nspire Navigator Teacher Software ...
Page 84: ...72 Using the Content Workspace ...
Page 180: ...168 Capturing Screens ...
Page 256: ...244 Embedding documents in web pages ...
Page 336: ...324 Polling students ...
Page 374: ...362 Using the Review Workspace ...
Page 436: ...424 Calculator ...
Page 450: ...438 Using Variables ...
Page 602: ...590 Using Lists Spreadsheet ...
Page 676: ...664 Using Notes You can also change the sample size and restart the sampling ...
Page 684: ...672 Libraries ...
Page 714: ...702 Programming ...
Page 828: ...816 Data Collection and Analysis ...
Page 846: ...834 Regulatory Information ...
Page 848: ...836 ...

