background image


17 


Lubrication 

 
Correct maintenance and lubrication prolong the life of the 
machine. 
 
The engine of your machine has a running-in period of 5 
work hours. After 5 hours the engine oil must be changed. 
After this the oil must be replaced for every 20 hours or at 
least once a year. Always check the oil level before using the 
machine. 
 
If there are any signs of leakage or moist places the oil must 
be checked immediately. 
 

Gearbox (see illustration 12-A) 

Always check the gear oil level before using the machine. 
Refill with SAE 90 gear oil if necessary.  
 
The gear oil should be changed at least once a year or for 
every 200 operational hours. Use an oil change kit and add 
around 1.2 litre of new gear oil. The gear of the rotary tiller 
must also be checked for every 50 hours and changed once 
a year. Use the same oil as for the gear box. 
 

Quick coupler (see illustration 12-B) 

To lubricate the quick coupling, do the following: 
1.  Insert grease gun on the grease nipple. 
2.  Top up grease - 1 to 2 presses. 
 

Storage 


If the machine is likely to be stored unused for prolonged 
periods, follow the instructions below. This will ensure 
longer machine lifetime. 


Use a garden hose to wash off soil and dirt. The chassis 
number should only be cleaned with a damp cloth to 
avoid unnecessary wear. Avoid using a high-pressure 
washer during cleaning. 


Wipe the machine with a damp cloth so that all surfaces 
are clean. Wipe the surfaces down with an oily cloth to 
prevent rust.  


Always store the machine in a dry, clean location. 

 
Troubleshooting 


The motor will not start (manually) 

1.  Check the fuel control is set correctly. 
2.  Check the spark plug. 
3.  Check there is fresh gas in the tank. 
4.  See separate motor instructions for further 

troubleshooting. 


The motor will not start (electric-starter) 

1.  Check the fuel control is set correctly. 
2.  Check the spark plug. 
3.  Check there is fresh gas in the tank. 
4.  Check that the starter motor has ground connection, 

see illustration 2. 

5.  Start the engine with recoil starter 

(battery might be discharged) 

6.  See separate motor instructions for further 

troubleshooting or contact your dealer. 


The motor is not running smoothly 

1.  Ensure the throttle control is not set to max.  
2.  Check there is fresh gas in the tank. 


The blades will not rotate 

1.  Check for stones lodged between the blades.  
2.  Release any stones by removing the blades.  
3.  Check the cables are in good working order and fitted 

correctly.  


The blades will not stop 

1.  Stop the engine and contact your dealer. 

 
Noise, vibration and precautionary measures 

 
1.  Long-term exposure to noise levels exceeding 85 dB (A) 

are damaging. Always use ear defenders when the 
machine is being used. 

2.  Reduce the running speed of the motor to reduce 

vibration and noise levels. 

3.  To reduce noise levels further, only use the machine in 

an open environment.  

4.  Vibrations can be reduced further by holding the handle 

firmly. 

5.  To avoid disturbing others, the machine should only be 

used during the daytime. 

6.  Always wear close-fitting work clothes, hard-wearing 

work gloves, ear defenders and non-slip boots with steel 
toecaps. 

7.  Take a 30-minute break for every 2 working hours. 
 

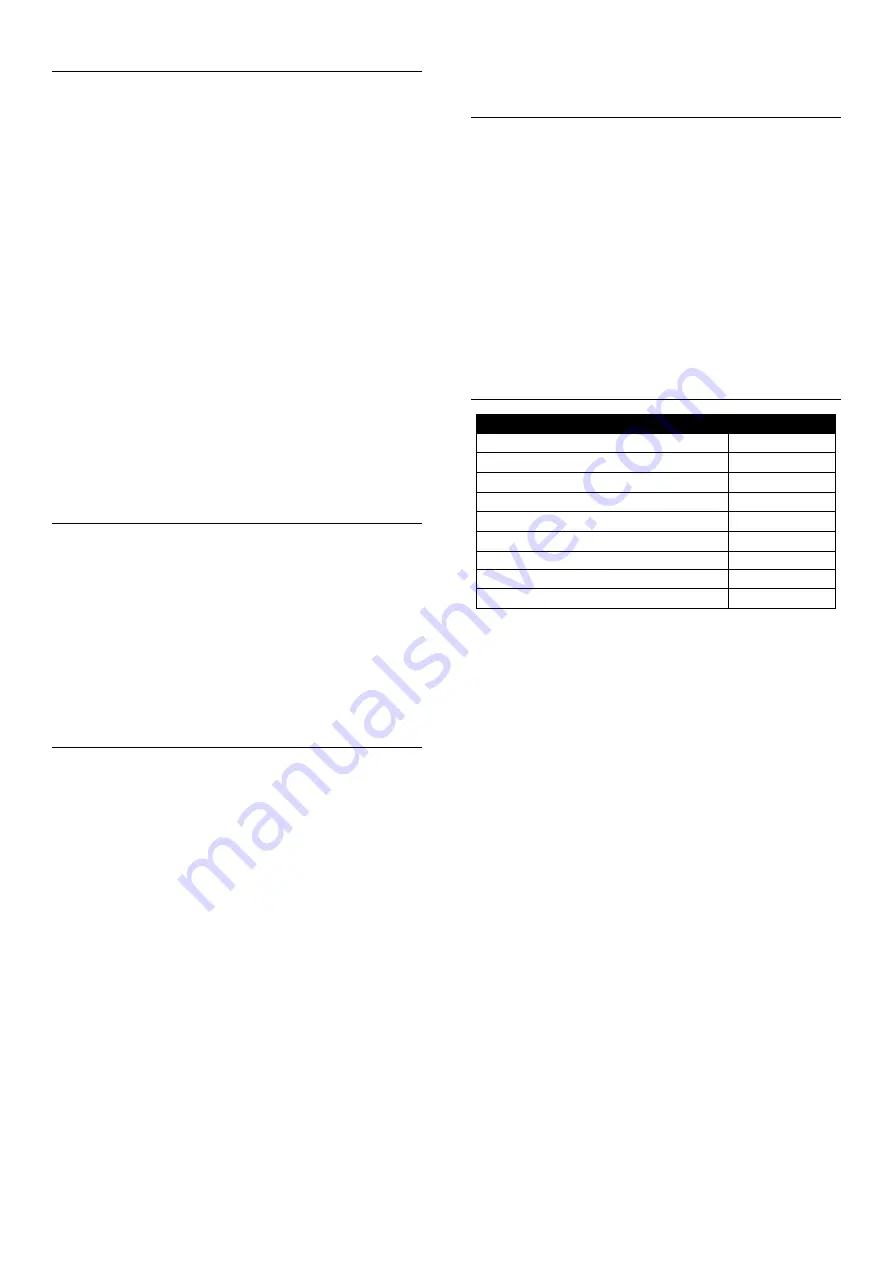
Specifications 


Pro Trac 1350 

Engine 

B&S 2100 

Displacement 

420 cc 

Power 

10.7 kW 

Engine RMB 

3600 min

-1


Gear forward 

Gear reverse 

Gear speed forward (km/h) 

1.4 - 3.2 - 5.3 

Gear speed reverse (km/h) 

0.9 - 2.0 - 3.4 

Weight 

103 kg 


Summary of Contents for Pro Trac 1350BE

Page 1: ...ITH ENGINE OIL SAE 30 BEFORE START VIGTIGT HUSK AT PÅFYLDE MOTOROLIE SAE 30 FØR START WICHTIG DENKEN SIE VOR DEM START AN DAS BEFÜLLEN MIT MOTORÖL SAE 30 DK Betjeningsvejledning GB User manual DE Benutzerhandbuch Texas A S Knullen 22 DK 5260 Odense S Denmark Version 19 1 Tel 45 6395 5555 www texas dk post texas dk ...

Page 2: ...2 Illustrationer Illustrations Abbildungen Illustrationer Illustrations Abbildungen 1 C A B D E F I H G L J K ...

Page 3: ...3 2 3 4 A B C ...

Page 4: ...4 4 5 6 G D E F ...

Page 5: ...5 7 1 2 3 ...

Page 6: ...6 7 4 5 6 ...

Page 7: ...7 8 1 2 3 ...

Page 8: ...8 8 4 5 6 ...

Page 9: ...9 9 10 11 12 B A ...

Page 10: ...ed skridsikre såler og stålkappe Undgå at bære løstsiddende tøj Betjening Start altid motoren fra sikkerhedszonen Forlad ikke sikkerhedszonen under betjening af maskinen hvis det er nødvendigt at forlade sikkerhedszonen skal motoren slukkes før zonen forlades Stop straks motoren ved kontakt med et fremmedlegeme fjern tændrørshætten og inspicer maskinen grundigt for skader Reparer skaden før du for...

Page 11: ...re såler samt stålkappe påbudt Sikkerhedszone Mens der arbejdes med maskinen og motoren kører må brugeren ikke forlade sikkerhedszonen bag styret Hvis der er nødvendigt at forlade sikkerhedszonen for eksempel for at montere tilbehør skal motoren stoppes Advarsel Ophold dig aldrig i den stiplede zone når du starter maskinen Start altid maskinen fra den prikkede sikkerhedszone Se illustration 3 Star...

Page 12: ...n Gear skifter højre side ved eftermonteret position 2 Afmonter den venstre PTO skifter stang A ved at fjerne splitten C som holder den fast Løft op i røret B fra beslaget og drej røret 180o 3 Pres styrlåsen A ned og drej styret 180o Fastgør PTO skifter stangen A igen med splitten 4 I højre panel boks er en sikkerhedsbolt A B C installeret som blokerer for høj bakhastighed når efter monteret udsty...

Page 13: ...rd og snavs af Stelnummeret må kun tørres over med en fugtig klud da man ellers kan risikere at stelnummeret bliver beskadiget Undgå at bruge en højtryksrenser til rengøringen Rengør maskinen med en fugtig klud så alle overflader er rene Overfladen fugtes med en olievædet klud for at forhindre rust Du bør altid opbevare din maskine på et tørt og rent sted Fejlfinding Motor vil ikke starte manuelt ...

Page 14: ...e the safety zone turn off the engine before leaving the zone After striking a foreign object stop the engine immediately remove the spark plug cap and inspect the machine thoroughly for damage Repair the damage before continuing If the machine should start to vibrate abnormally stop the engine and check immediately for the cause Vibration is generally a warning of damage Always disengage the leve...

Page 15: ...peration zone See illustration 3 Starting and stopping the engine Remember Always check the oil level prior to use On engines with dipstick the oil level must always be between the min and max On engines without dipstick the oil must be visible to the edge on filler hole when the engine is horizontal position Always use SAE 30 oil Use only unleaded 95 octane gas Never over fill the gas tank Start ...

Page 16: ... 2 and follow the procedure below Connect the positive pole to the nut 1 Connect the negative terminal to the metal parts of the engine 2 Connect the charger not included Height adjustment of the handle Follow the height adjustment procedure as shown in illustration 9 Remember to lock the handle again Tiller accessory The rear fitted tiller is used to prepare the ground for seeding The tiller is e...

Page 17: ...el control is set correctly 2 Check the spark plug 3 Check there is fresh gas in the tank 4 See separate motor instructions for further troubleshooting The motor will not start electric starter 1 Check the fuel control is set correctly 2 Check the spark plug 3 Check there is fresh gas in the tank 4 Check that the starter motor has ground connection see illustration 2 5 Start the engine with recoil...

Page 18: ... hochentzündlich tanken Sie nie wenn der Motor noch heiß ist Wischen Sie ggfs verschüttetes Benzin auf bevor Sie den Motor starten Es könnte einen Brand oder eine Explosion verursachen Nehmen Sie sich in Acht vor Gefahren wenn Sie auf schwierigem Boden arbeiten wie extrem steinigem oder hartem Boden Stiefel mit rutschfester Sohle und Stahlkappe sind erforderlich Vermeiden Sie lose Kleidung Betrieb...

Page 19: ...reigelegt werden Entleeren Sie den Kraftstofftank nur im Freien Benzin ist äußerst leicht entzündlich und Benzindämpfe sind explosiv Stellen Sie sicher dass die Maschine beim Transport auf einem Pritschenwagen o ä gut gesichert ist Schließen Sie die Drossel beim Abstellen des Motors und schließen Sie das Kraftstoffventil Identifizierung der Teile und Montage 1 Siehe Abbildung 1 Die Abbildung kann ...

Page 20: ... Zapfwellenschalter Stange A indem Sie den Stift C entfernen Heben Sie das Rohr B von der Halterung an und drehen Sie das Rohr um 180 3 Drücken Sie die Griffsperre A nach unten und drehen Sie den Lenker um 180 Befestigen Sie wieder die Zapfwellenschalter Stange A mit dem Stift C 4 In der rechten Schalttafel ist ein Sicherungsbolzen installiert A B C der zu hohe Rückwärtsgeschwindigkeit bei Verwend...

Page 21: ...Schrauben Sie die Ölablassschraube ab und lassen sie das Öl ablaufen Denken Sie daran das Öl in einen genügend großen Behälter ablaufen zu lassen Beachten Sie Der Motor darf nicht mehr als 45 Grad nach hinten gekippt werden 3 Schrauben Sie die Ölablassschraube wieder fest und gießen Sie frisches Öl in den Motor Entfernen Sie dazu den Ölmessstab und gießen Sie die empfohlene Ölmenge ein 4 Montieren...

Page 22: ...ken 2 Lösen Sie die Steine gegebenenfalls durch Drehen der Lamellen 3 Überprüfen Sie dass die Kabel in gutem Zustand und richtig befestigt sind Die Lamellen stoppen nicht 1 Halten Sie den Motor an und wenden Sie sich an Ihren Händler Lärm Vibration und Vorsichtsmaßnahmen 1 Langfristige Einwirkung von Lärm über 85 dB A ist schädlich Tragen Sie beim Gebrauch der Maschine immer Gehörschutz 2 Verringe...

Page 23: ...e with the specifications of the machine directive and subsequent modifications Mit folgenden einschlägigen Richtlinien übereinstimmt 2006 42 EC Materiellet er udført i henhold til følgende standarder Conforms with the following standards Und die Anforderungen folgender Normen erfüllt EN709 1997 A4 2009 EN709 A4 AC 2012 EN12733 2001 A1 2009 EN15906 2012 Measured LpA 86 8 dB A Guaranteed LwA 102 dB...

Page 24: ...24 ...

Reviews: