FR
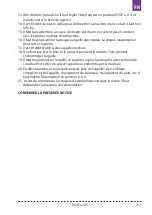
Avant de connecter le câble d’alimentation, assurezvous que la tension et la
fréquence du courant indiquées sur la machine répondent aux valeurs de votre prise
électrique.
ATTENTION: Ne laissez jamais la machine branchée sans surveillance. Débranchez
toujours la machine immédiatement après l’usage. Procédez de la même manière
avant l’entretien et le nettoyage.
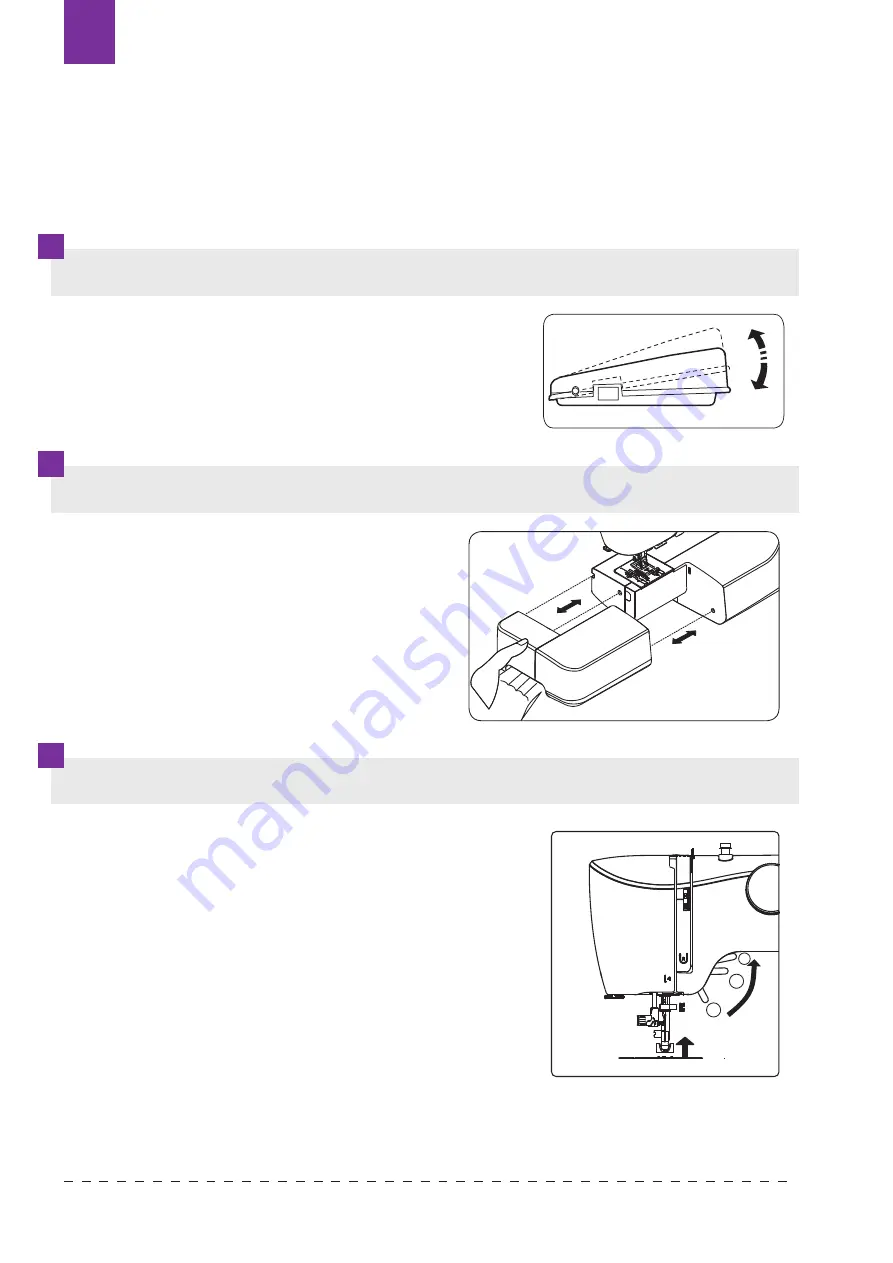
DEMARREUR A PIED (PEDALE)
BRAS LIBRE
RELEVAGE PIED PRESSEUR
Il faut appuyer sur le démarreur afin de commencer
la couture. La vitesse de couture est réglée à l’aide du
démarreur. Plus nous appuyons sur le démarreur, plus
vite la machine coud.
Afin d’obtenir le bras libre il faut avancer
la tablee vers la gauche comme l’indique
le dessin ci-dessous. Après avoir avancé la
tablee nous obtenons le bras libre qui facilite
la couture des éléments difficilement
accessibles des vêtements.
Trois positions du pied presseur sont disponibles:
1.
Le pied presseur doit être baissé lors de la couture.
2.
Le pied presseur doit être soulevé (jusqu’à la
position du milieu) afin d’inserrer le tissu cousu.
3.
Le pied presseur peut être soulevé jusqu’à la
troisième et la plus haute position en maintenant
le levier dans le but de placer endessous quelques
couches de tissus ou lors du changement du pied
presseur.
3
2
1
3
5
4
7
6
8
9
KNOWING
YOUR
SEWING
MACHINE
Power line cord/foot control
Make sure that the sewing machine is turned off (the
power switch is set to “O”), and then connect the plug
of the power line and into the appliance inlet and your
wall outlet.
The foot that comes on your sewing machine
is called zigzag foot and will be used for the
majority of your sewing.
Setting up your machine
Bu
sure to wipe off any surplus oil from needle
plate area before using your machine the first
time.
Power/light switch
Your machine will not operate until the power/light switch is turned on. The same switch controls
both the power and the light.
When servicing the machine, or changing needles, etc., machine must be disconnected from
the power supply.
NOTE
:
When foot control is disconnected,
the machine will not operate.
Always disconnect the machine from power
supply by removing the plug from the wall-outlet.
Sewing speed can be varied the foot control.
The harder you press on the control, the faster
machine runs.
Accessories
1. Bobbins (3pcs)
2. Needle 3 pcs and twin needle 1 pc
3. Multi-function screwdriver
4. Seam guide(optional)
5. Ripper/Brush
6. Buttonhole foot
7. Guide presser foot
8. Zipper foot
9. Button fitting foot
Power/light
switch “OFF”
Power/light
switch “ON”
4
2
1
3
KNOWING
YOUR
SEWING
MACHINE
Converting
to
free
-
arm
sewing
Your machine can be used either as a flat-bed or as a
free-arm model.
With the extension table in position, it provides a
large working surface as a standard flat-bed model.
To remove the extension table, hold it firmly with both
hands and pull it off to the left as shown. To replace,
slide the extension table back into place until it
clicks.
With the extension table removed the machine
converts into a slim free-arm model for sewing
children’s clothes, cuffs, trouser legs, and other
hard-to-reach places.
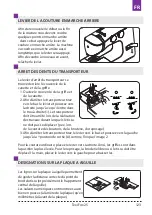
Presser foot lifter
There are three positions for your presser foot.
1. Lower the presser foot to sew.
2. Raise the lifter to the middle position to insert or remove
fabric.
3. Lift it to its highest position to change the presser foot or to
remove thick fabric.
Reverse sewing lever
As long as you are pressing down this
button while sewing, the machine will feed
the fabric backwards.
Dropping the feed dogs
1. For dropping the feed dogs, press down
lever and move it to the direction of arrow
as illustrated.
2. To raise the feed dogs, press down the
lever and move it to the direction or arrow
as illustrated.
* Feed dogs must always be up for normal
sewing.
Texi Fox 25
122
Summary of Contents for Fox 25
Page 1: ...MULTIFUNCTIONAL SEWING MACHINE 2 A L K J I H G F E D C B 3...
Page 2: ......
Page 5: ...Texi Fox 25 5 CS...
Page 172: ...RU 1 2 3 1 2 3 4 5 6 7 8 9 Texi Fox 25 172...
Page 173: ...RU 10 11 12 13 14 15 16 17 Texi Fox 25 173...
Page 175: ...RU 192 193 193 194 194 194 194 195 195 195 196 196 198 Texi Fox 25 175...
Page 193: ...RU 1 A 2 3 4 5 6 H 3 9 2 3 Machine Setting Texi Fox 25 193...
Page 195: ...RU 4 10 1 2 2 3 D 1 4 S S Machine Setting 10mm 3 8 Wrong side of fabric Texi Fox 25 195...
Page 196: ...RU 4 1 2 3 4 1 2 5 6 Texi Fox 25 196...
Page 197: ...RU 1 3 4 1 2 2 4 6 Texi Fox 25 197...
Page 198: ...RU Texi Fox 25 198...


