33
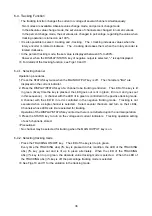
6-3-1.
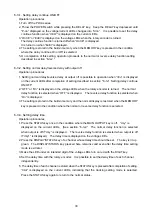
Setting delay continue ON/OFF
Operation procedures
1. Turn off the PW-A series.
2. Throw the POWER switch while pressing the DELAY key. Keep the DELAY key depressed until
“P-on” displayed on the voltage/current LEDs changes into “Idno”. It is possible to set the delay
continue function when “dELY” is displayed on the current LEDs.
3. “OnCE” or ”EuEr” is displayed on the voltage LEDs when the rotary encoder is turned.
The delay continue function is turned off when “OnCE” is displayed.
It is turned on when ”EuEr” is displayed.
4. The setting is stored in the built-in memory when the MEMORY key is pressed in the condition
where the delay continue On or Off is selected.
5. On completion of this setting, operation proceeds to the normal or reverse delay function setting
described in section “6-3-2.”.
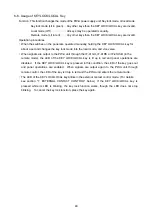
6-3-2.
Setting normal delay/reverse delay with output off
Operation procedures
1. Setting normal delay/reverse delay at output off is possible to operation when “rEu” is displayed
on the current LEDs after completion of setting described in section " 6-3-1. Setting delay continue
ON/OFF”.
2. “OFF” or “On” is displayed on the voltage LEDs when the rotary encoder is turned. The normal
delay function is selected when “OFF” is displayed. The reverse delay function is selected when
“On” is displayed.
3. The setting is stored in the built-in memory and the normal display is restored when the MEMORY
key is pressed in the condition where the normal or reverse delay function is selected.
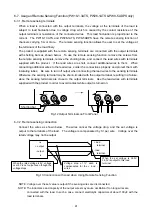
6-3-3. Setting delay time
Operation procedures
1. Press the STATUS key once in the condition where the MAIN OUTPUT key is off. “dLy” is
displayed on the current LEDs. (See section “6-3-2.” The normal delay function is selected
when output is off if “dLy” is displayed. The reverse delay function is selected when output is off
if “dLy1” is displayed.) The delay time is displayed on the voltage LEDs.
2. Press the DISPLAY/STATUS key of a channel whose delay time should be set. The key is lit up
green. The DISPLAY/STATUS key pressed here remains valid even after the delay time setting
mode is exit later.
3. Make the LED under an intended digit of the voltage LEDs turn on red with the DIGIT key.
4. Set the delay time with the rotary encoder. It is possible to set the delay time of each channel
independently.
5. The delay time of each channel is stored when the STATUS key is pressed after completion of setting.
“trAk” is displayed on the current LEDs, indicating that the tracking setting mode is selected.
Press the STATUS key again to return to the normal status.

