10
DRIFTLESS
SPRAYER
OPERATION
First Checks
During sprayer setup, test the operation of the spray tips, hoses and plumbing system with clear water.
Refer to the sprayer maintenance and operation section found in this manual.
Clean sprayer tank and flush plumbing system with clean water.
Check line strainer and nozzle screens for residue and debris. Clean screens with clear water. Replace
any screens that remain clogged after cleaning or are torn.
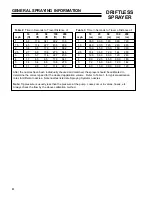
Check and clean nozzle tips. To ensure best performance calibrate spray tips. Refer to Calibration found
in the General Spraying Information section of this manual. The frequency that you should perform
calibration will vary based on the volume and type of spraying that is done.
Determine proper chemical mixture based on the specific chemical and spray tip size. Different size spray
tips and nozzle screens are available through your Jacobsen dealer.
Using the Sprayer
Prepare to spray by turning on the power switch for the pump. Observe the pressure gauge on the 3
Valve Mount. The pressure should rise slightly above the spray pressure desired for the specific tip type
and chemical. The exact difference between the set pressure with no booms spraying and the spray
pressure will depend on the size of tips and number of spray booms engaged.
Adjust the pressure regulator located on the 3 Valve Mount to obtain the desired pressure.
Begin moving at the desired spray speed.
Turn on the appropriate sections of the spray boom with the specific On/Off valve located on the 3 Valve
Mount.
Boom Operation
If you wish to lift a boom, switch off the pressure to the boom. Wait a couple of seconds so the mist under
the boom can settle before lifting the boom.
Each wing can be lifted with the rope and secured in place by pulling the rope through the cleat on the top
of the 3 valve mount.
To disengage simply lift the rope to pull it out of the cleat. Store the excessive rope with the handle on the
hook.
The wings are attached to your boom via the breakaway pin and pivot. If you strike an object with a wing
that wing should breakaway as a protection against damage.
After striking an object return the wing to position. Grasp boom at outer edge. Move end of boom forward
until Breakaway Pin contacts the breakaway mechanism. With sharp forward motion, lock boom into
Breakaway catch.
Summary of Contents for 73-70675
Page 13: ...11 DRIFTLESS SPRAYER PARTS SECTION PARTS SECTION...
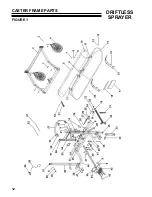
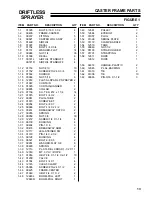
Page 14: ...12 DRIFTLESS SPRAYER CASTER FRAME PARTS FIGURE 1...
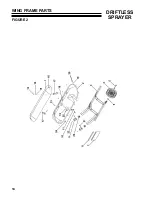
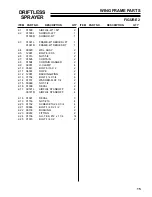
Page 16: ...14 DRIFTLESS SPRAYER WING FRAME PARTS FIGURE 2...
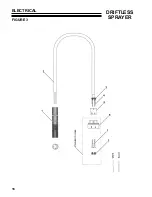
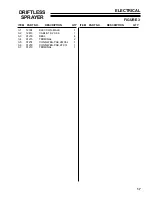
Page 18: ...16 DRIFTLESS SPRAYER ELECTRICAL FIGURE 3...
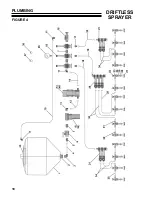
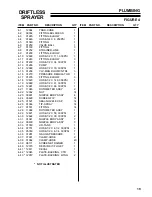
Page 20: ...18 DRIFTLESS SPRAYER PLUMBING FIGURE 4...
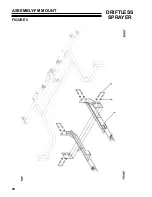
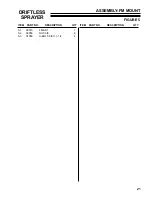
Page 22: ...20 DRIFTLESS SPRAYER ASSEMBLY FM MOUNT FIGURE 5...
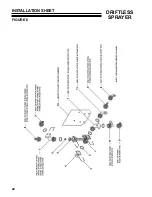
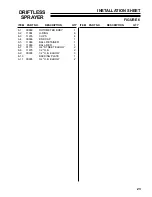
Page 24: ...22 DRIFTLESS SPRAYER INSTALLATION SHEET FIGURE 6...
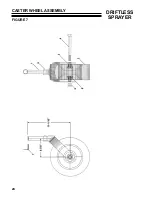
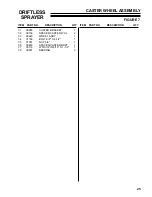
Page 26: ...24 DRIFTLESS SPRAYER CASTER WHEEL ASSEMBLY FIGURE 7...


