Battery-powered Ratcheting Cable Cutter
Greenlee / A Textron Company
4455 Boeing Dr. • Rockford, IL 61109-2988 USA • 815-397-7070
6
Operation
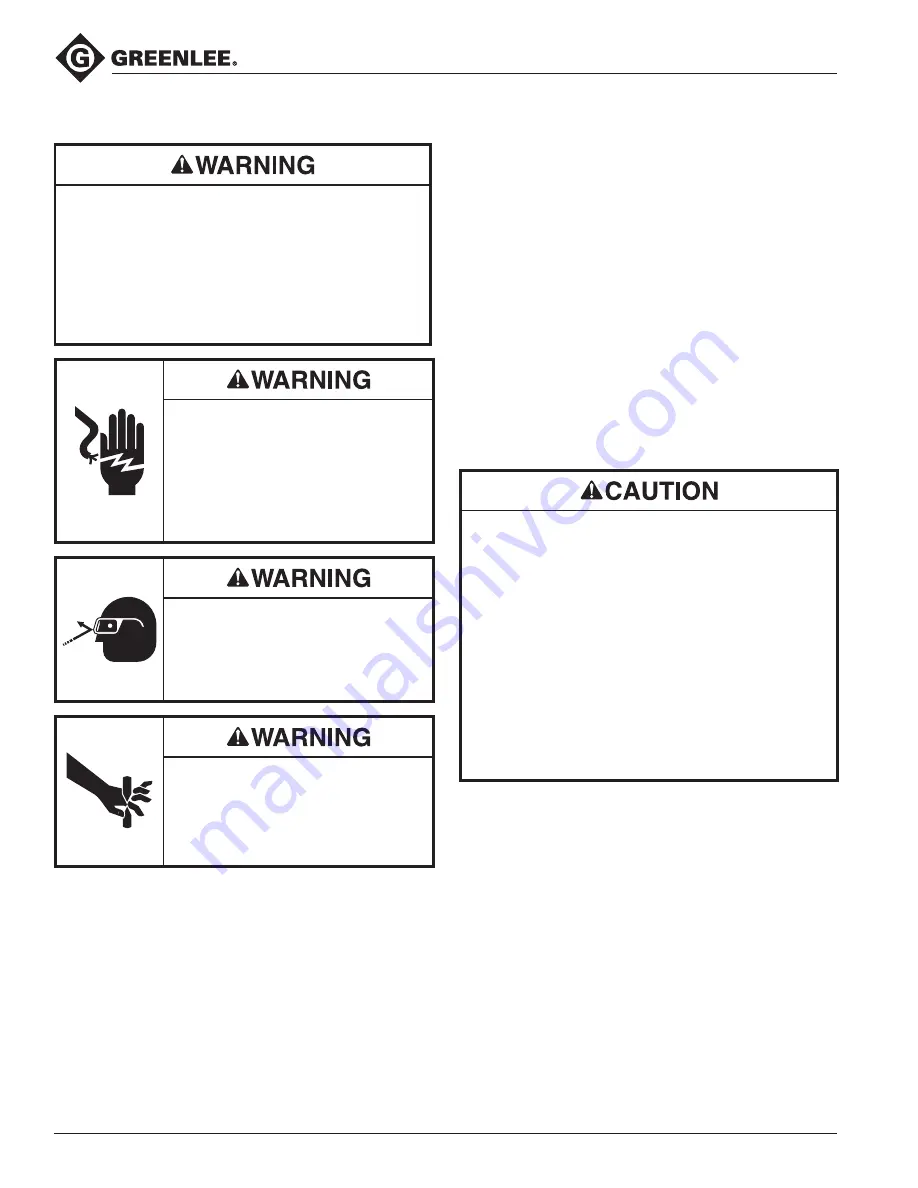
• Inspect tool and blades before use. Replace any
worn or damaged parts. A damaged or improp-
erly assembled tool can break and strike nearby
personnel.
• Carrying strap is for carrying only, not to be used to
hang or suspend tool.
Failure to observe this warning could result in severe
injury or death.
Electric shock hazard:
This tool is not insulated. When using
this unit near energized electrical
lines, use proper personal protective
equipment.
Failure to observe this warning could
result in severe injury or death.
Wear eye protection when operating
or servicing this tool.
Failure to wear eye protection could
result in serious eye injury from flying
debris.
• Keeps hands away from blade.
• Remove the battery before
inspecting or servicing the tool.
Failure to observe these warnings
could result in severe injury or death.
Cutting Procedure
1. Activate the switch to open the movable blade.
2. Place the cable to be cut onto the stationary blade
and close the movable blade around the cable.
Feed the movable blade by hand so that the gear
teeth engage the drive mechanism of the tool.
3. Slide the direction control lever to FORWARD.
Press and hold the trigger switch until the cable is
completely cut.
4. Slide the direction control lever to the center (LOCK)
position.
Circuit Breaker
The following may cause the circuit breaker to trip:
• Cutting material that is too large
• Cutting material that is too hard
• Overheating due to continuous use
• Drawing excessive current
If the circuit breaker trips, the tool will stop. If necessary,
allow the tool to cool down. (Wait 10 seconds to one
minute before resuming cutting.) The circuit breaker will
automatically reset.
• This tool is not designed for continuous use. After
40 cutting cycles or if tool becomes hot, allow the
cutting tool to rest for 30 minutes.
• Do not secure this tool in a vice. This is a tool
designed for hand-held operation.
• This tool may be used in damp or wet environ-
ments; however, air-drying is recommended before
use if the tool becomes soaked. Damage may result
when the tool is operated prior to thorough drying
when electrical components are soaked.
• Use this tool for the manufacturer's intended
purpose only.
Failure to observe these precautions may result in
injury or property damage.
Charging the Battery
Read the instructions supplied with the battery charger
Battery Capacity Display
On the base of the tool handle there is a 4 LED indicator.
If 4 LEDs are lit while in operation the battery has a full
charge. If only 1 or 2 LEDs are lit while in operation the
battery will need to be charged soon.
See following page for additional safety boxes and text
to be added to this page. Follow numbered boxes.


