!
BREADBOARD
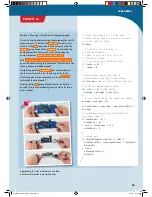
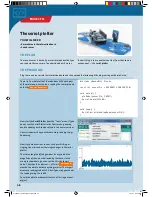
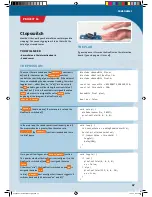
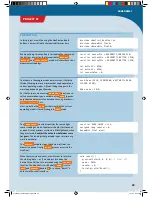
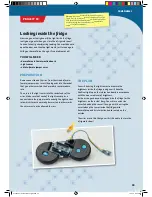
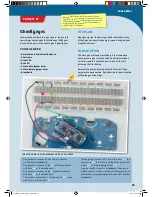
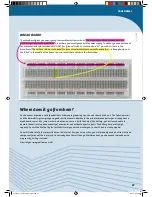
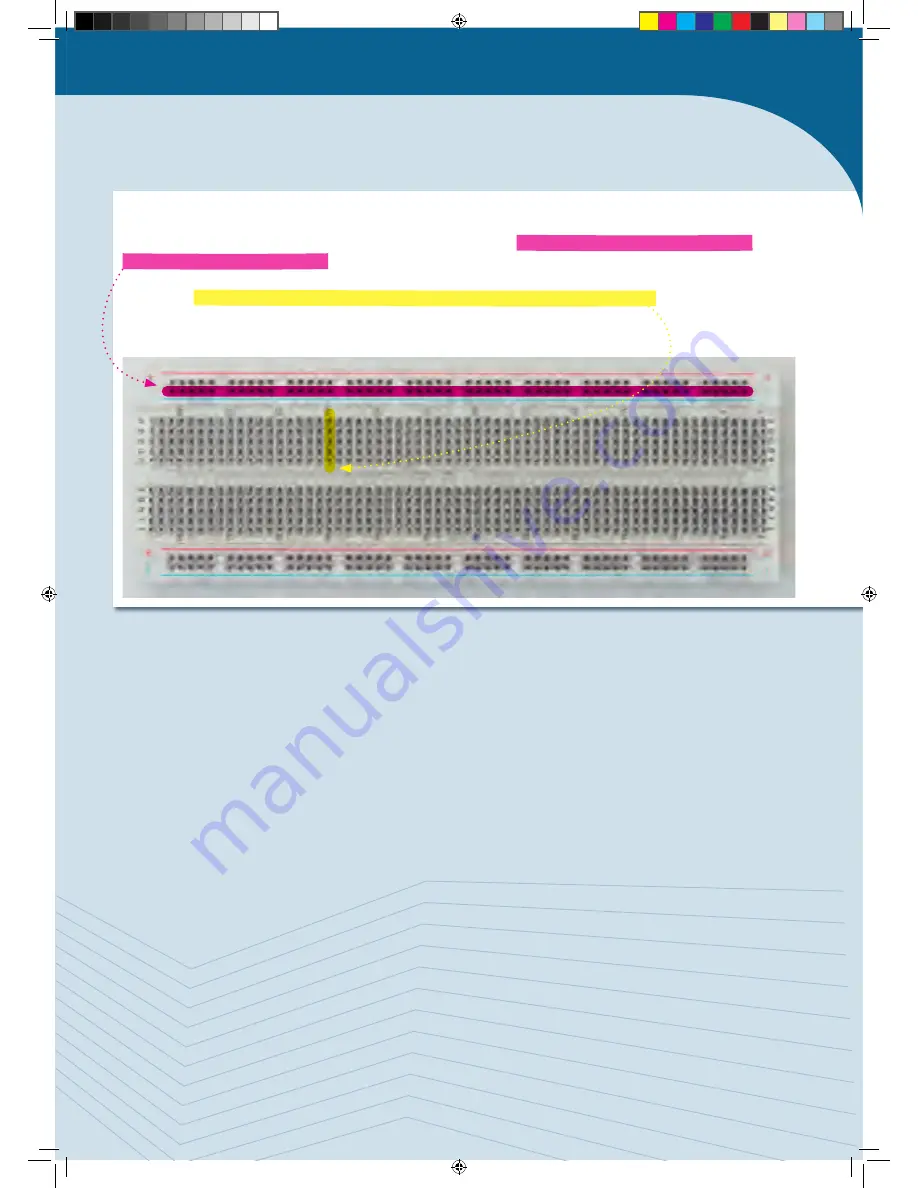
The breadboard gives you an easy way to assemble electronic circuits. The outer red- and blue-marked rows are
electrically connected to each other. This is where you usually connect the power supply. To do that, you connect one of
the microcontroller pins marked with “GND” (for “ground”) with a (-) hole and one “5V” pin with a (+) hole in the
breadboard. The vertical columns (a to e and f to j) are also electrically connected to each other — although only up to
the “ditch” in the middle of the board. You can see all these details in the illustration.
Where does it go from here?
You have now acquired a solid foundation in Arduino programming. You can and should build on it. The CodeGamer kit
and the KosmoBits system give you a good start, because in addition to the actual microcontroller you already have a
breadboard, some LEDs, jumper wires and, of course, sensors. With the help of the battery, you will even be able to
operate the entire setup independently of a computer and without any extra parts. The battery has a pretty high
capacity. You will notice that by the fact that it rarely needs to be recharged. In short: You are well equipped!
You will find a lot of other project ideas on the Internet. Every once in a while, you will probably need an extra electronic
component for one of those projects. You already have the rest though. Most important, you have even learned how to
program by writing real code!
Now let your imagination run wild!
57
CodeGamer
CodeGamer manual inside english.indd 57
7/19/16 12:33 PM


