How to use the accessories in the experiment kit
13
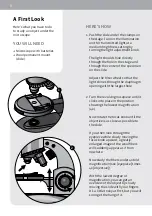
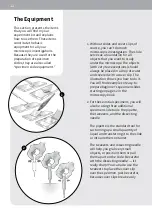
3. Your microscope makes it possible
to see large images of tiny things.
There are lots of objects that can be
placed directly in a drop of water on
the slide, covered with a cover slip,
and then viewed under the
microscope: strands of hair,
material fibers, insect wings,
strands of algae, and so on. To
prepare a specimen like the
permanent mount included in the
kit, though, you will first have to get
a little practice with one of the most
important manual skills of
microscopy: the preparation of thin
sections.
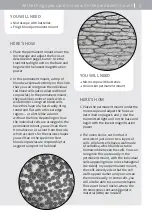
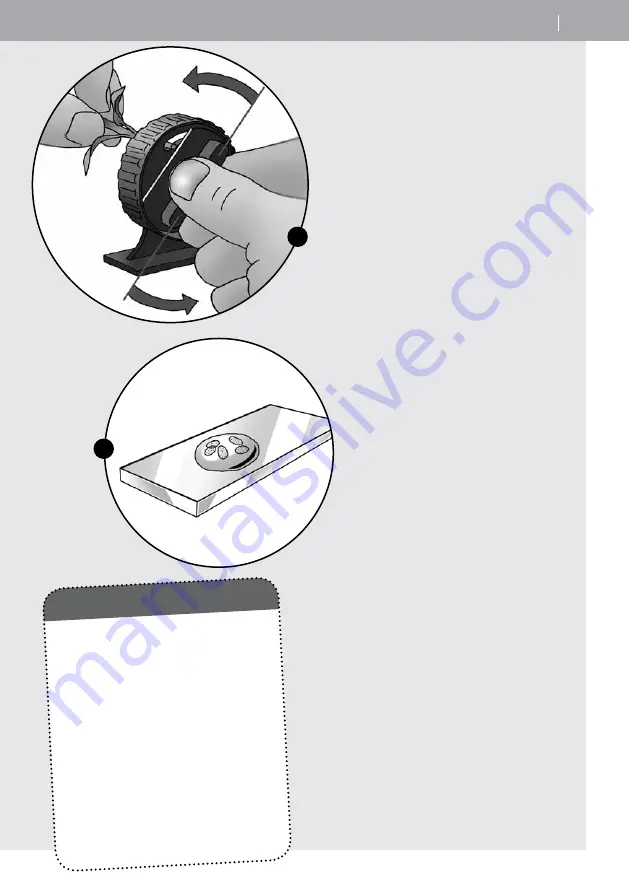
For viewing sections of an object
under the microscope, they have to
be thin enough for the light to shine
through them. That means that we
are talking about sections that are
only about half a millimeter in
thickness — or even thinner! The
cutting tool included in the kit will
help you prepare thin sections like
that.
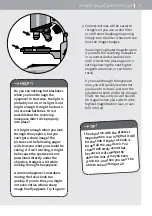
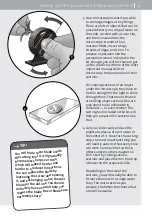
4. Get your slide ready and use the
pipette to place a drop of water in
the center of it. Now, for the cutting
step, the most important thing you
will need is patience! Not every slice
will work. Some will be too thick,
others uneven, others maybe too
thin. Start by cutting several
sections and place them in the drop
of water on the prepared slide.
Depending on the size of the
sections, you will usually be able to
fit more than one in a single water
drop. The more sections you
prepare, the better the chance that
one will be usable.
4
3
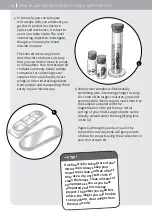
You will find a razor blade inside
the cutting tool. It will gr
adually
become less sharp over time,
which will make it harder and
harder to produce thin sections.
You can replace the blade by
loosening the screw and opening
it, and exchanging a new
, sharper
blade for the old one. Y
ou should
definitely have an adult help you
replace the blade. Razor blades are
extremely sharp!
C
TIP!


