8
The Permanent
Mounts
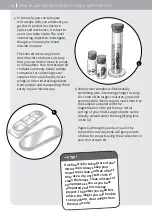
In your microscope kit, in addition
to this manual, you will find a book
titled “Microscopy” by Annerose
Bommer. It describes all sorts of
things that you can study under
your microscope and explains how
you can prepare your own
microscope specimens. To help you
get started right away, your kit
contains three slides containing
specimens that have already been
prepared for you. These are called
prepared mounts or permanent
mounts. Read below to find out
what you will be able to discover in
them.
YOU WILL NEED
+ Microscope with batteries
+ Wool permanent mount
HERE’S HOW
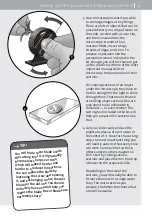
1. Place the permanent mount under
the microscope and adjust the focus
as described on pages 6 and 7. Use
the transmitted light unit on the
base of the microscope and begin
with the lowest magnification
power.
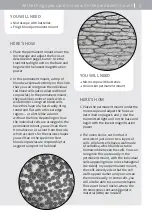
2. Now, as you observe the wool fibers,
you will notice that they are
colored. After all, wool is made from
the hairs of sheep, which can be
white or black. In your permanent
mount, the fibers have been dyed to
give them better contrast and help
you see more details. You will find
thick and thin hairs in the specimen.
The larger ones have a thick wall
and are hollow in the center.
Sometimes, you may also be able to
see scales on the wall.


