E
ng
lis
h
16
get ready for
thefirstyears.com
TM
get ready for
thefirstyears.com
TM
17
Memory Pump
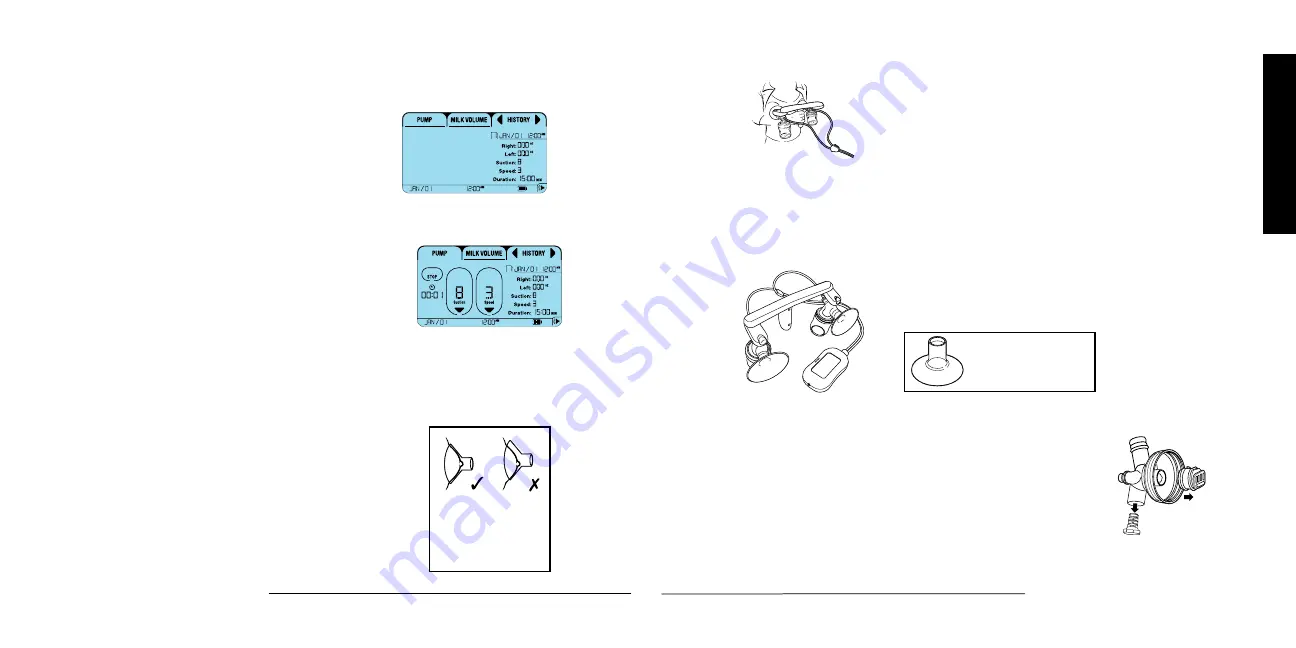
HISTORY mode
Additional Features
Remove Bottle Assembly
Breast Pump Care
To Begin Pumping: Always Wash Your Hands Before Pumping
1. After you have saved more than one pumping session press
HISTORY tab.
2. Using the right arrow key you can review your previous pump
sessions #2 - #10.
NOTE: The last pump session saved is ALWAYS #1.
3. The left arrow key allows you to scroll from #10 back to #1.
Note:Your nipple should be
centered and free standing,
not touching the sides of the
shield as shown. Improper
positioning can cause
irritation and pain.
1. Install battery and charge pump for 2.5 hours. Refer to” Install
battery and charge pump” section.
2. When pump is fully charged and assembled (Refer to Assebly
section) you are ready to begin pumping.
3. To start milk flow – express a few drops of milk by hand.
4a. To pump without handle: sit upright. Grasp the bottle by the
3way adapter and insert breast into Flexi-Fit ™ shield. Each
breast should completely fill the shield. Note nipple
position in illustration.
4b. To pump using handle: sit upright. Hold the pump
handle in front of your breasts and adjust the rotating
arms to a comfortable width for your breasts.
5. Follow the instructions for PUMP mode.
Pause pump session:
• If you have started a pump session and you press STOP the session
will be paused for 3 minutes.
• If you resume pumping within the 3 minutes your pumping session
will continue as if there were no interruption.
• If you do not resume pumping within the 3 minute timeframe the
incomplete session will be automatically saved in history session #1.
Data saved:
• History and set up data are saved for 3 days after battery is totally discharged.
Pump and View History at the same time:
• During a pump session you can select the HISTORY tab and scroll through your sessions.
NOTE: To reduce suction immediately, turn pump off and remove shield from breast or insert finger
between the breast and breast shield to break the seal.
CAUTION:
DO NOT fill bottle beyond the 4 or 8 oz. marking. Pumping into an overfilled bottle could damage the
pump. DO NOT lay pump hose on blanket, couch etc . while the pump is running.
This may cause foreign material to be pulled into the motor.
Clean all parts prior to initial use and after each use.
Important: Do not sterilize any part of the breast pump in the microwave.
1. Always separate the 3 way adapter from the baffle, the breast shield and the
valves before cleaning.
2. After cleaning the valve, gently lift the end of the soft rubber piece (the end
with the raised bumps) to insure the soft rubber piece can flap freely and that
it is not stuck to the valve. If the end is stuck to the valve, wash valve again in
warm soapy water.
If using pump handle:
1. Remove bottle assembly by pushing the release buttons.
2. Remove hose connectors from 3-way adapter.
3. Remove shield, adapter, valve and baffle for cleaning.
A 3 way bottle adapter with baffle
B valve
C flapper
Important: Place Flexi-Fit™
shields in this drying position
to prevent warping.
B
C
A


