


Inspect your stilts prior to every use. Check for worn or
®
damaged parts and replace with genuine SUR-STILT parts.
Tighten but do not overtighten any loose nuts, wing bolts, or
screws.
If you have any comments or questions concerning your
stilts, please contact our Customer Service staff.
INSPECTING YOUR STILTS
QUESTIONS? NEED HELP?
Toll free : 1-888-443-8889
Check your stilts for wear and damage. Check and tighten
all nuts and bolts.
Cover any openings such as windows, stairwells or vents.
Do not over-extend your step or your reach while working
and walking on stilts.
Lubricate your stilts with silicone or graphite based
lubricants.
Clean with water. Dry stilts and floor plates after cleaning.
Load limit is 225 lbs. including working tools.
GENERAL
PRECAUTION
ASSEMBLY
1) Assemble side pole clamps. Insert
lower side poles through the bottom of
the tube clamps.
2) Attach lower side poles to the safety-
lock bracket connection with the
attached ¼” x 1 ½" cap screw & nylon
lock nut.
3) Install upper side poles through the
side pole clamps. Position so the leg
bands comfortably fit above your leg
calf.
4) Position the side pole clamps in the
clamp bracket slots, according to your
calf height and position. Tighten all
nuts and bolts on side pole and clamp
assemblies.
5) Attach the heel brackets to the foot
plates using the No. 10 x ½” philips
machine screws and nuts. Adjust the
heel bracket so your foot fits
comfortably on the nylon foot plate.
Tighten well.
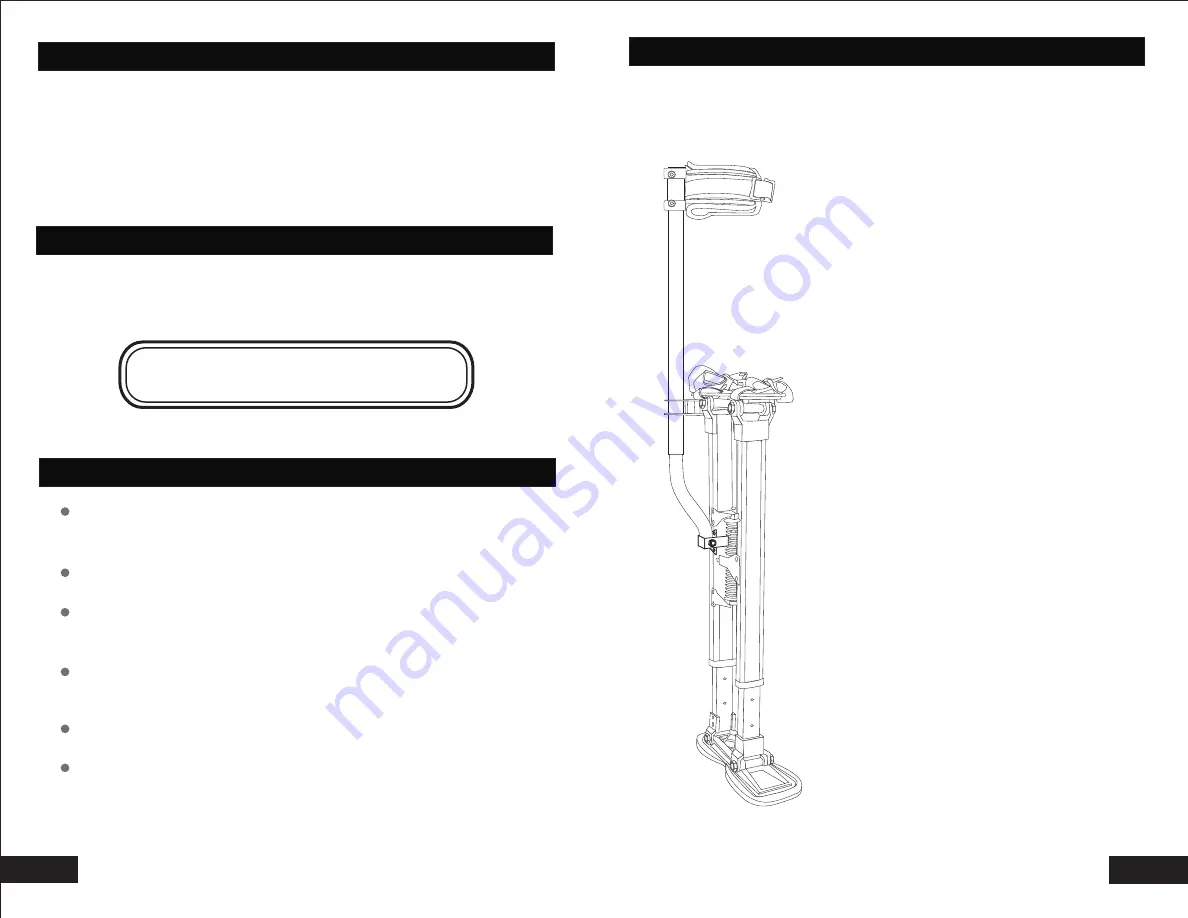
READ
THE CAUTION
LABEL ON THE STILT
SIDE
POLE
AND
HEEL
BRACKETS
2
7


