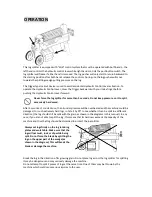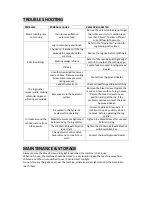
TROUBLE SHOOTING
PROBLEM
PROBABLE CAUSE
REMEDY SUGGESTED
Motor running, ram
not moving
Incorrect specification
extension lead
Be sure the extension lead is no longer
than 10m and its cross-section is no
less than 2.5mm² to allow sufficient
current flow to the motor.
Fails to split logs
Log is improperly positioned
Refer to the “Operation” section for
log loading instructions.
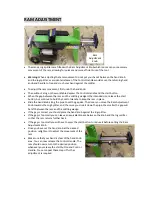
The sizes or hardness of the log
exceeds the capacity of the
machine
Reduce the log size before splitting it
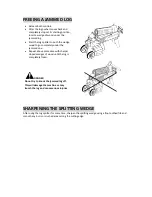
Splitting wedge is blunt
Refer to “Sharpening Splitting Wedge“
section to sharpen the cutting edge.
Oil leak
Locate leak & contact local Approved
Dealer
Unauthorised adjustment was
made on Max. Pressure Limiting
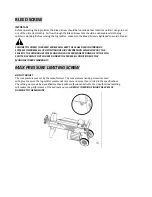
Screw. Lower max pressure
rating was set.
Contact local Approved Dealer.
The log pusher
moves jerkily, making
unfamiliar noises or
vibrating excessively
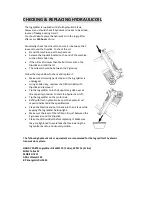
Lack of hydraulic oil
Check oil level for possible oil refilling.
Excessive air in the hydraulic
system.
Remove the bleed screw. Operate the
ram 5 or 6 times without a log in place.
Return the bleed screw to open
position and split the log. If the
problem continues contact the local
Approved Dealer.
Oil leaks around the
cylinder ram or from
other points.
Air sealed in the hydraulic
system while operating.
Loosen the Bleed Screw by 2 - 3
rotations to open position, do not
remove, before operating the log
splitter
Bleed Screw was not tightened
before moving the log splitter.
Tighten the Bleed Screw after use and
before moving.
The Oil Drain Bolt with Dipstick
is not tight.
Tighten the Oil Drain Bolt with Dipstick
with 8mm Allen Key.
The Hydraulic Control Valve
Assembly and / or seal(s) are
worn
Contact the local Approved Dealer
MAINTENANCE & STORAGE
Always ensure the Bleed Screw is fully tightened when the machine is not in use.
When not in use, the machine should be stored in a dry location. Keep the machine away from
children and others not qualified to use it. Avoid direct sunlight.
Do not store anything above or near the machine, where anyone might stand on the machine to
reach them.
Summary of Contents for THLS-6-PLUS
Page 2: ......
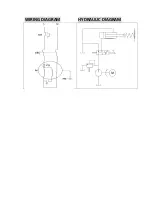
Page 11: ...WIRING DIAGRAM HYDRAULIC DIAGRAM ...
Page 17: ...PARTS DIAGRAM THLS 6 193893001 ...
Page 23: ......


