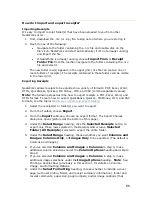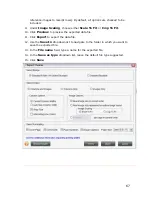
5.
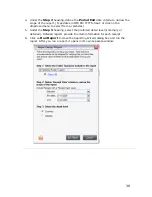
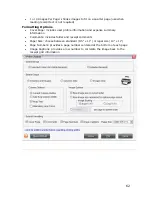
On the Confirm File Export screen, type a file name in the Provide a File Name
dialog box or confirm or edit the file name already in the field (if applicable)
and choose whether to compress the file.
6.
Click
Continue
. Your default email program will launch and a new message
opens. The To field of the new message will be populated with the contacts
selected in the previous step; if you did not choose any Quick contacts, then
type an email address. The selected folder(s) will automatically be attached to
the message.
7.
Complete the email message and click
Send
.
For more information, see
Emailing a Folder
.
How can I work with receipt rows?
Each time a receipt is scanned into a folder, a new row is added to the Receipts Grid.
Where possible, key data from the receipt is automatically placed into the
appropriate columns within the row. You can also manually add a new row (with or
without scanning a receipt), edit information in a receipt row, add comments about
any cell in a receipt row, and associate multiple scanned receipts to a row.
You will find the following, related topics addressed in this section:
•
Select a receipt row
•
Edit receipt row cells
•
Add comments to receipts
•
Adding a new receipt row
•
Move a receipt row to another folder
•
Move a receipt row to the Document Organizer
•
Delete a receipt row
•
View receipts together from multiple folders
Selecting Receipt Rows
Selecting rows in NeatWorks is very similar to selecting rows in other programs that
use spreadsheet-type layouts:
•
To select a single row, click any cell in the row. The selected row has a blue
background.
52

